
studio tools
FAQ covers the soldering equipment + surfaces provided by ALLOY at each soldering station. Read the BLOG post below for some 🔥 tips.
soldering tools provided
-
A great all purpose torch. More info on using » https://www.youtube.com/watch?v=UUOrsGEUc_0
Remember - there are many different tips available to you. My favorite go to tip is the #1 for all purpose use.
-
Don’t be fooled by the title, this torch packs a punch with the added oxygen. More info on using » https://www.youtube.com/watch?v=DflWvNHNmdw
Want to learn more? Book a 30 minute lesson!
-
These torches are the perfect starting point if you want to start a home studio. No tanks! However, you’ll probably want both for working small and large. Working on something big? Use the Smith acetylene torch AND one of the butanes!
More info on use + refill instructions » https://www.youtube.com/watch?v=rgXyof0pC4M
-
Specially compressed charcoal delivers a super-hard, reflective surface with a much longer life than soft charcoal blocks. Charcoal blocks reflect heat efficiently while creating a reducing atmosphere around the pieces you’re soldering or fusing, which helps to reduce oxides. Great for drilling into to make melted balls, small ingots, etc.
-
Great all general use heating surface. Consider purchasing one for personal use from our store to keep your soldering surface clean. Hot tip - when your pad is getting well loved, take it outside, rub the surface on asphalt to clean and flatten it again.
-
This heat-reflecting sheet-metal pan rotates on ball bearings for easy maneuverability and easy accessibility to workpieces. The pan contains medium/fine lump pumice, great for laying work to be annealed.
-
Third hands are a great way to hold things for set up, but remember, steal “steals” the heat! We provide a variety of tweezers for general studio use. Please make sure they get placed back on the magnetic strip after use!
-
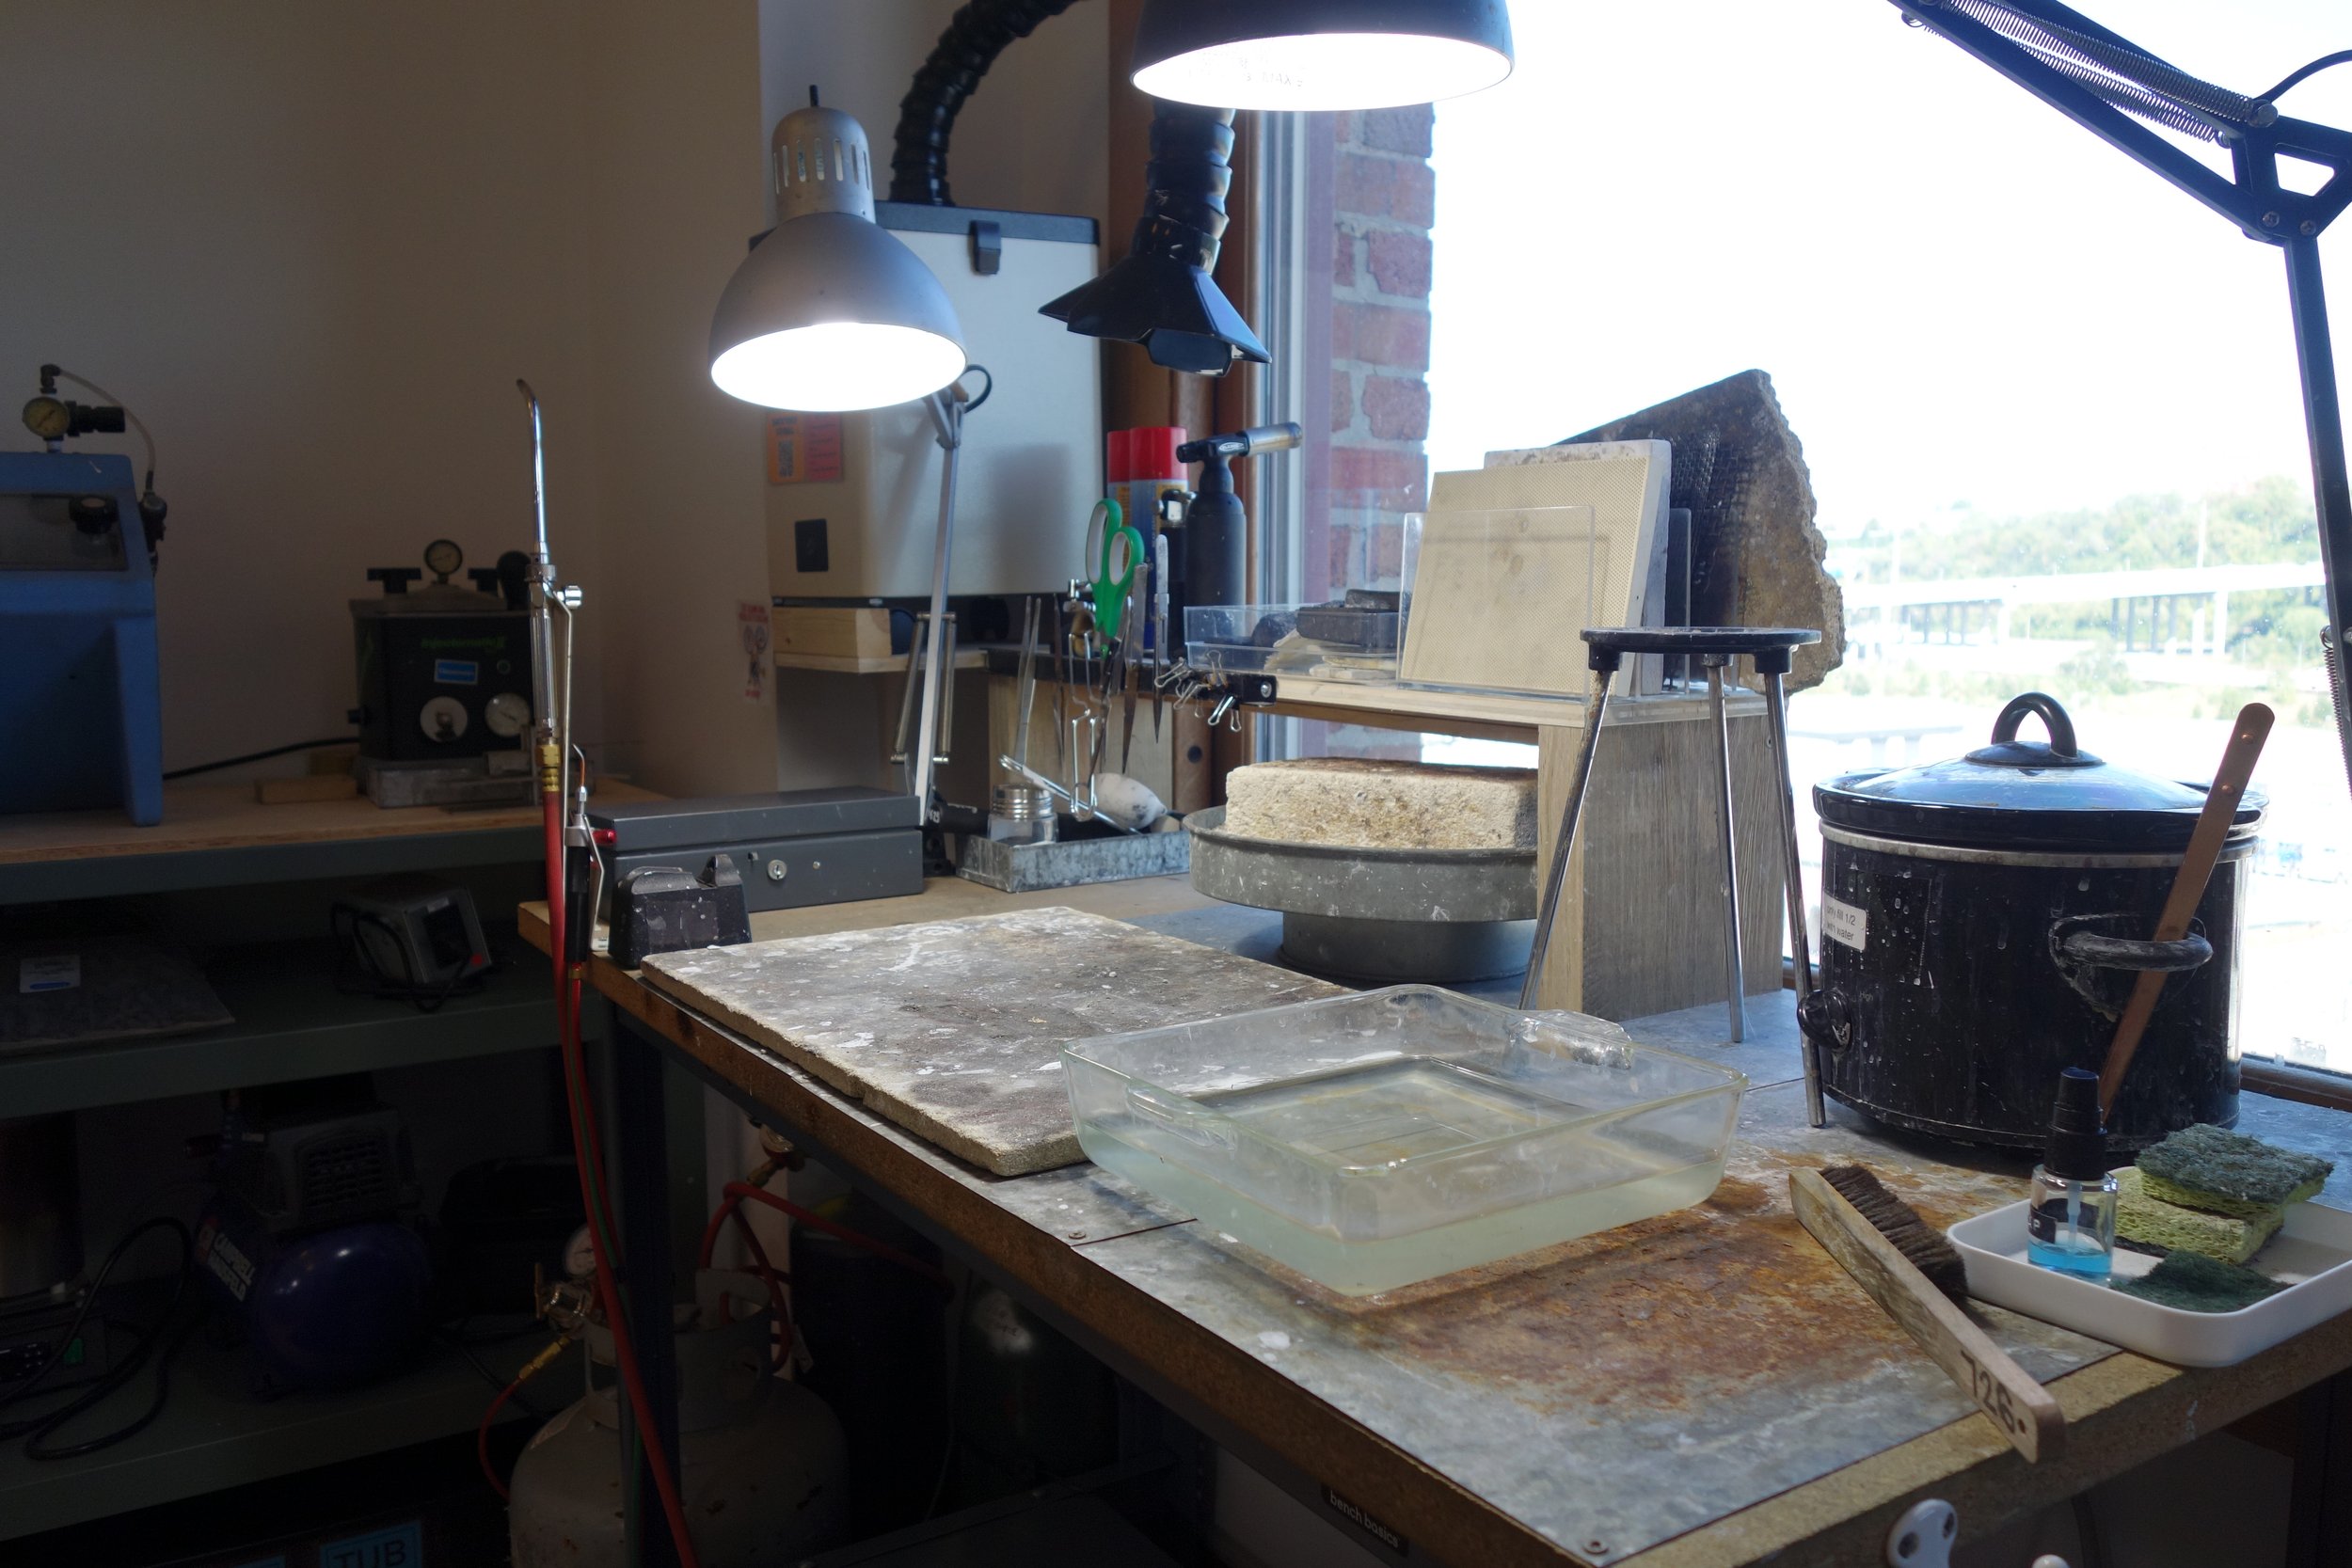
The pickle should be turned on to low, never high, when working, and must be turned off before leaving the studio. Remember to keep steel out of the pickle pot! Our studio assistant maintains the pickle, but if the water level is low, please add more using the studio watering can.
Large equipment
-
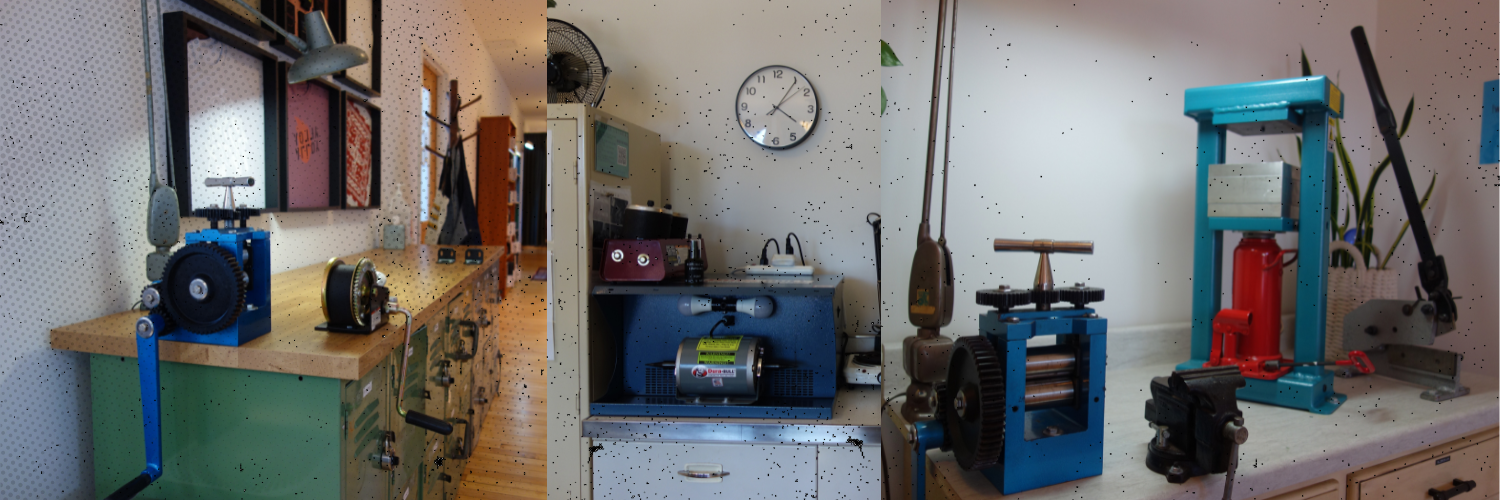
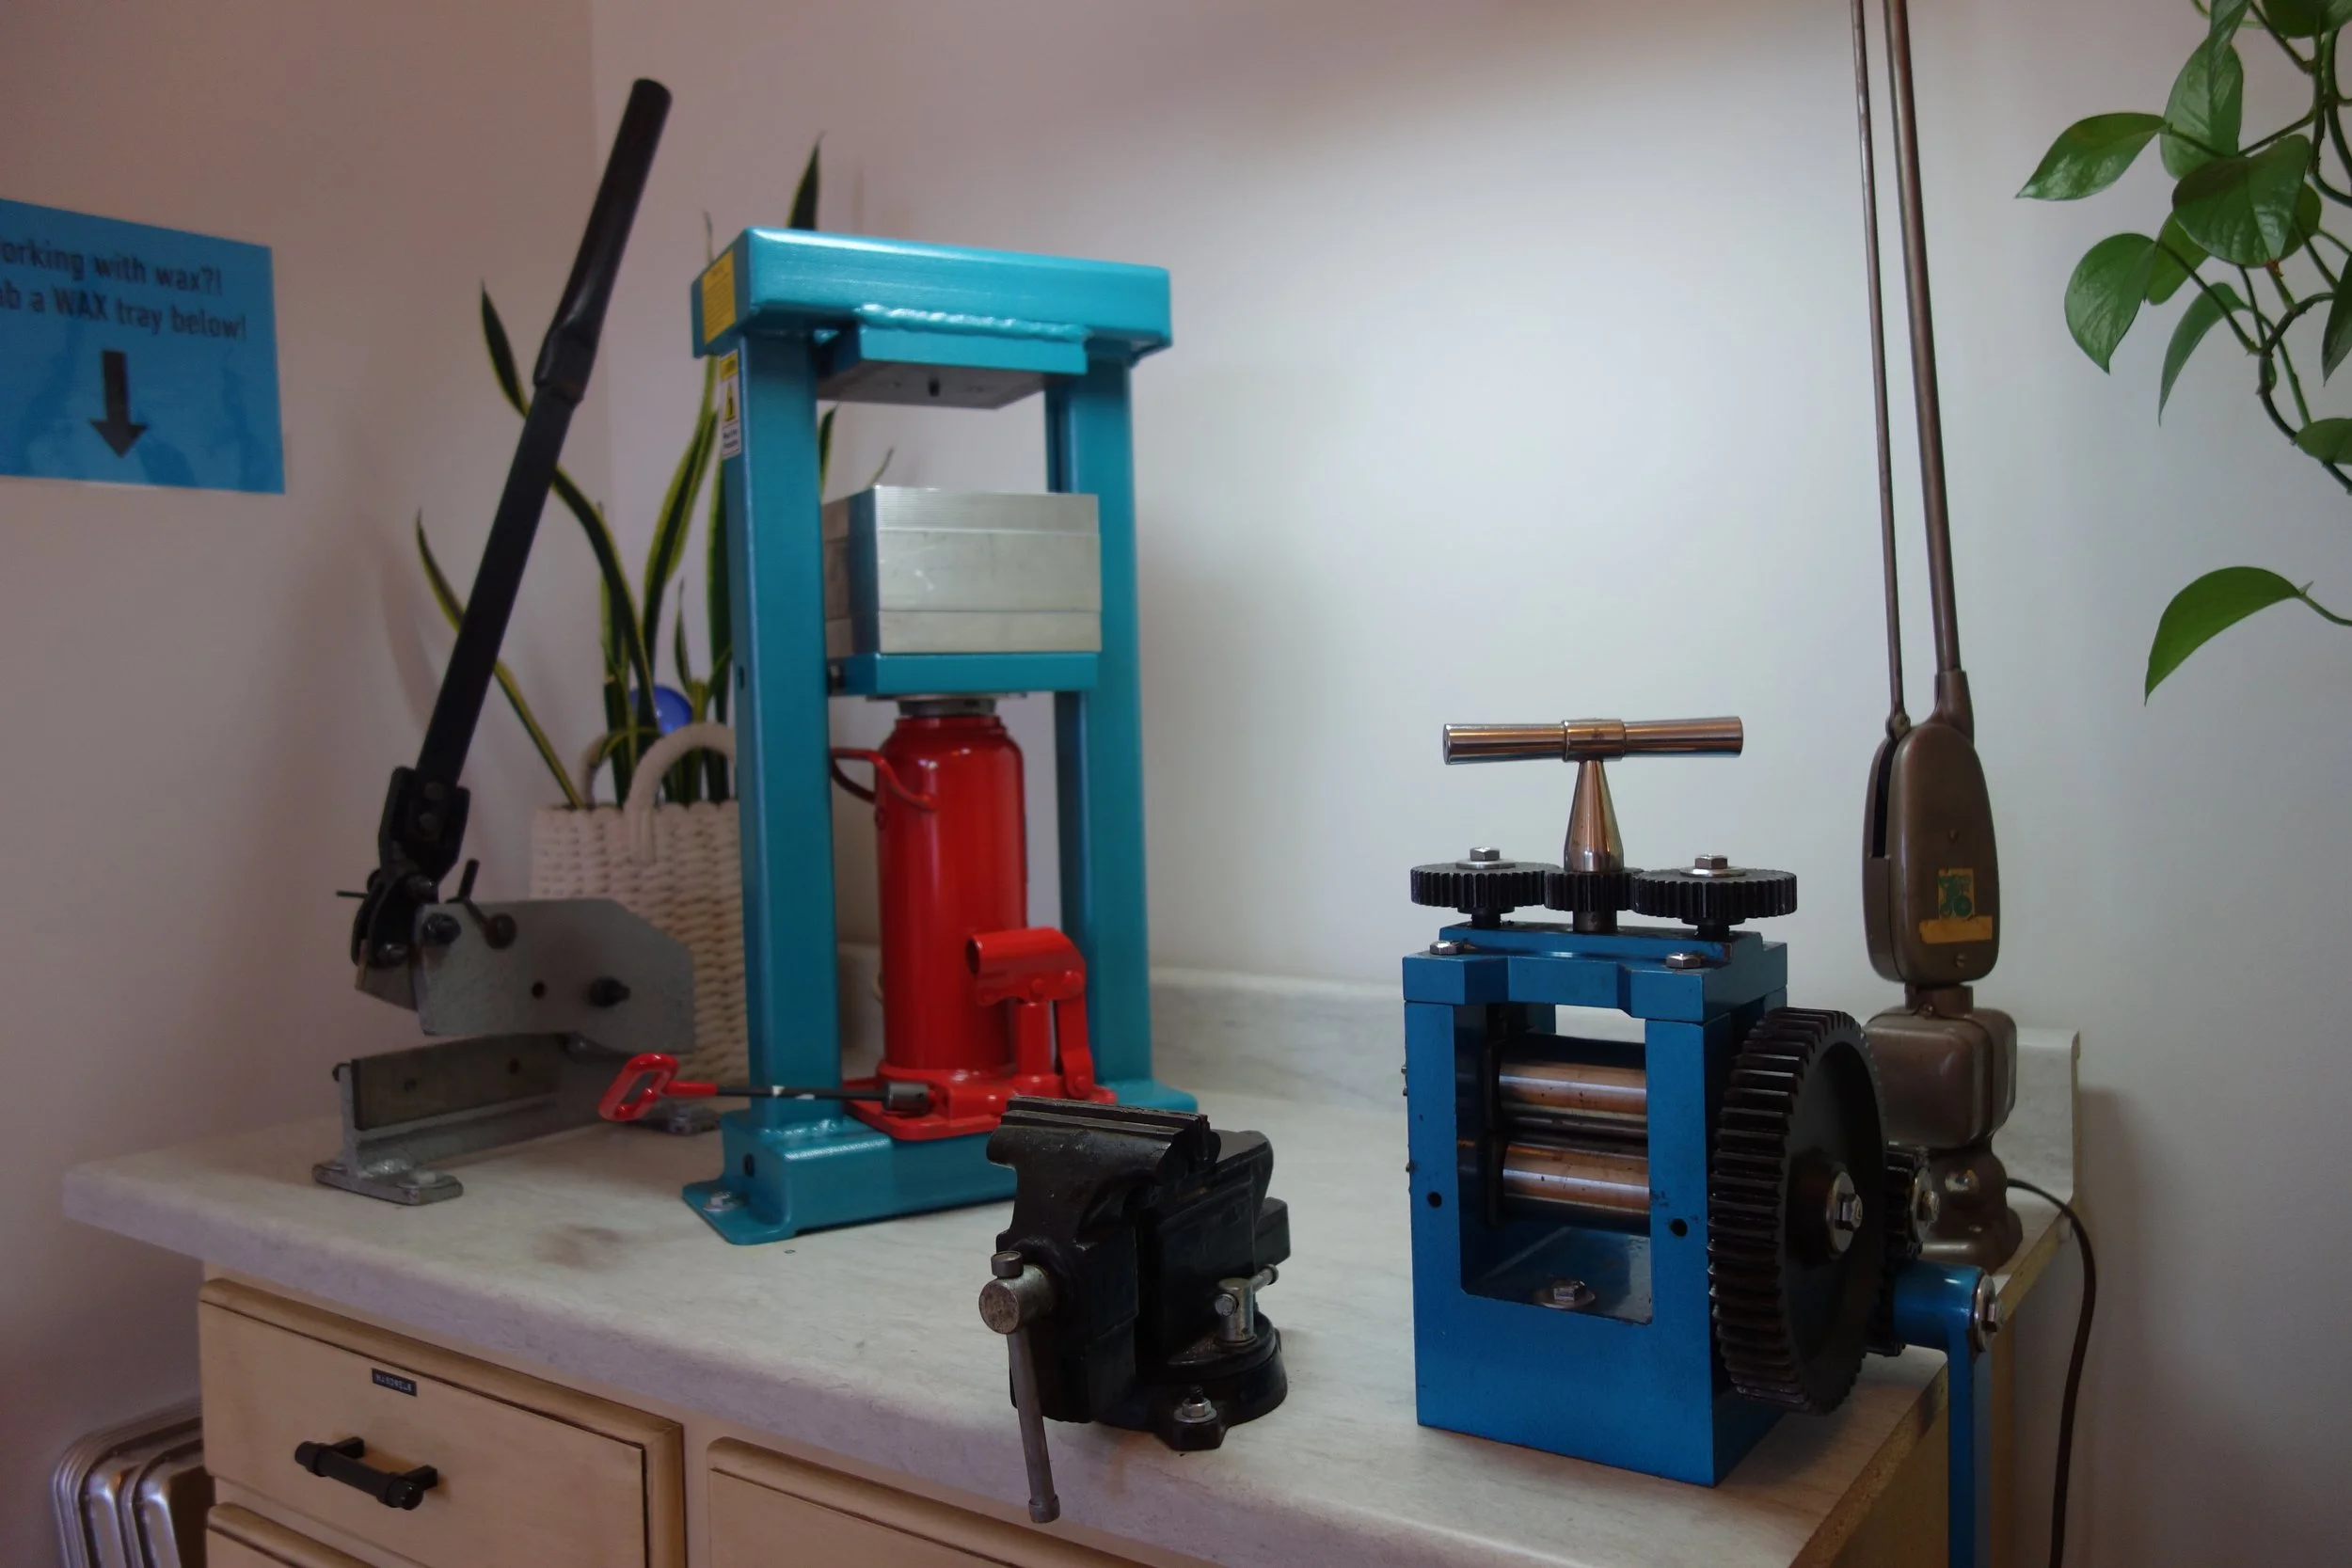
We’re very lucky to have a TWO rolling mills in our shared studio, one for sheet and one for wire. Please keep all materials clean and dry when using this tool.
Never used one before? Book a 30 minute lesson for some help.
-
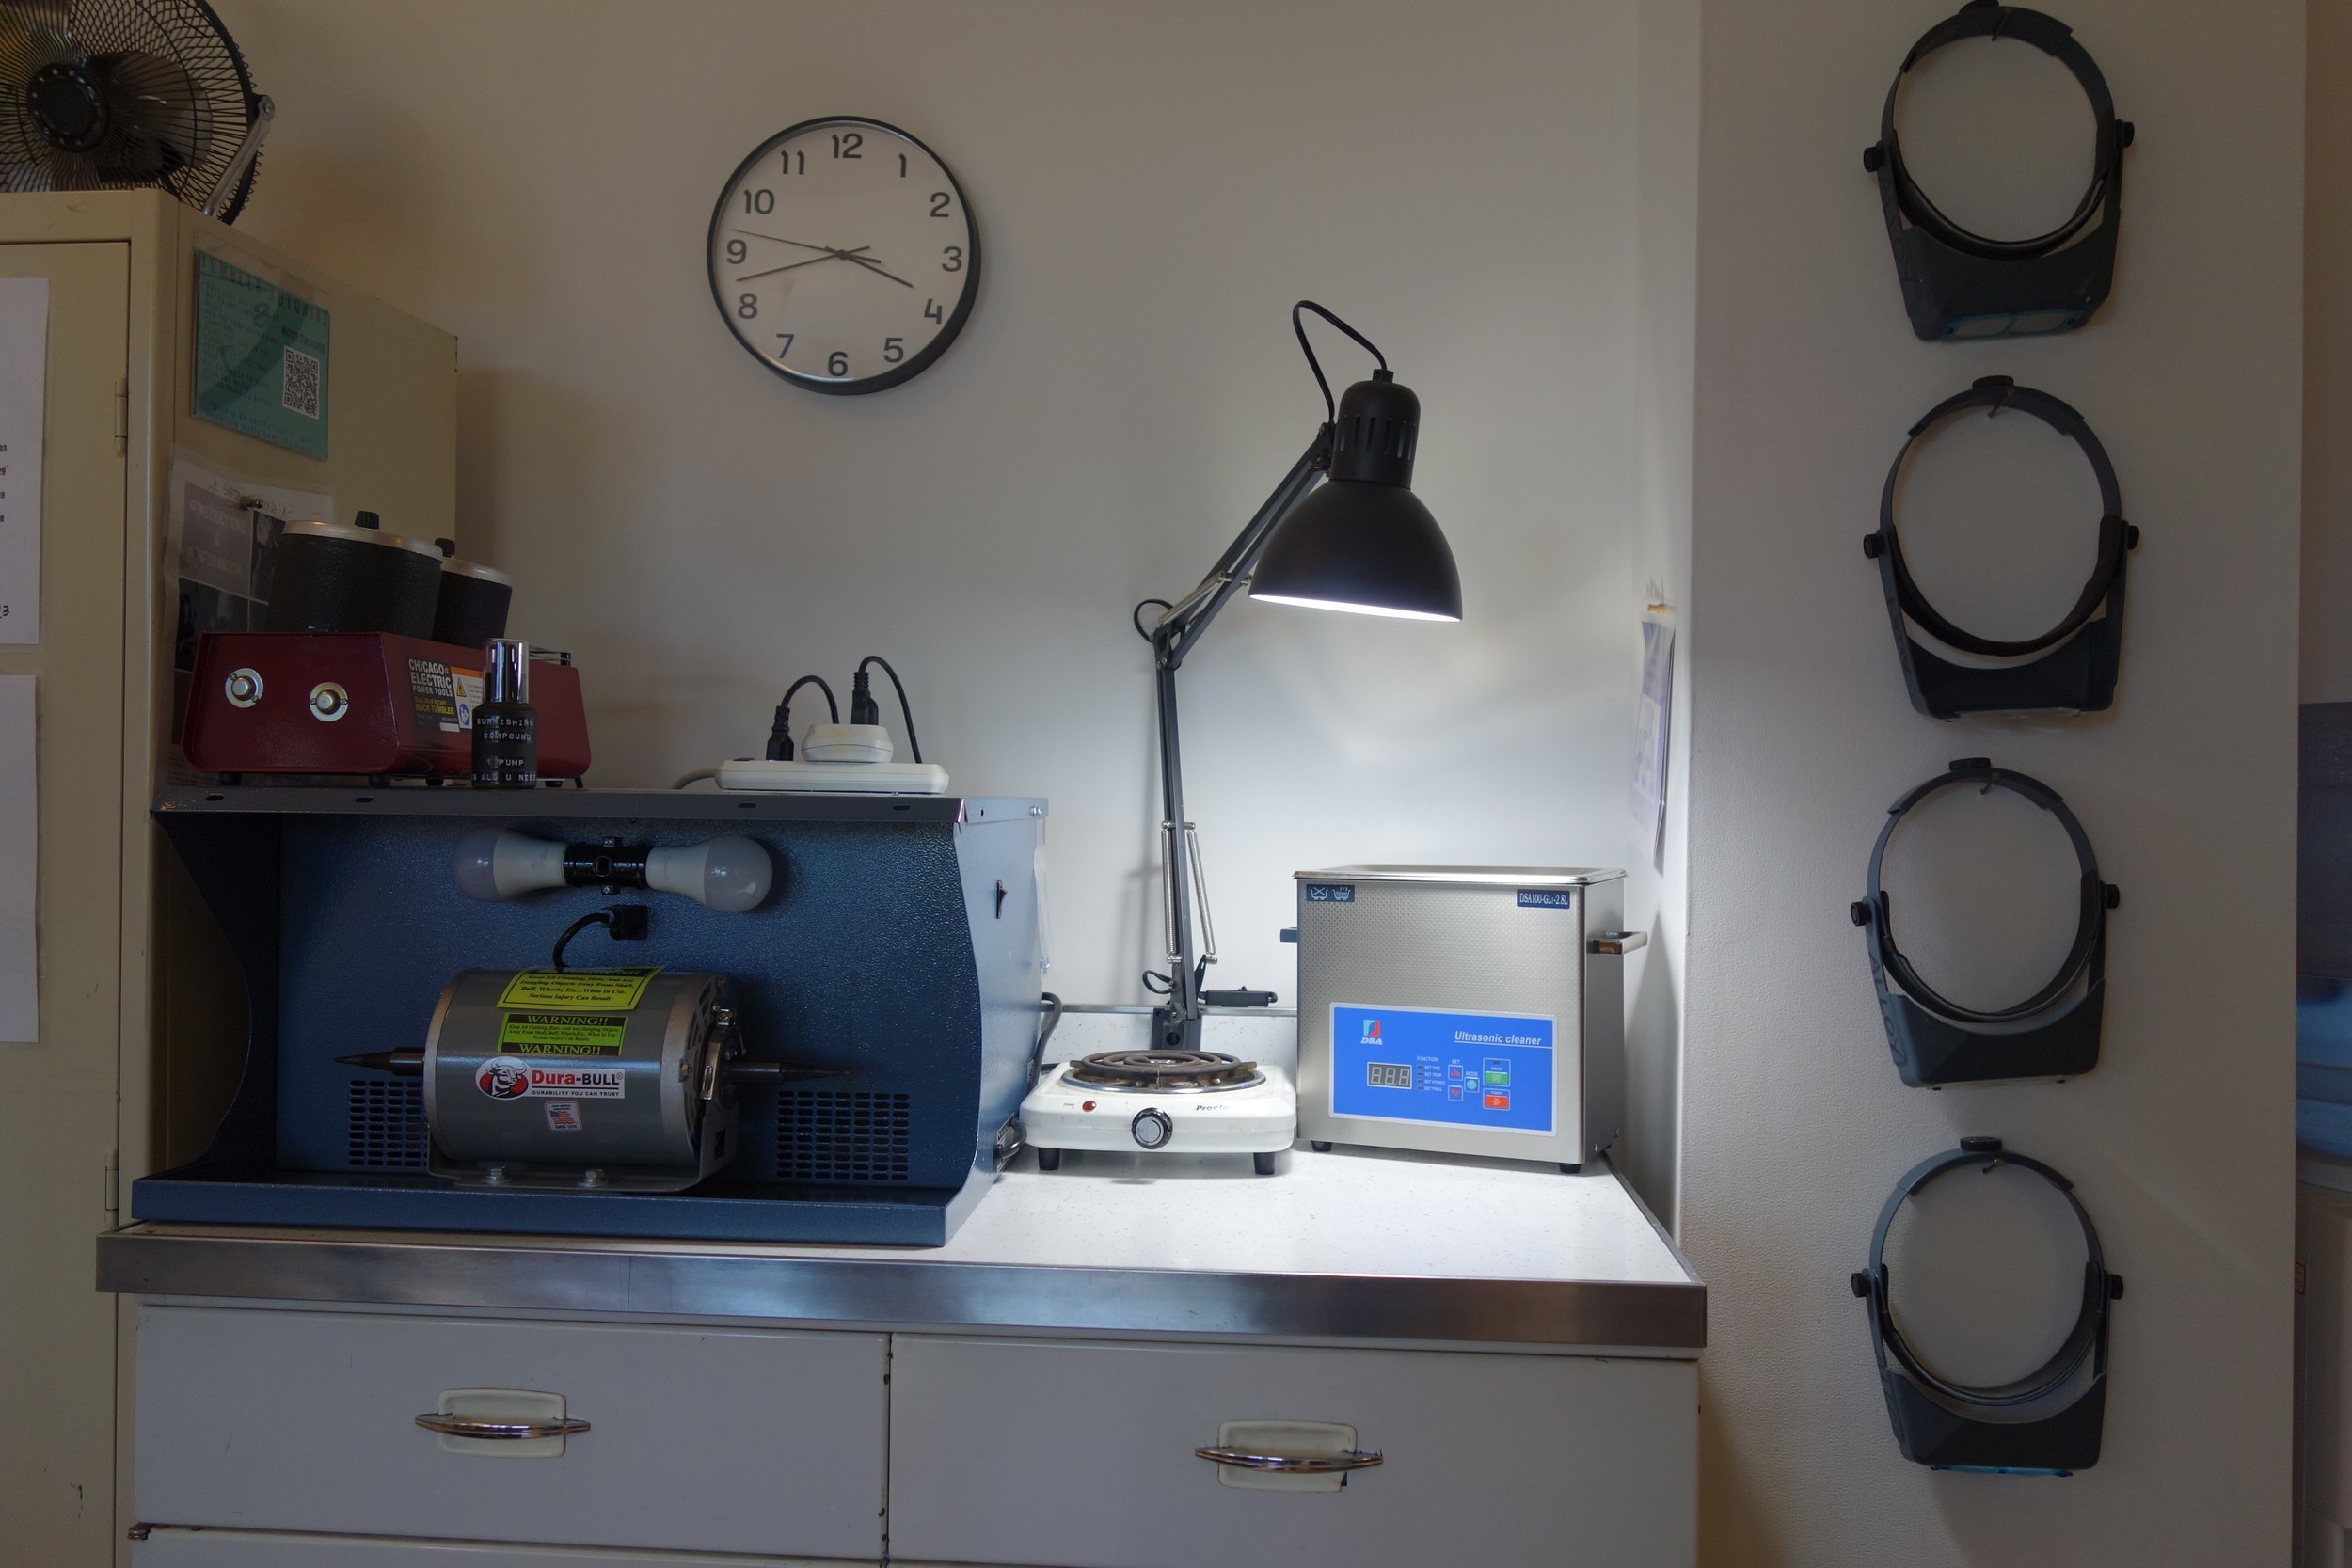
surrounding area when you’re finished using it.
Need buffs? Check out our polishing kit » https://www.alloymetalsmithing.com/the-store/p/polishing-kit If you’re not comfortable using this feel free to book a member 30 minute lesson to learn more.
-
Bonny Doon 20 Ton Manual Press. Use this awesome tool with impression dies, sillouette dies, pancakes, and more. There is a manual in the drawer below the tool.
Be careful and make sure you know how to properly use this tool! Book a 1 hour lesson to learn more.
-
The shared studio has a double barrel tumbler available for you to use. Find it on top of the polishing lathe. Add water to the barrel until it’s about an inch above the media inside, then add 1 pump of polishing compound from the container in the shared tool cabinet, seal barrel well and plug it in, setting the attached timer to your preferred length of time.
Tutorial + More Info » https://www.youtube.com/watch?v=PgBeAPQl1u8&t=9s
-
Making your own wire? Try using the draw bench to take that square milled stock to round! Make sure you’re annealing often and using the oil near by.
-
Quickly size rings up OR down! Be careful!!! This method is best used for simple bands. Not recommended for most rings with stones (unless the stone isn’t interacting with the band).
-
BYOBelts! Purchase from our store here » https://www.alloymetalsmithing.com/the-store/p/sanding-belts
Tutorial on belt assembly + use » https://www.youtube.com/watch?v=cjuHIvjqK84
-
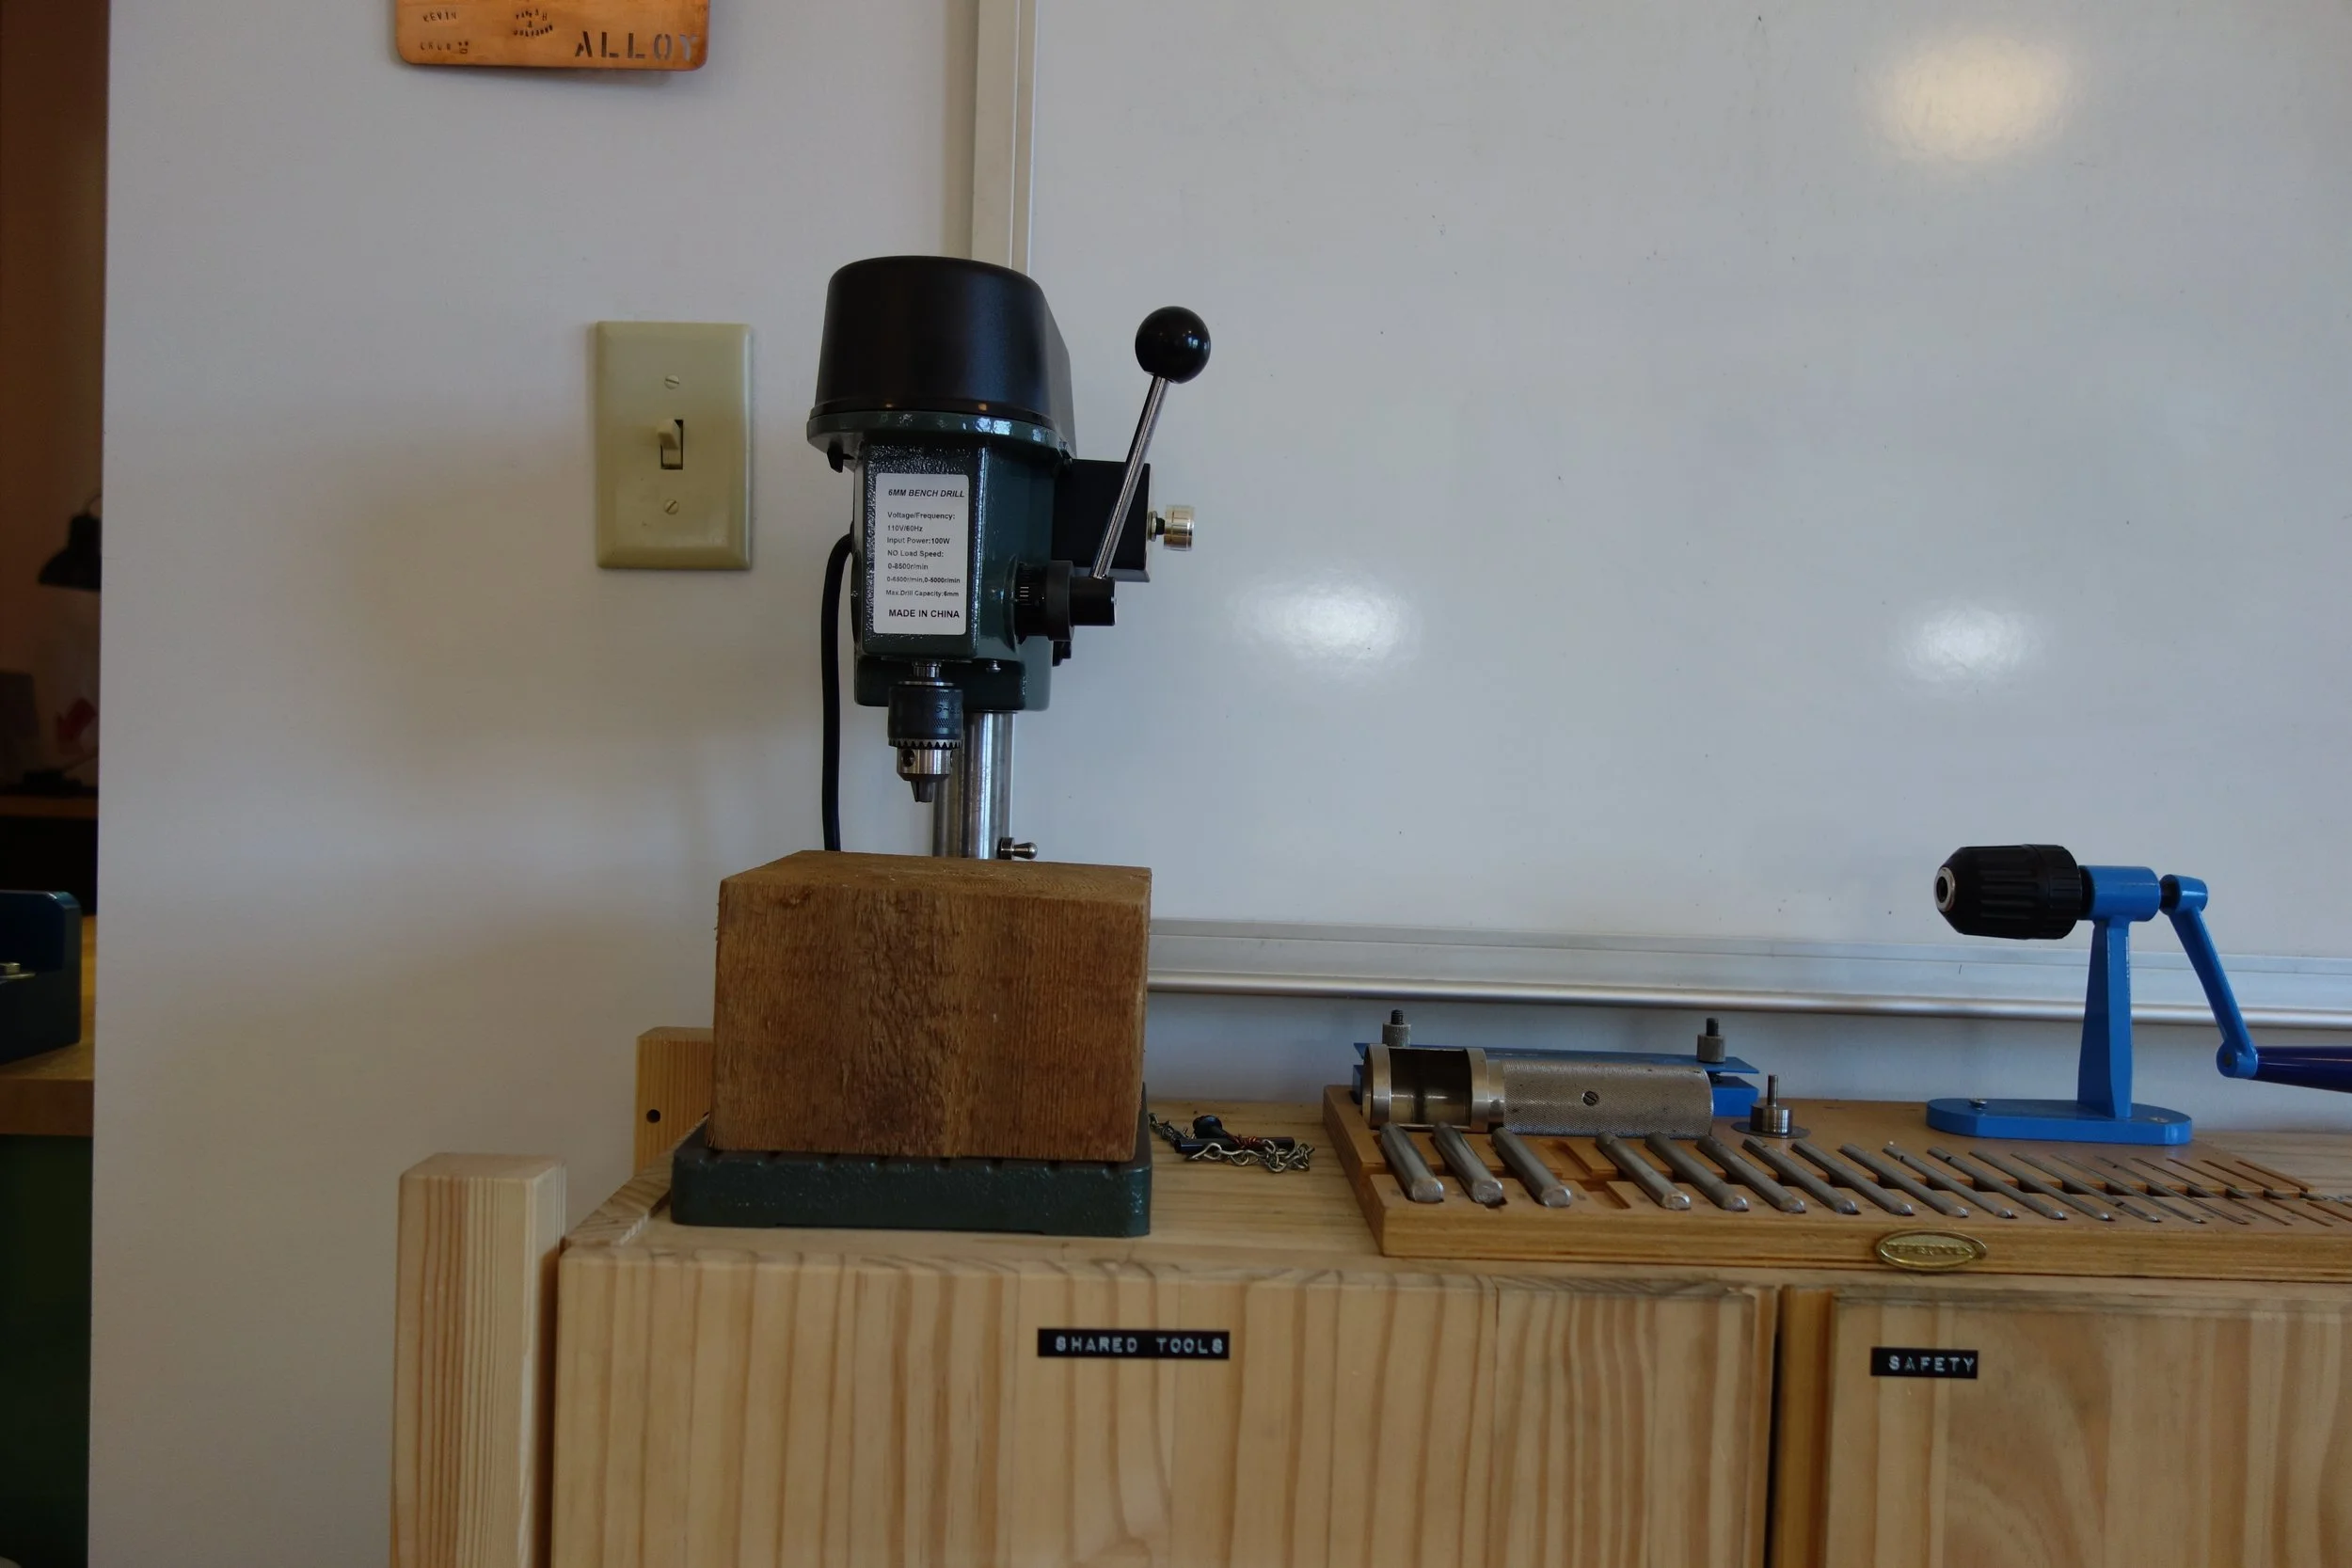
BYOBits! Assorted drill bit are available in the store » https://www.alloymetalsmithing.com/the-store/p/drill-bits-variety-pack
Use the wood block to support your work and remember to use a center punch to make a landing zone for your drill bit.
Casting equipment — limited use
We’re very lucky to have access to casting equipment at ALLOY, but at this time the kiln, casting torch, furnace, and vaccuum table can NOT be used unsupervised. Read the blog post below to see how members have utilized Foundry Fridays!
-
If you’ve taken our Beginning Casting class you’re qualified to join Foundry Fridays and cast with supervision once a month!
Learned casting outside of Alloy? Take our Investment Orientation to have access to Foundry Fridays.
-
Working with wax in the studio? Place a wax tray (found next to the shear) on top of the metal bench tray at your bench. Making a mess? Please clean up your debris.
-
There is a wax pen in storage shelf to the left of the soldering station. Please use in tandem with the fume extractor!
-
Feel free to use Alloy’s molds or bring your own. The wax injector heats up by turning the dial on the left side of the machine. Set it to about 6 and look for a temp of 165-170. Increase pressure using the hand pump. Release the pressure by turning the small brass knob near the pressure gauge.