
So you want to make an engagement ring?
You’ve been asking, so we’ve been brainstorming how to help.
Creating an engagement ring (or something similar) is a huge undertaking. With today’s DIY culture, many people come to us wanting to make an already meaningful piece even more special by creating it themselves. Sound familiar?
In this blog post:
We’ll help you get clear on what to think about in regard to design.
Explain the 4 most common production and fabrication techniques used to create a ring.
Provide 3 possible paths YOU can take to bring your ring it to fruition: Options 1 & 2 offer realistic routes that are very likely to result in a beautiful ring you’ll be proud to propose with. Option 3 is slower, more expensive, and comes with more risk—but if you’re set on it, we’re here to support you.

First things first - get clear on design
Design can be challenging, especially if you’re starting as a total beginner with jewelry. We can help you with the design, but its good for you to already have put some thought into it. Below is a helpful list of questions that can get you started.
How far along in the Design process are you? Do you have a sketch? Inspiration photos? Did you create a CAD design?
What type of stone(s) do you wish to use? Diamond, Sapphire, Ruby? Read our >> blog post about the MOHS scale to weigh your best options for gemstones that last a lifetime and are appropriate for heirloom quality jewelry.
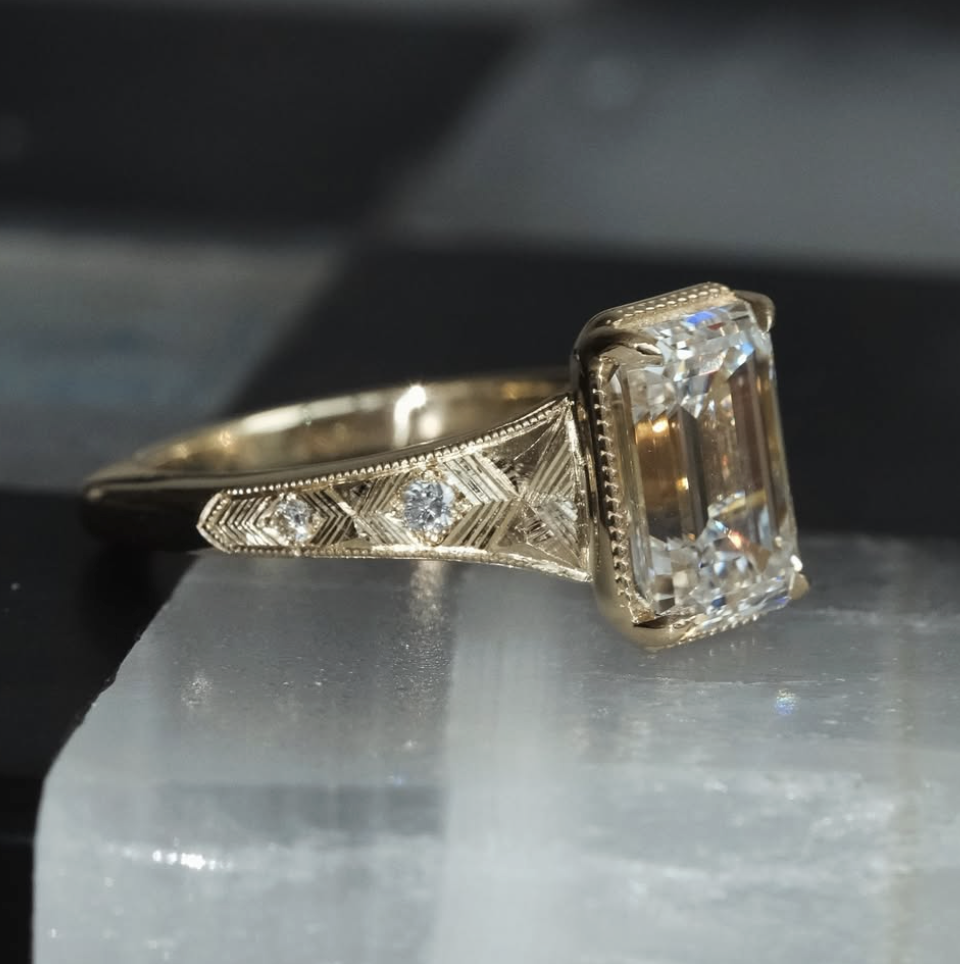
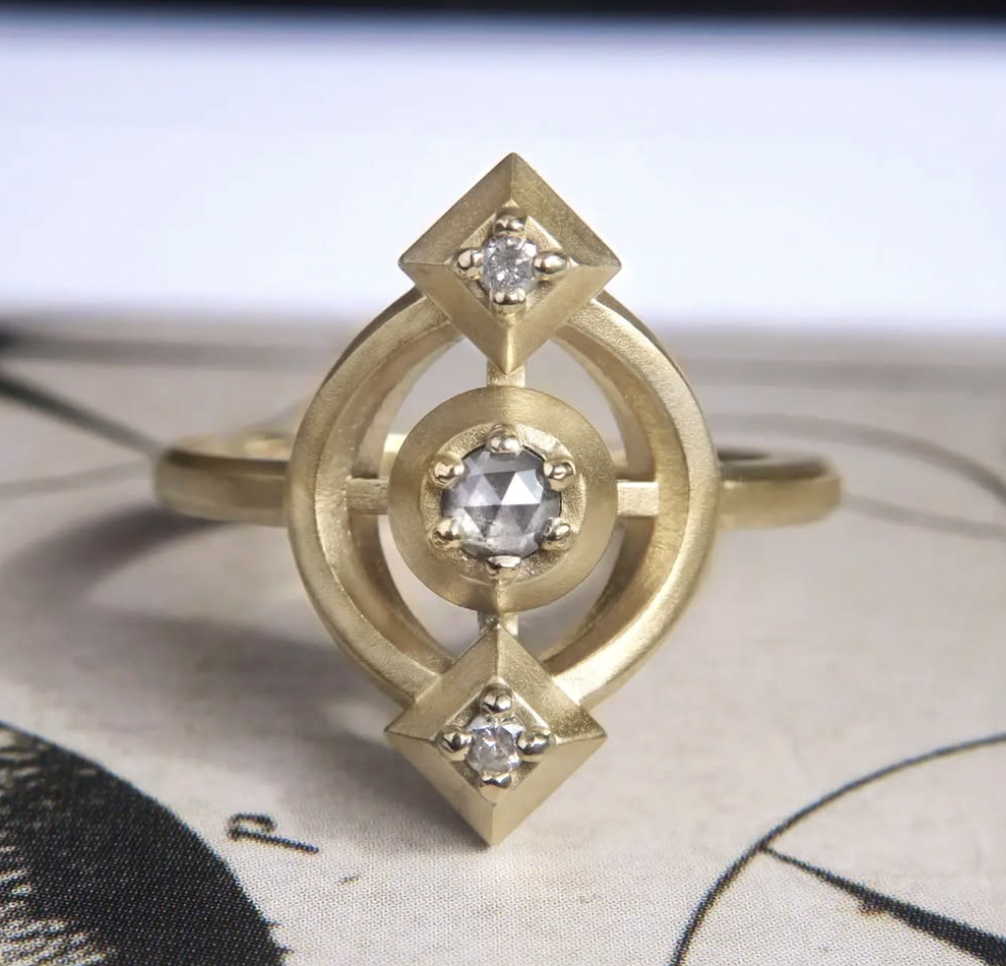
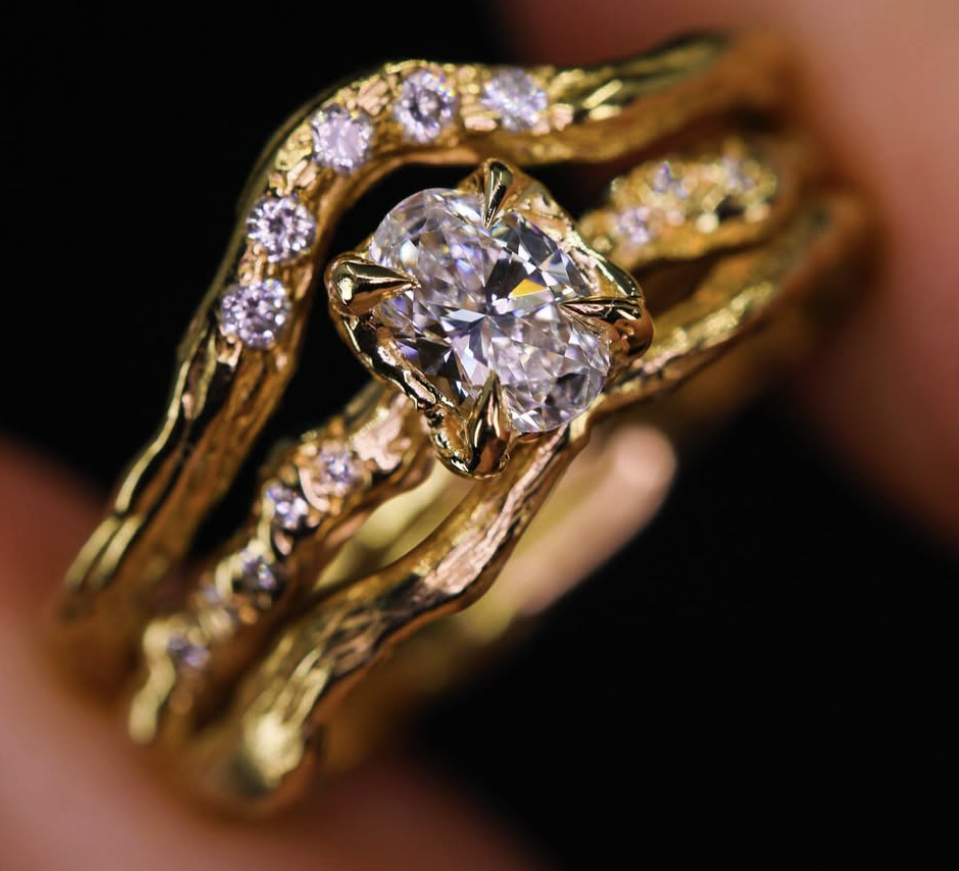
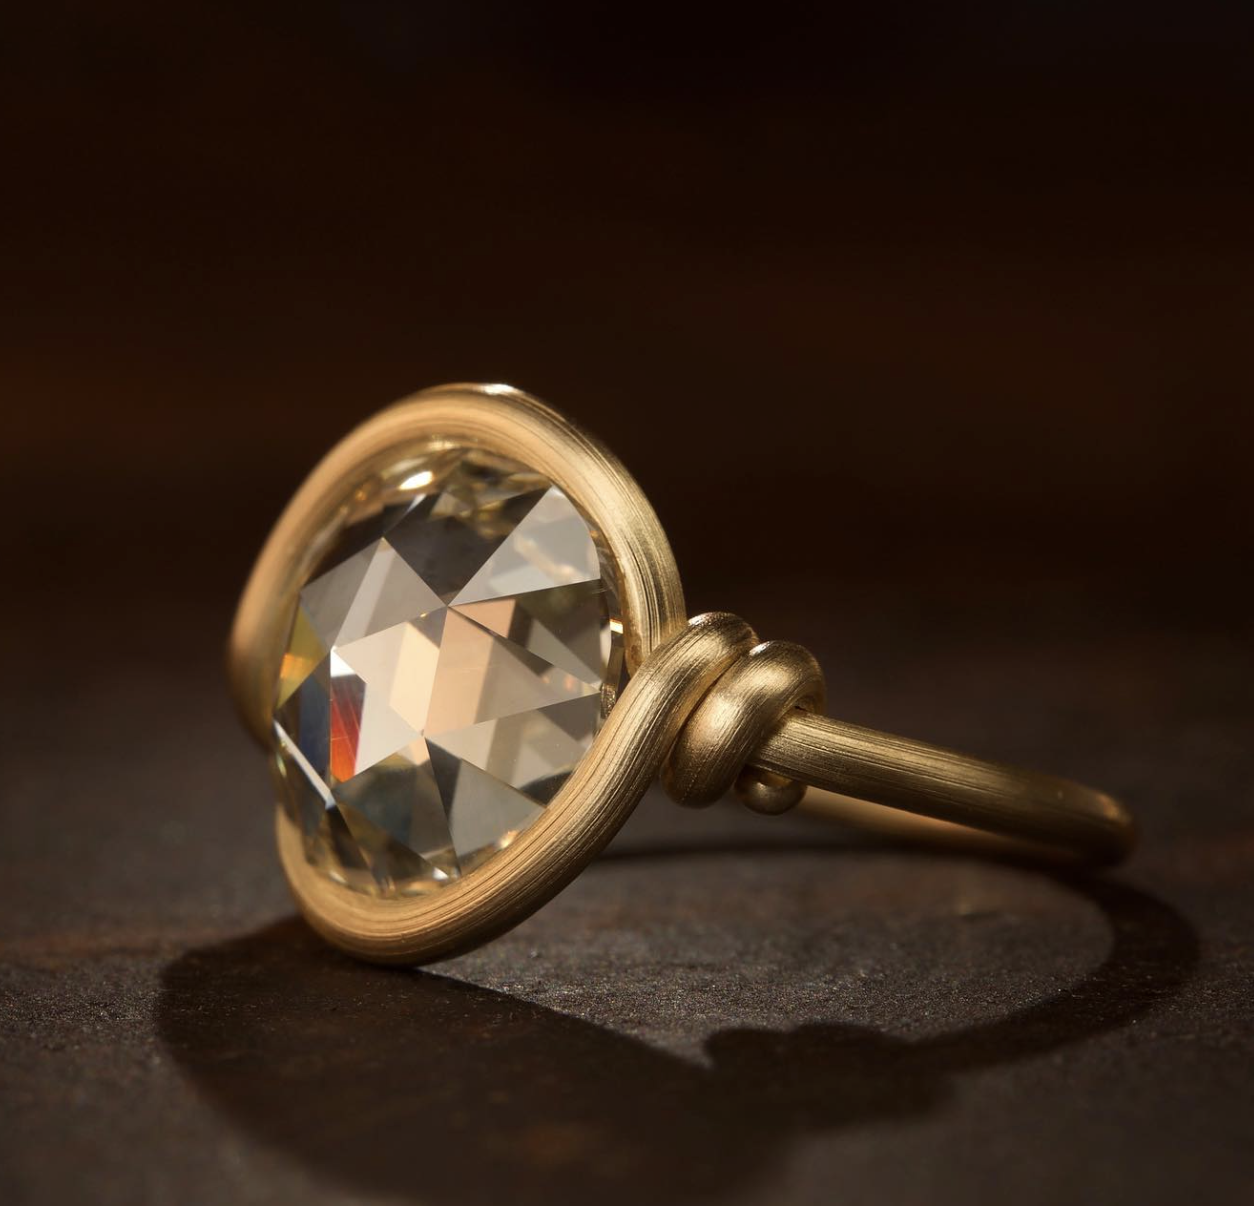
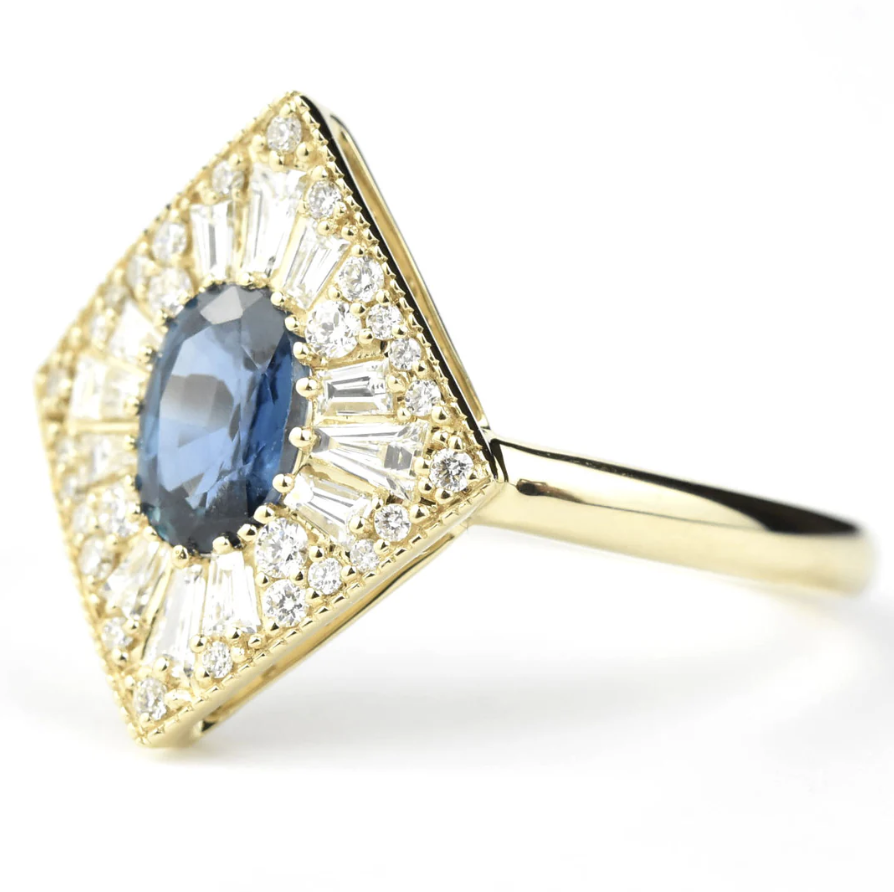
What cut is the stone? Faceted, Rose Cut, Cabochon? Most traditionally used are faceted stones, but they’re also the hardest to set. Cabs & Rose cuts are more approachable with less practice, but are also less sparkly.
What shape & size is the center stone? Is it an irregular/not standard shape? Geometric? Read this >> blog post highlighting the top 10 “standard” shapes for engagement (according to Stuller, one of the biggest jewelry manufacturer’s in the country)
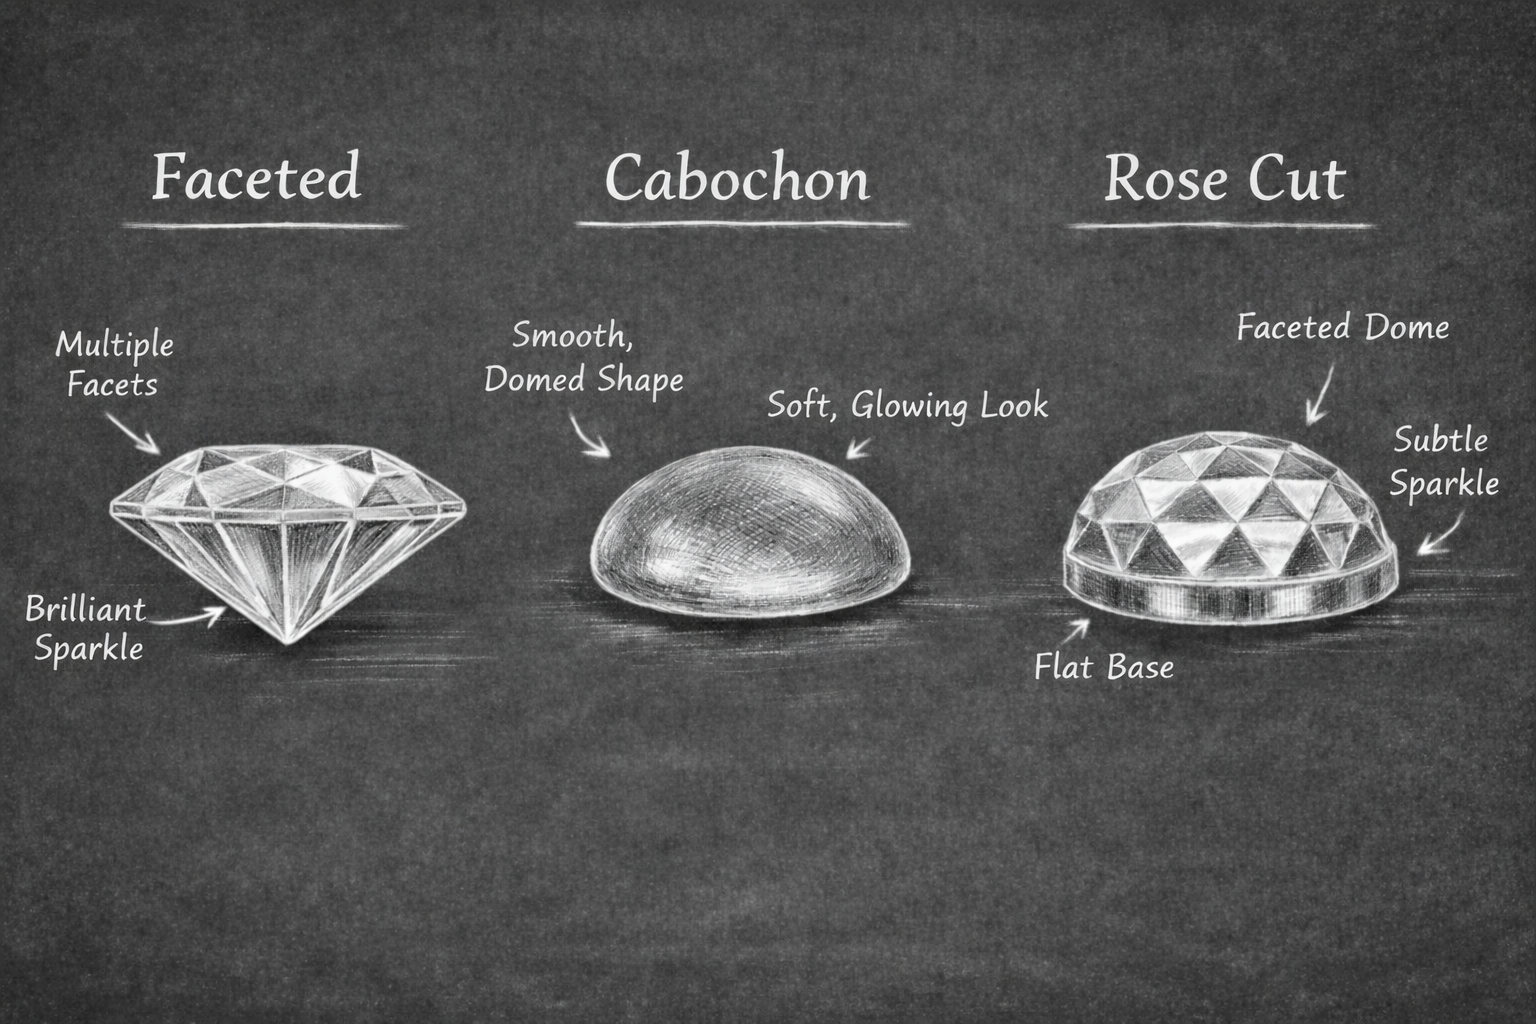
Comparing the different types of stone cutting options specific to jewelry.
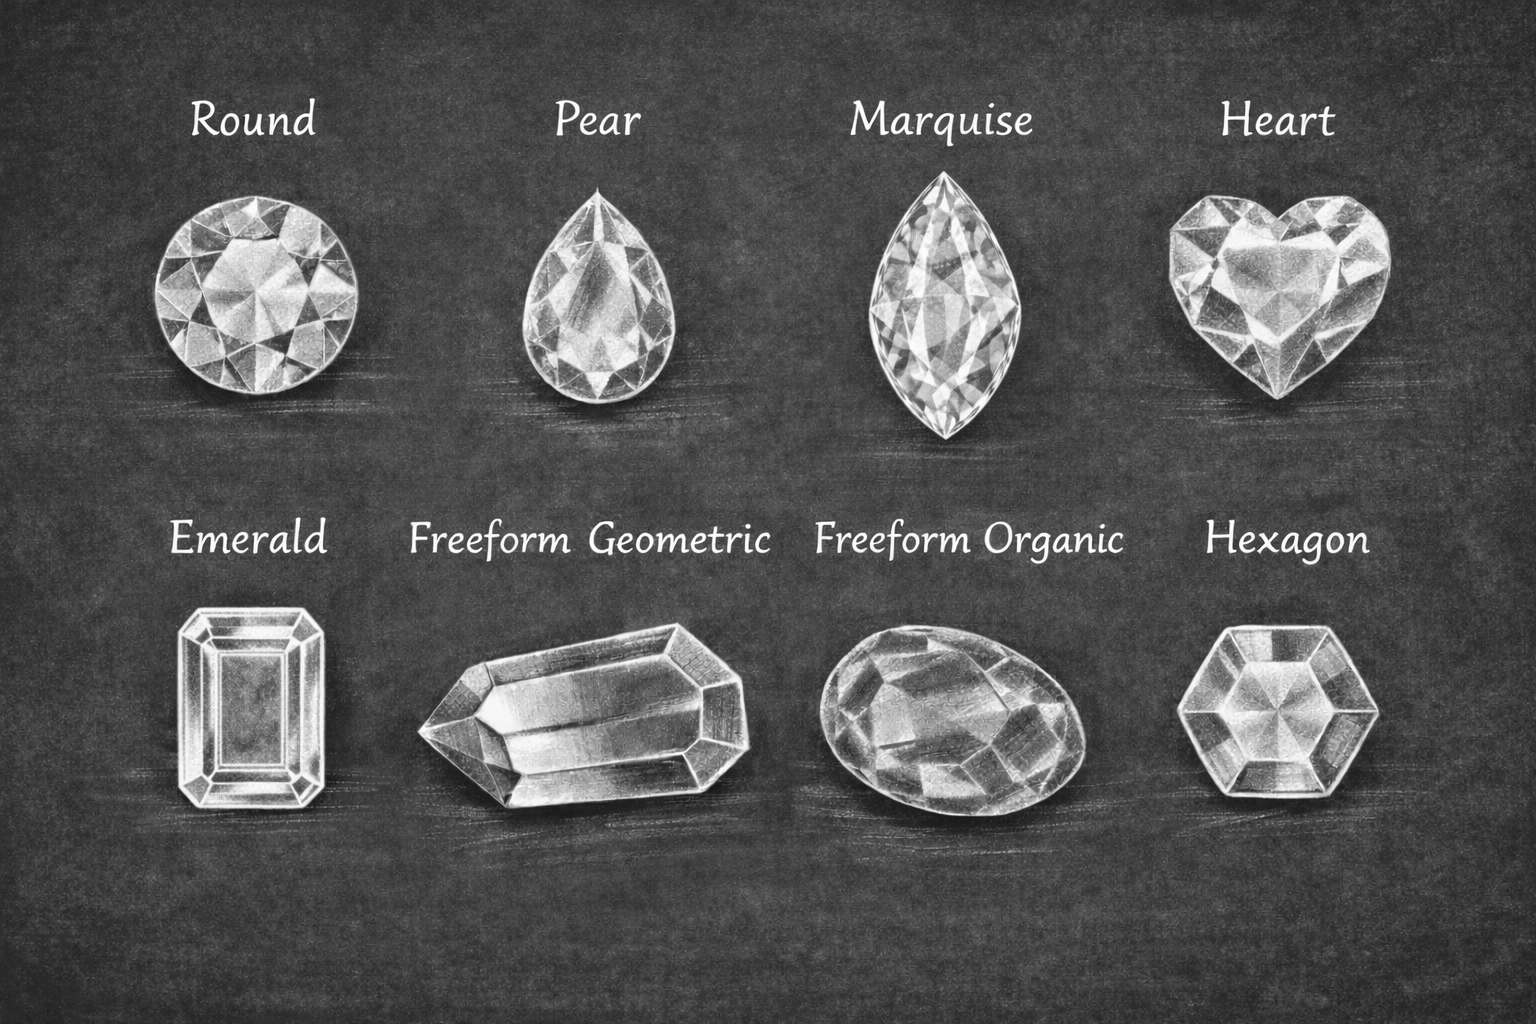
Comparing stone shapes.
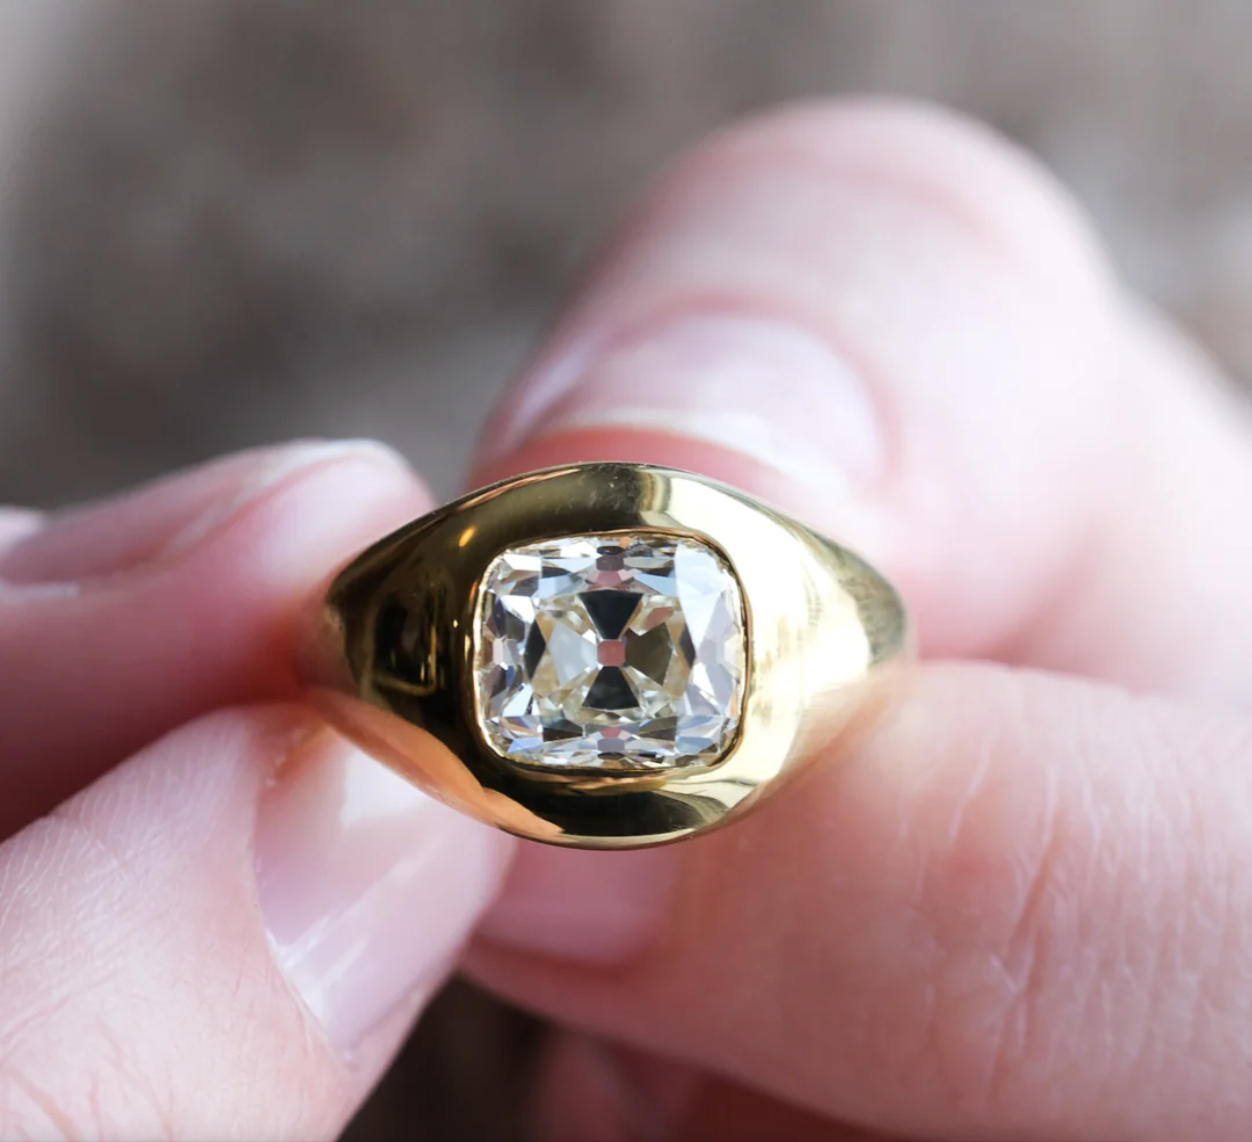
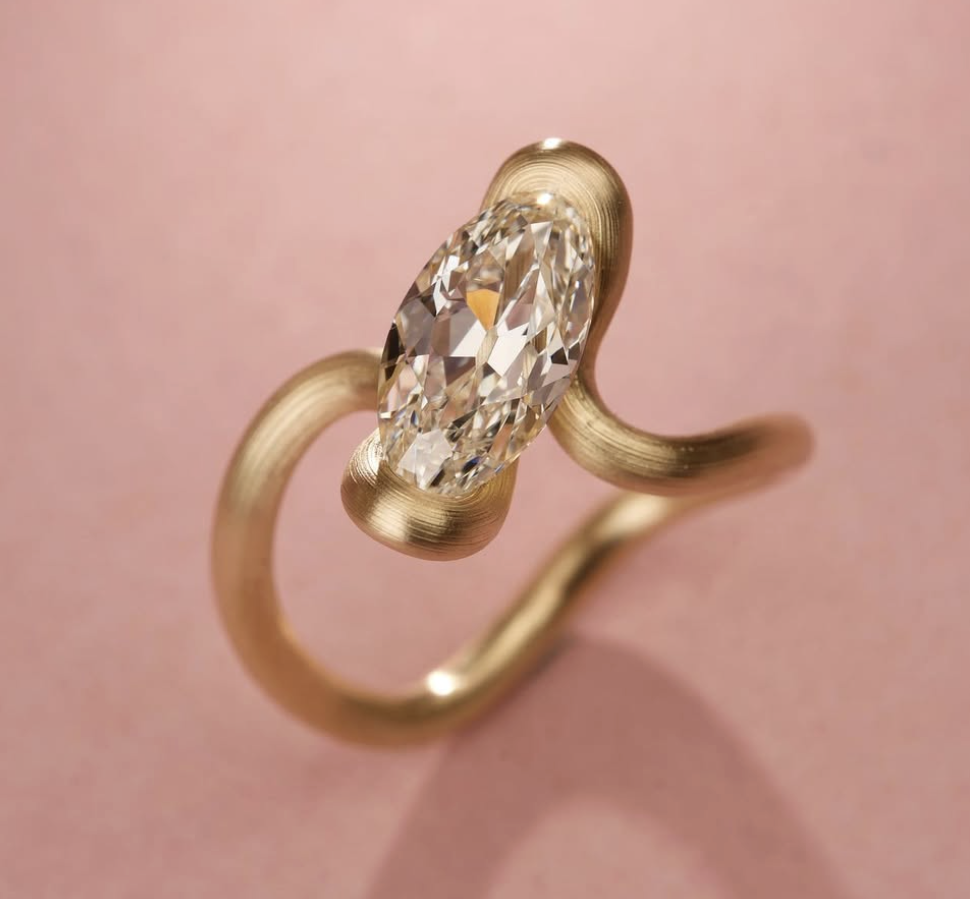
What type of setting will hold the center stone? Prongs, Bezel, Tension Setting?
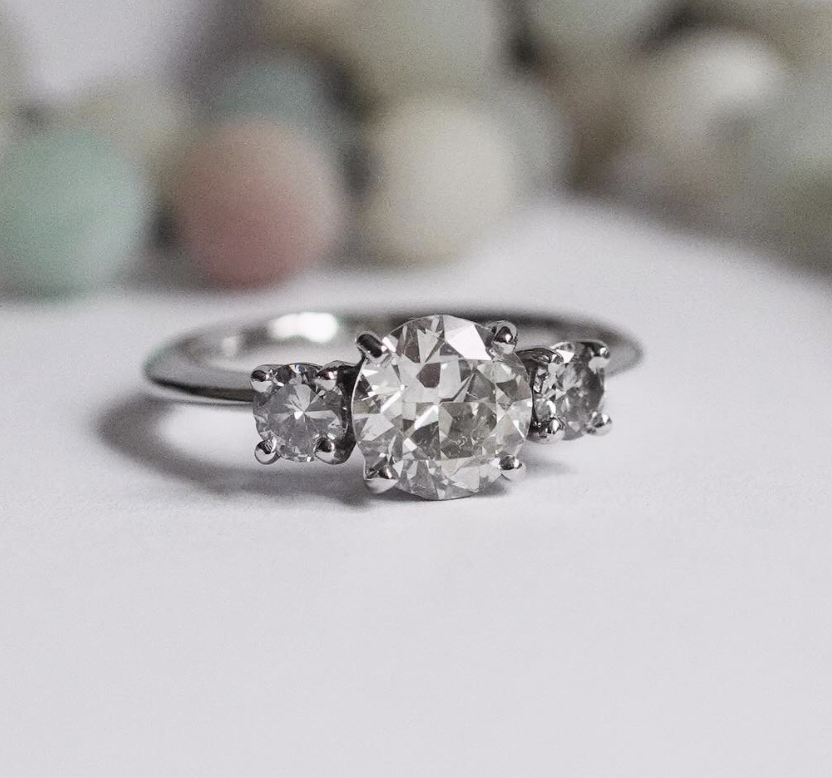
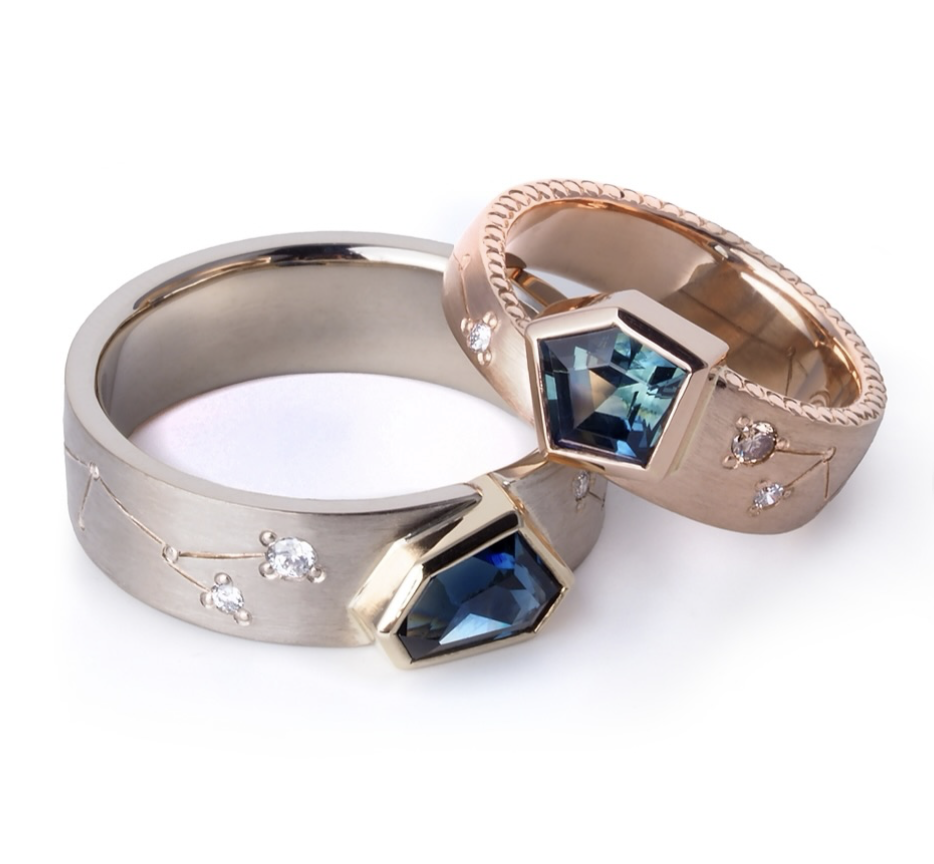
If you’d like to incorporate accented stones, how many? How big will they be? What type of setting? Prongs, Flush, Channel?
What metal(s) do you want to work with? Is the ring made from 1 metal or multiple, i.e. the setting is white, ring is gold.
Do any of those questions feel confusing?
Don’t worry we can help explain the terms, technicalities, and suggest design elements that fit your partner’s needs and preferences. Book a DIY custom project consultation to get started, and we’ll guide you through the process.
Once your design is clear, decide which techniques are needed.
Below are some of the most common approaches to bringing a design to life.
Assemble
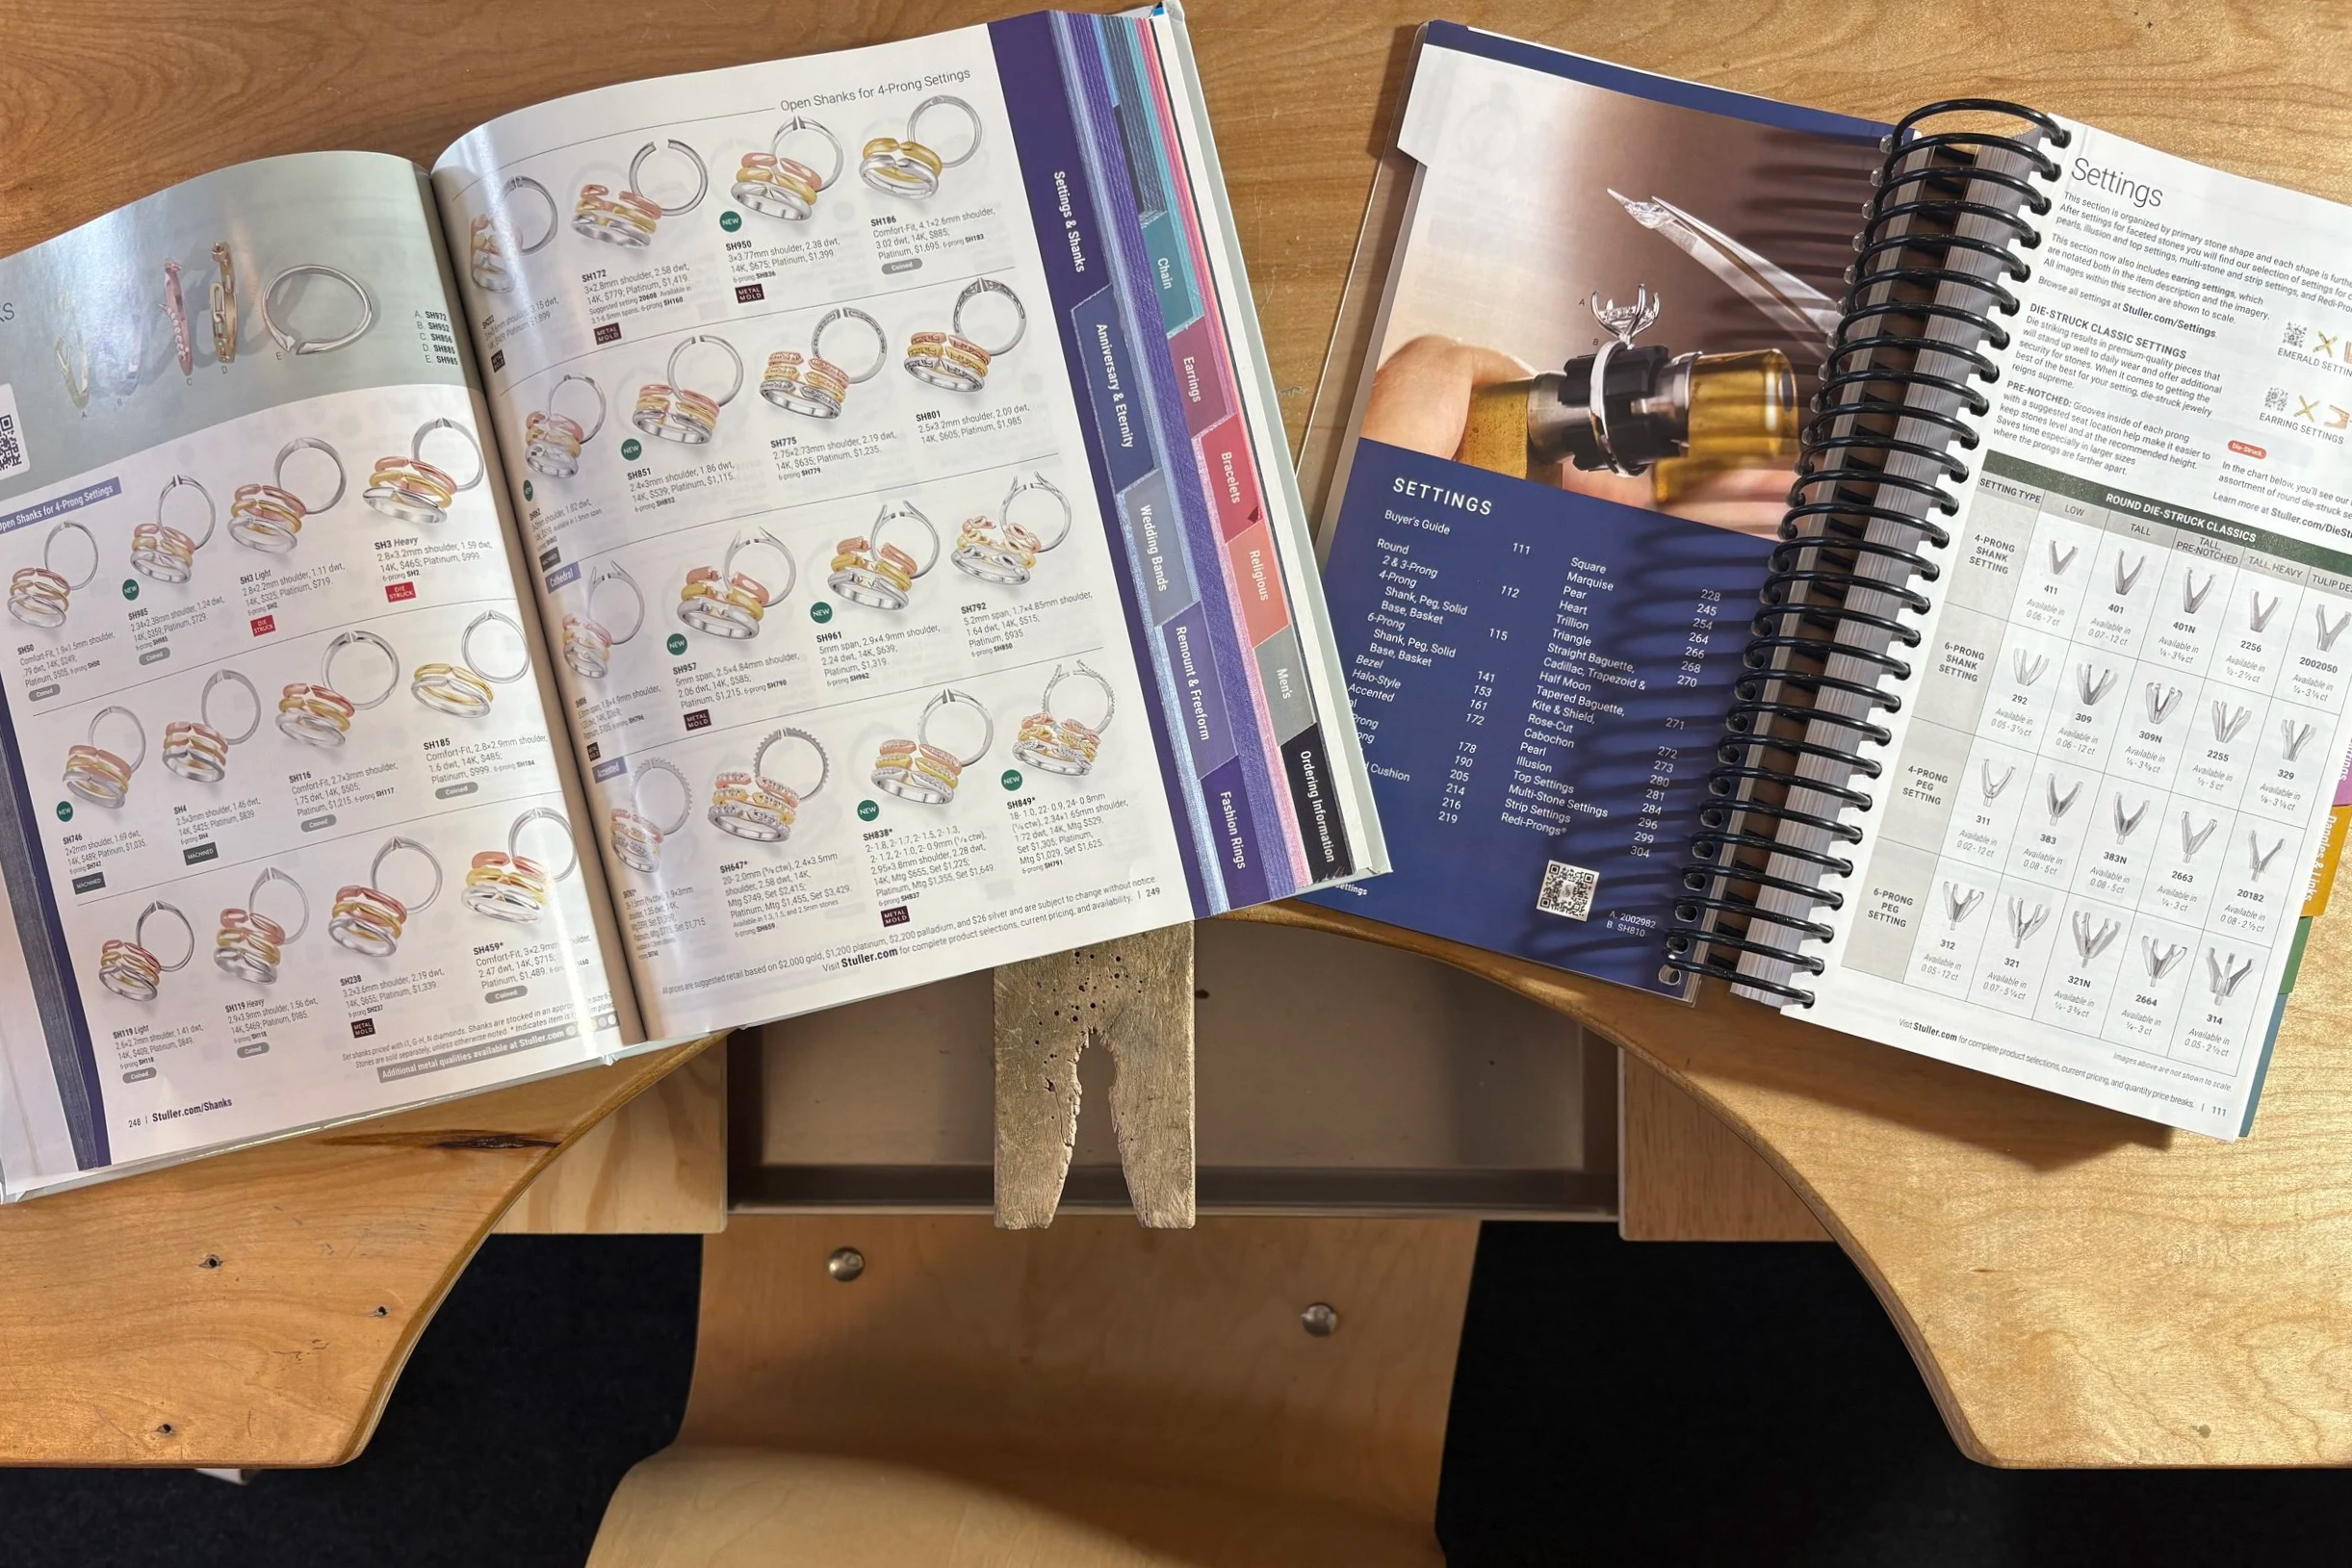
Select parts from a wholesale manufacturer like Stuller, RIO, or Quality Gold. Then solder the parts together, set the stone(s), and polish! Note: If you’re not a jeweler you won’t be access to these manufacturer’s, BUT we will help you pick the right pieces and acquire materials.
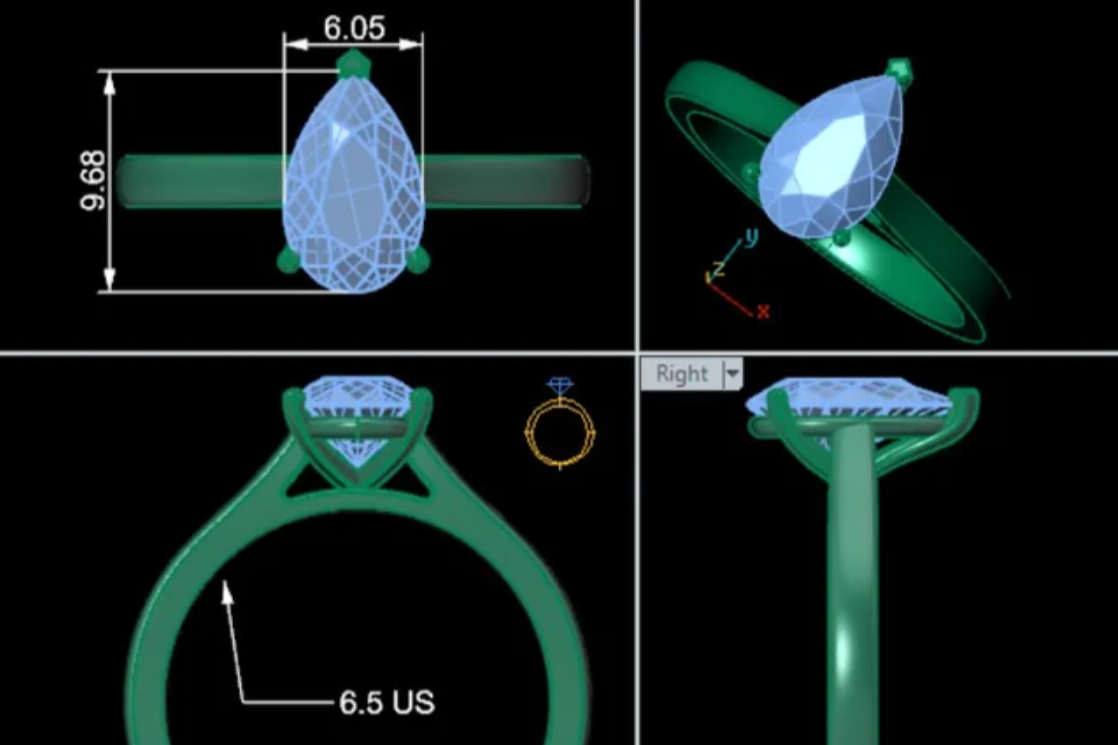
CAD + Cast
Create a CAD model using Rhino, Matrix, or some other modeling program to create a printed wax model that can be cast. Create a mold, pour the hot metal, finish the piece and set the stone(s)!
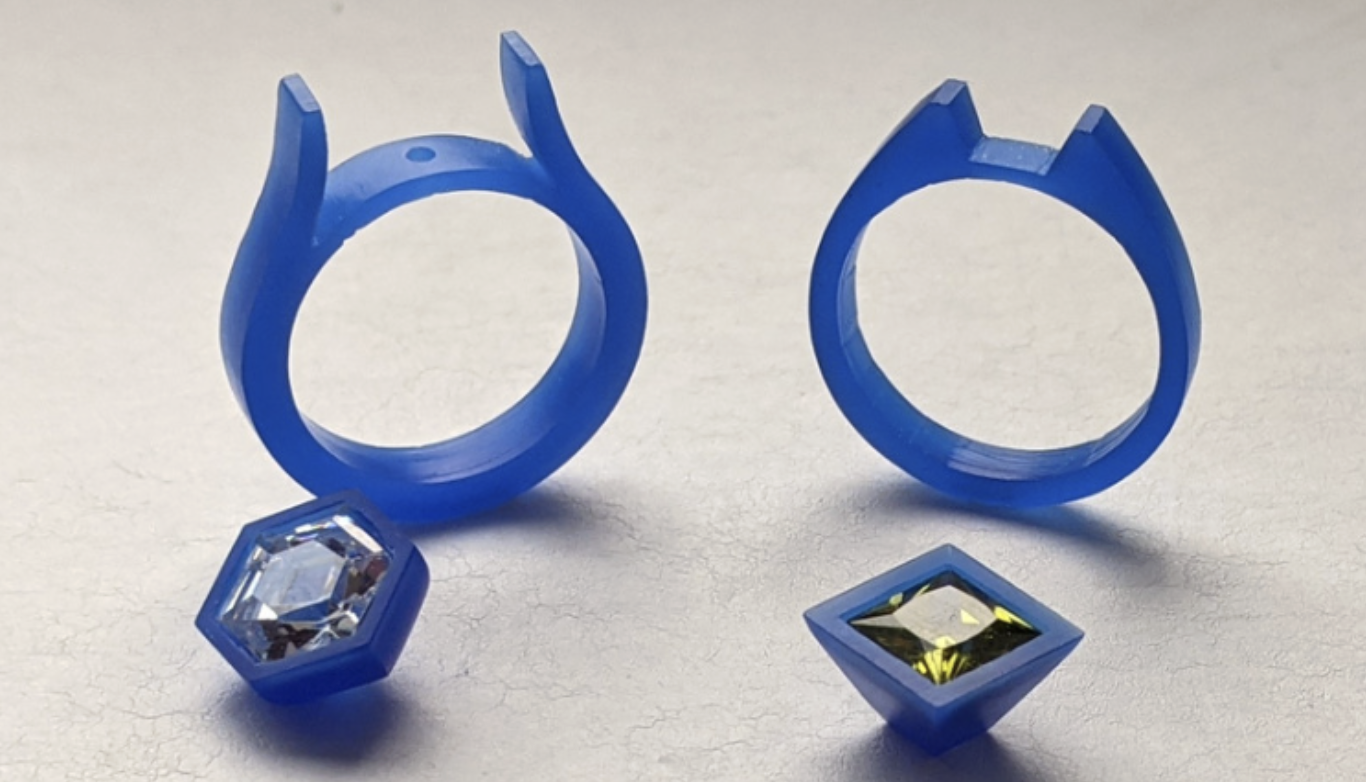
WAX + Cast
Carve/Build a wax by hand! Like the CAD + Cast method above, a mold will be created from the wax, hot molten metal will be poured, and the ring be finished and stone(s) set!
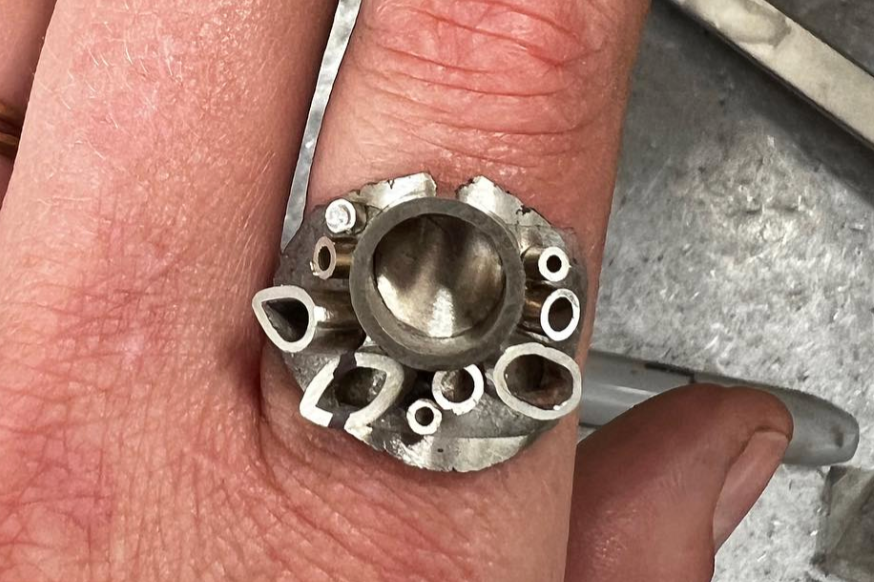
Hand fabrication
Create the setting(s) & ring band using wire, stock, sheet from scratch. Assemble the parts to create a whole ring. Finish the piece and set the stone(s)!
Again, don’t worry we can help explain the terms, technicalities, and suggest what techniques might make the most sense for your particular ring and design. Book a DIY custom project consultation to get started, and we’ll guide you through the process.
NOW IT’S TIME TO MAKE IT!
Option 1: DIY engagement ring workshop! (Coming soon)
For this option YOU will use a combination of assembly & fabrication. We will have thought through many of the techniques and options to tailor this experience specifically to folks with no previous experience and who are not interested in pursuing metalsmithing beyond the creation of this ring.
Step 1: Book a DIY custom project consultation, in person, to select your design from our samples. During the consultation, you’ll be able to make decisions and select your preference from the following:
Stone — Round or oval solitaire only (one center stone). Choose from timeless, brilliant, and durable options: natural diamond, lab-grown diamond, sapphire, or moissanite.
Setting - Choose between prong, half bezel, or full bezel to hold the stone in place.
Ring Band - Pick your metal, ring width, thickness and shape to pair with the setting.
Step 2: We’ll send you an estimate of your materials and details on how the process will work.
Step 3: Make your final selections. We’ll get your materials ordered. You’ll make 1/2 of the total payment.
Step 4: Pick a date to come in to make the ring with an expert by your side from start to finish. We’ll take photos & videos of the whole process to share with your love after the proposal. You’ll leave that day with your ring in hand.
*Want to make a ring with no stones? Check out our DIY Wedding Band Workshop!
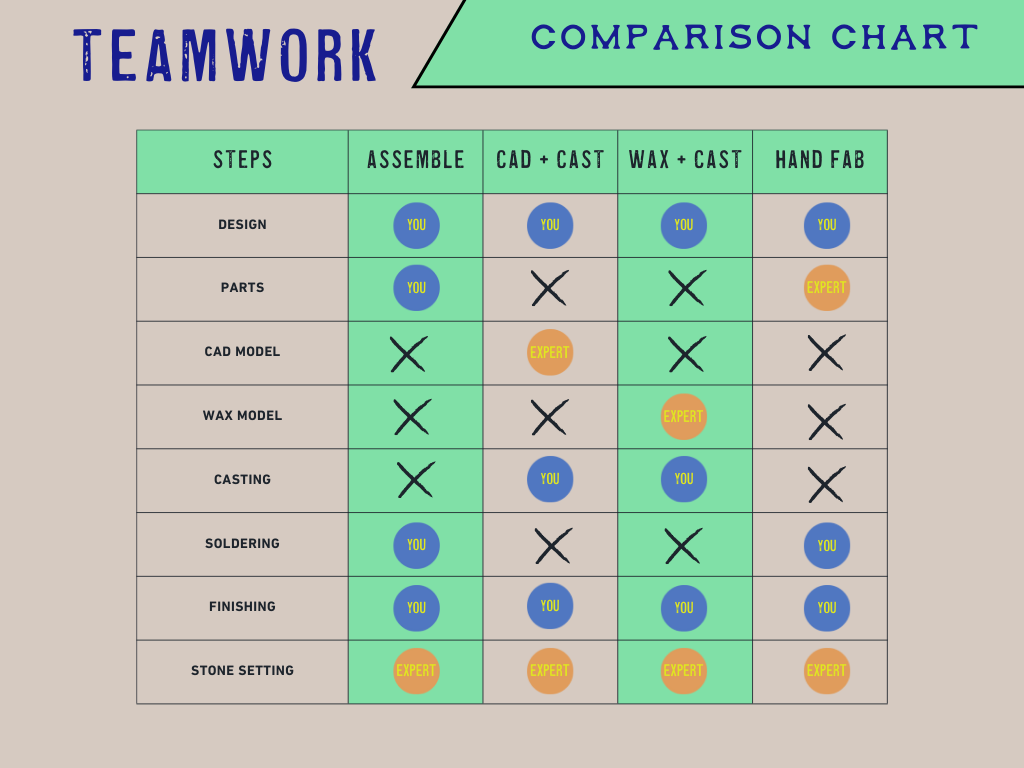
Option 2: teamwork!
There are endless options here, but below is a chart with some suggested routes you could take. In this option you will get to work on your ring where it makes sense and leave the hard stuff to the experts.
Teamwork makes the dream work. The first step is to book a >> DIY custom project consultation, We will answer any design questions you have, guide you on what steps to take and facilitate working with or preferred list of specific experts.
Want to find experts on your own? Take a look at our member directory >> https://www.alloymetalsmithing.com/directory 🔥Tip: You can search the directory by a smith’s specialties, i.e. wax carving, faceted stone setting, casting, etc.
Option 3: You do everything, from design to final finish.
Pros - You can truly say “I made this” to your partner. From start to finish we will be happy to guide you through private lessons, help you secure a bench membership for a safe space to practice and specialty equipment you don’t have to invest in, AND we’ll be happy to help you order materials that are otherwise not available to folks that do not own a jewelry business.
Cons….
Cost - private lessons, practice materials, & bench membership will add up. Even if you are using our fully equipped studio you will need to invest in some equipment (at minimum - hand tools & setting burs)
Time - Learning the skills needed to create a piece of fine jewelry will take tons of time.
If you’re a total beginner, then you’re going to need to learn the basics of the above technique (assemble, cad + cast, wax + cast, and hand-fabrication) that applies to your ring. You’ll want to practice those skills in a base metal until you’re comfortable, so you don’t risk wasting money on precious metals.
Once you have conquered building the ring, THEN comes stone setting. which is probably the skill that takes the longest to master. For example, in my early career as a professional jeweler, I spent two years in a jewelry store before being allowed to set faceted stones. Once I started stone setting, it was another couple years before I was able to set confidently. If you are determined to set the stone, We require that you take private lessons to learn faceted stone setting concepts, purchase practice settings, Cubic Zirconias, setting burrs & pliers. During this stage of learning, we expect you to practice outside of lessons. You will need to practice setting over and over and over again until you’re feel confident enough to set that diamond or sapphire you’ve purchased without risking breaking it or creating a suboptimal setting that won’t last.Heartache - You might invest the time & money described above, get to the very end of the project and still break the stone! Ahhhhh!!! It happens to the best of us and when it does it hurts. Your ego, your wallet, your timeline….
Doing it all yourself is by far the most challenging option, and we don’t really recommend it to total beginners unless money and time is on your side….However, if you’re determined and ready to get started, book a >> DIY custom project consultation We’ll sit down with you and answer any questions you have and help you make a plan.
At this point, you’ve explored the key decisions involved in making an engagement ring, from clarifying your design and choosing a stone to understanding fabrication techniques and who will make the piece. Whether you decide to take a hands-on approach, work with experienced professionals, or combine the two, each path comes with its own considerations around time, cost, and skill. What matters most is moving forward with intention and a clear plan.
When you’re ready, book a consultation and we can help you refine your ideas and take the next step toward creating this very special ring.
-Louise