
Top 5 Considerations for Creating Hollow Forms
Hollow forms in jewelry are three-dimensional shapes built from sheet to create volume without excess weight. They look simple, but require careful planning and strong fabrication skills. I’m probably a bit biased, as I use hollow forms often in my work, but I think they are the perfect combination of craft and creativity. Read on to learn my top 5 considerations (+1 bonus tip at the end) when making something hollow.

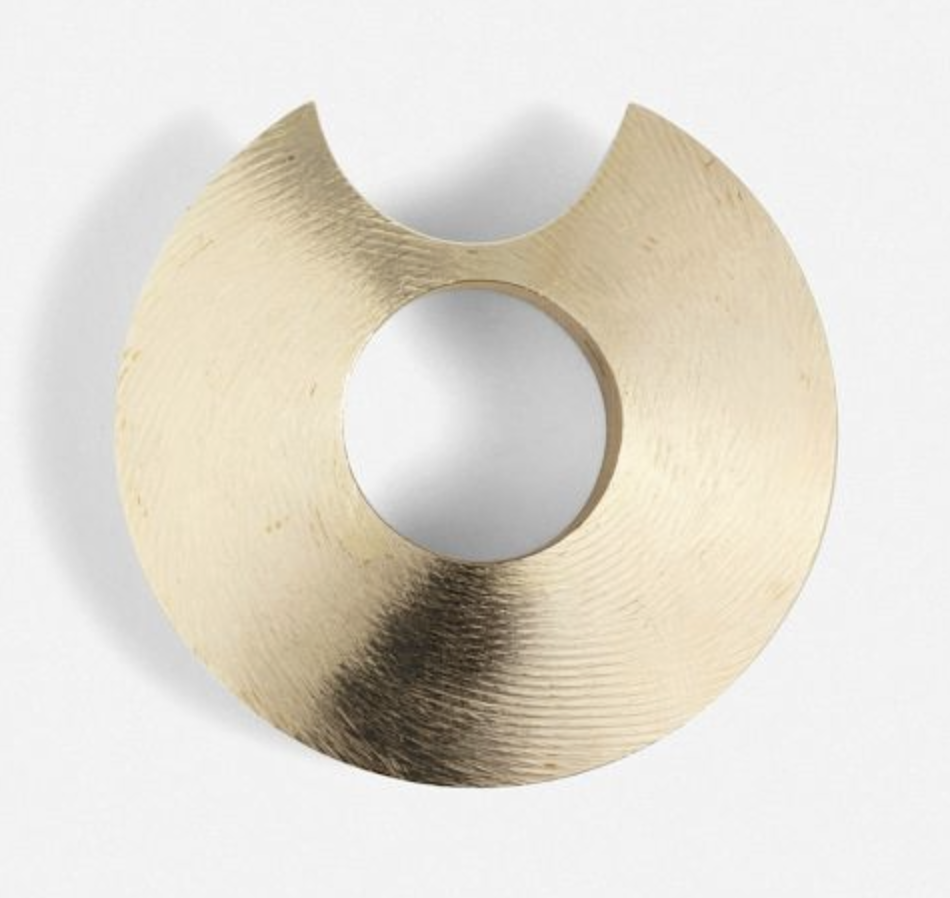
Bracelet Designed by Hans Hansen, Denmark, 1960s - Sterling Silver
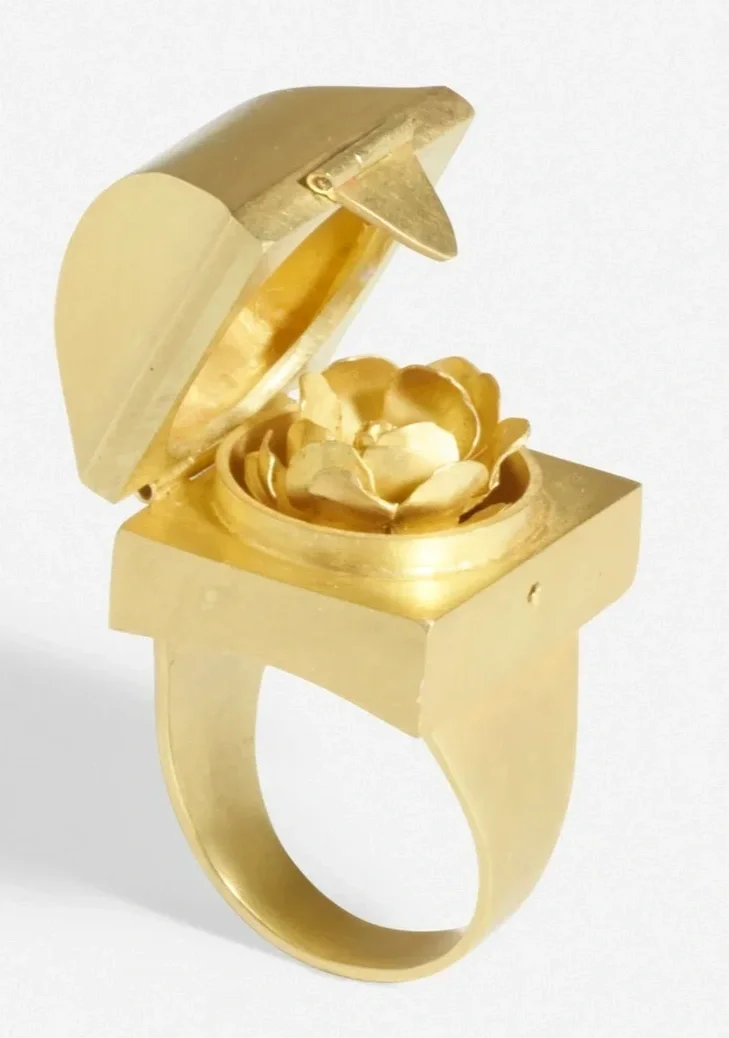
Giampaolo Babetto
ring
Italy, 1984 / 2009
18 karat white gold
1.75 h × 1.75 w × 0.5 d in (4 × 4 × 1 cm)
This work is number 2 from the edition of 7. Signed, dated and numbered to interior 'Babetto 84 09 2/7'. Impressed to interior '750' and '173 PD'. Ring size: 6.
1. Material and Guage Efficiency
Hollow construction gives volume and presence without the expense of solid metal. This is especially valuable when working in gold and silver. The volume of metal directly affects the cost and wearability. A hollow form also gains strength from its shape, making it more resistant to bending and denting than the flat sheet it came from. This strength means you can likely use a lighter gauge of material than you normally would.
Example: A bead made from 24g sheet feels substantial and is sturdier than a flat piece of 24g, Yet, it uses only a fraction of the material compared to a solid casting.
2. Ventilation When Heating
Any fully enclosed hollow form that will be soldered, annealed, or otherwise heated (think: ring sizing, repairs, adding findings, adding additional elements and details, etc) AFTER being fully enclosed must include a vent hole. This prevents pressure build-up that could cause the form to rupture/explode or solder seams to fail.
Tip: Position the vent hole in a discreet spot, or better yet, make it part of the design. I often hide mine beneath a cabochon (like in the rings below). Another great option is to use it as the threading hole in a bead.
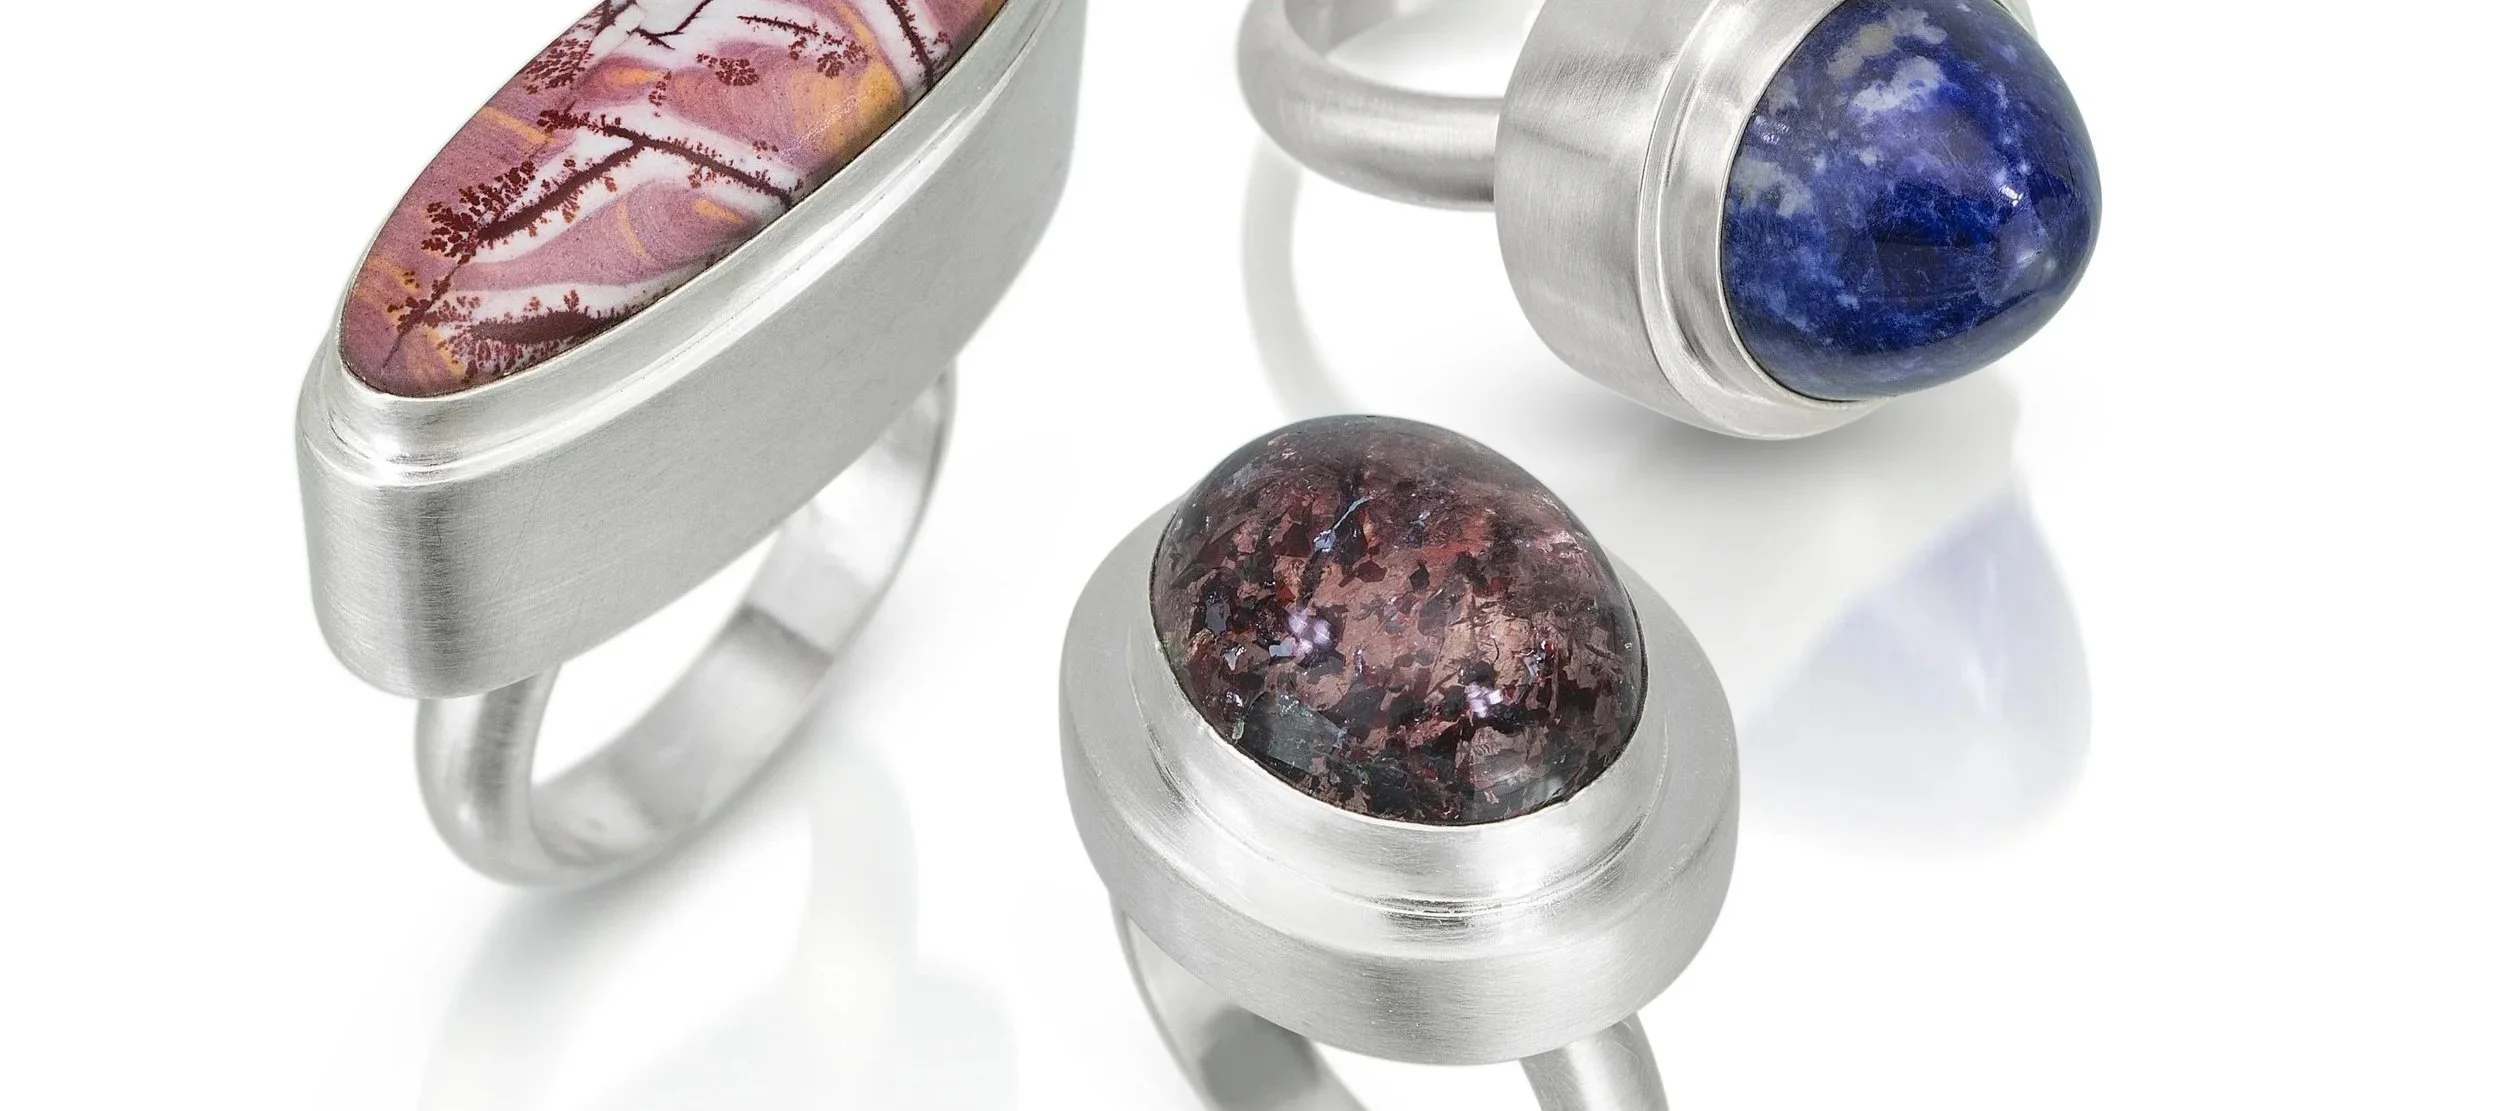
Rings by Kelly Conner
Sterling Silver and Various Natural Stones
Hand-fabricated Hollow Forms
2017
3. Vent Holes and Liquid Evacuation
If you add a vent hole, you’ll need to manage the liquids that can get trapped inside during quenching, pickling, and ultrasonic cleaning. Trapped solution can leach out and/or corrode the metal from within. Once the piece leaves your studio, vent holes can still allow liquid to enter. It’s important to recommend that the wearer remove hollow form jewelry before activities like dishwashing, swimming, or bathing.
Tip: To remove trapped liquid during fabrication, shake the piece vigorously, use compressed air (from your oxygen tank or a compressor), or gently heat the metal until the liquid boils off. In some designs, a second small vent hole can be strategically placed to improve drainage and airflow.

"Overgrown"
Bruce Metcalf © Copyright 1993
4 x 2 inches
Sterling silver, copper, painted
Collection of the artist
Photograph by J. W. White/PHOCASSO, San Francisco
4. Assembly Sequence
Plan the order of construction before you begin. Pre-finish any areas that won’t be accessible later, and join components in a logical sequence so that each soldering step supports the next.
Example: Adding decorative elements like granulation, embellishments, or wires before sealing the main body means you won’t have to reheat a closed form and risk blowing a seam. However, if the form requires a large seam to be closed, adding details first may not be wise—you could end up reflowing or damaging them during the final solder that closes the form. There isn’t a single perfect approach, but carefully weighing these options at the design stage is key.
5. Fabrication Skills
Successful hollow forms depend on strong fabrication skills. Precision sawing and skilled use of files and grinding tools are what allow you to shape and refine the piece. With these skills you will be removing inevitable excess metal and you want to do this as efficiently as possible. The truth is, there’s no shortcut. Your skill level is what transforms hollow form creation from a frustrating, tedious chore into a natural part of the process.
Tip: Practice, practice, practice. The more fluent you are with sawing, filing, and pre-finishing, the easier it becomes to achieve professional results and bring the design in your head to life.

"Nilama Ta'igara (Sapphire Tiger)" - Hollow form necklace with raw sapphires
Rachel Morris, Eclectic Nature Jewelry & Design
One of a kind statement necklace - Hollow forms in sterling, fine, and reticulation silver, detailed with 24k gold keum boo, 18k gold, and nine raw sapphires
+Bonus Tip+
What about surface decoration?!
Stamping, texturing, piercing, or layering should always be done BEFORE assembling the hollow form, while the metal is still flat. Once the final piece is formed and closed, there is no longer a way to provide internal support. This makes it nearly impossible to modify the surface without causing buckling, caving, distortion, or failed seams.
I hope these considerations give you both the confidence and inspiration to try exploring hollow forms in your own work. It’s a challenging but rewarding process that can really showcase your skills. Want some hands on help? I’ll be teaching a workshop on hollow forms later this year. Sign up for our newsletter to get first dibs on tickets when they become available.
Thanks, Kelly