
Studio Organization for Jewelers
When it comes to building a successful jewelry studio—whether it’s a corner of your home or a dedicated workspace—organization isn’t just helpful, it’s essential. A well-organized studio saves time, reduces stress, and helps you stay focused on what really matters: creating awesome jewelry!!
Let’s walk through some key areas of organization that can transform your studio into a highly functional, inspiring space that you actually WANT to be in.
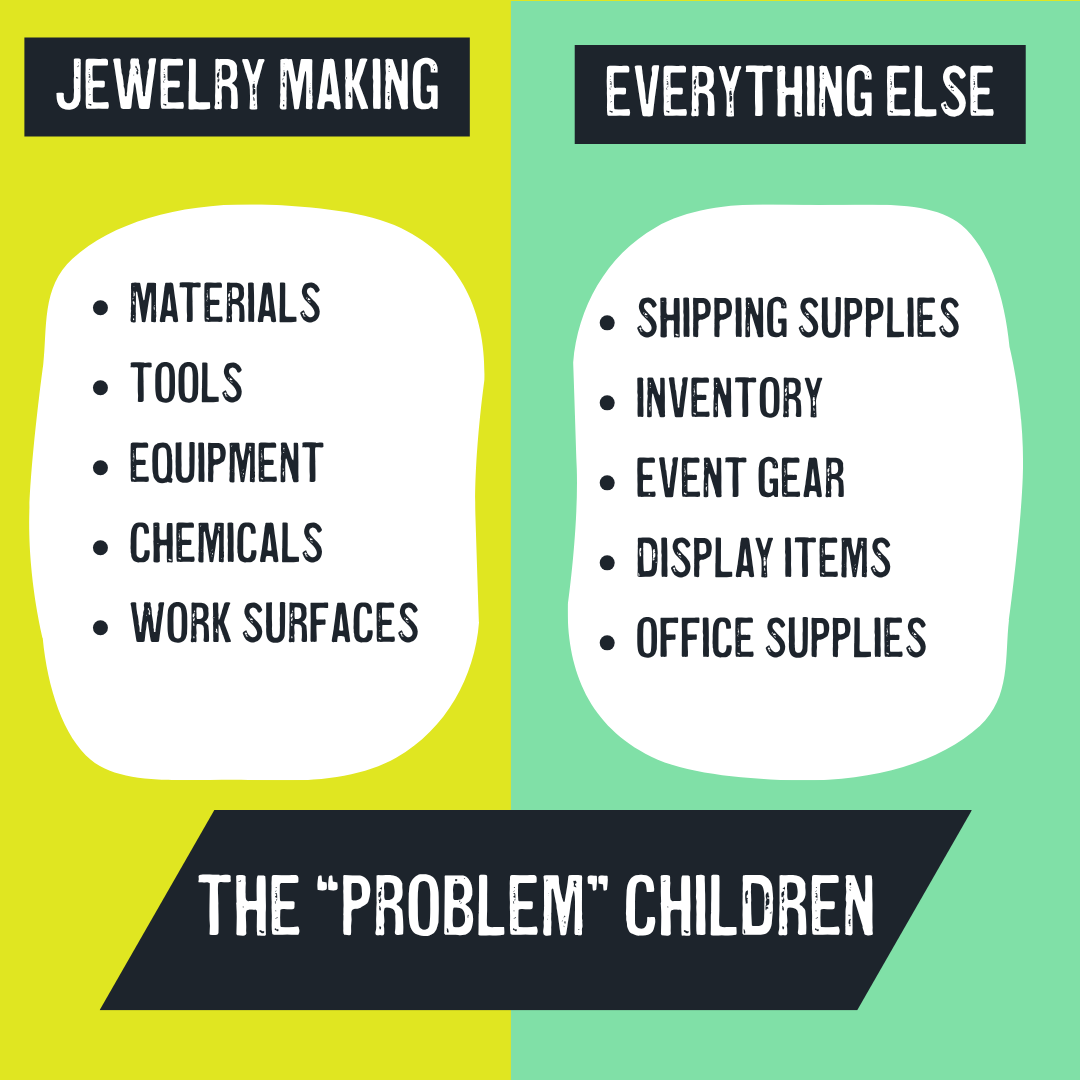
The “problem” children…
There’s no way around it, if you’re making jewelry—you’re going to need a few (ahem…a ton) of tools and supplies and at least a liiiiittle bit of space! Instead of thinking about your {insert unique situation} as a problem, let’s break down every basic studio’s needs into realistic categories, and work our way backwards to finding a system that works for your unique situation! And it doesn’t HAVE to be expensive.
These categories form the backbone of your workflow. Keeping them organized ensures you can move smoothly from design to production to shipping.
Your Studio, Your System
Every studio is deeply personal. Your setup may vary depending on the type of jewelry you create, the size of your space, or whether you’re a hobbyist vs. running a business. But, even in a small studio, you can create an efficient system—you just need to get creative with storage and labeling!
A way I have found it helpful to think about it is that your studio should function like a kitchen.
Every tool has a home! Frequently used items should be within reach (think knives, cutting boards, plates and silverware), and less-used supplies stored out of the way (ie. your fondue pot and crystal devilled egg platter that you’ll NEVER give away).
Having dedicated spaces helps you stay focused and prevents clutter from spreading.
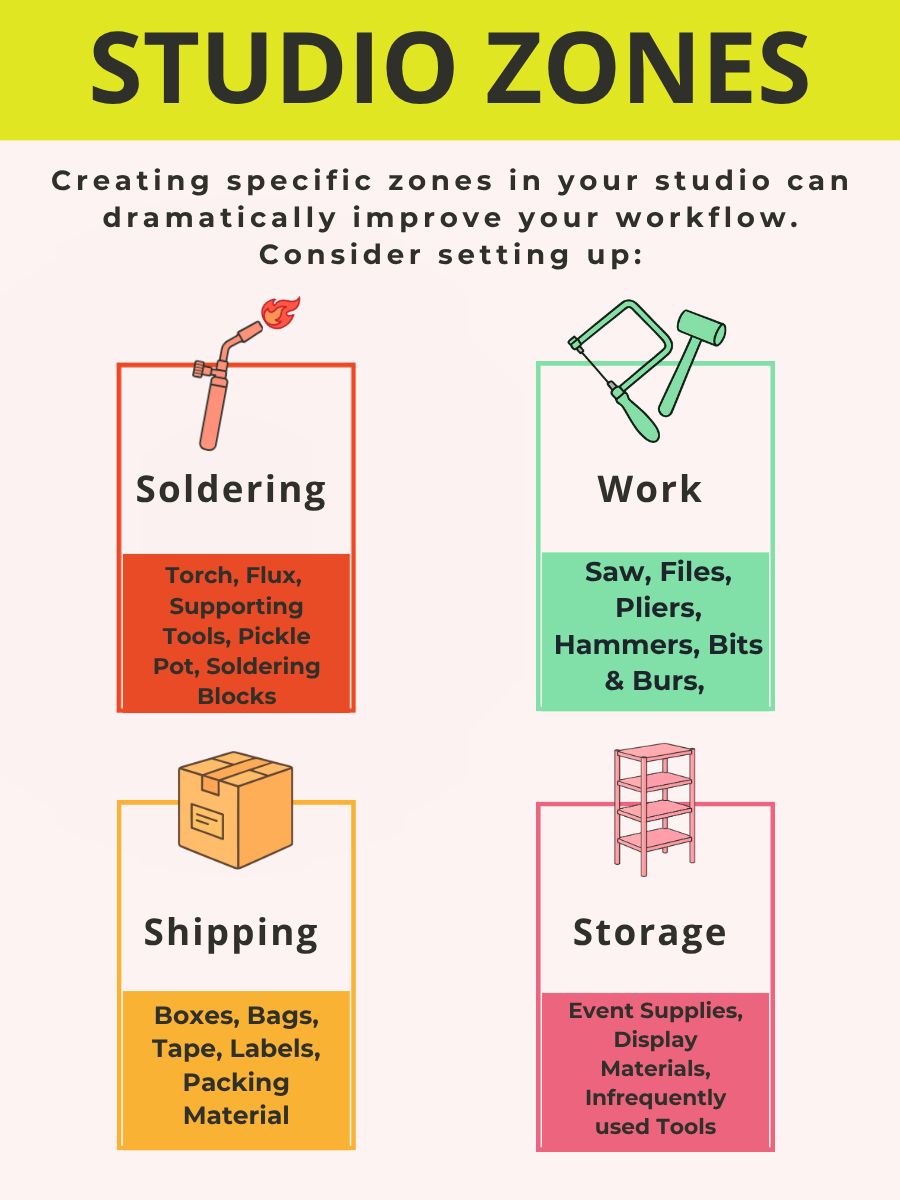
Organizing Your Jewelry Making zones
You may be thinking “that’s all good and well—but how do I actually implement something like this?” Let’s get into some tips for keeping the most pesky areas of these zones tidy and actually functional.

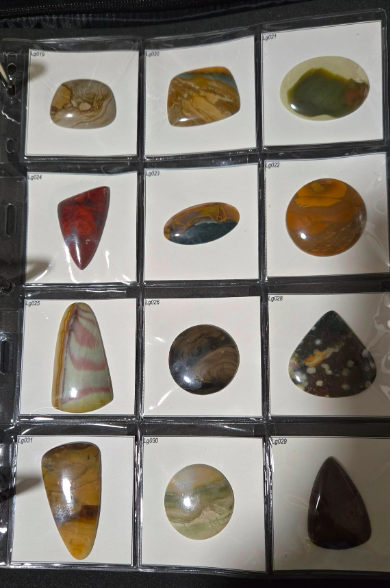
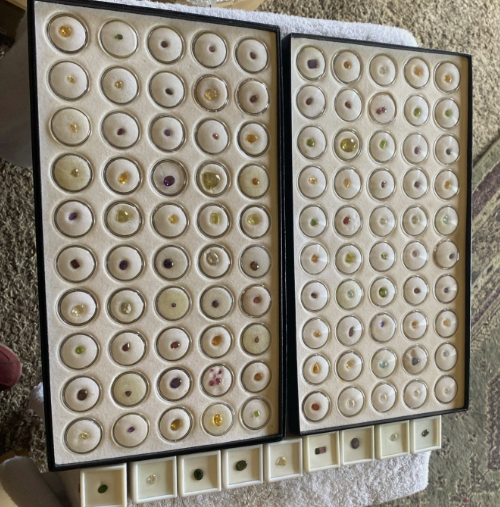
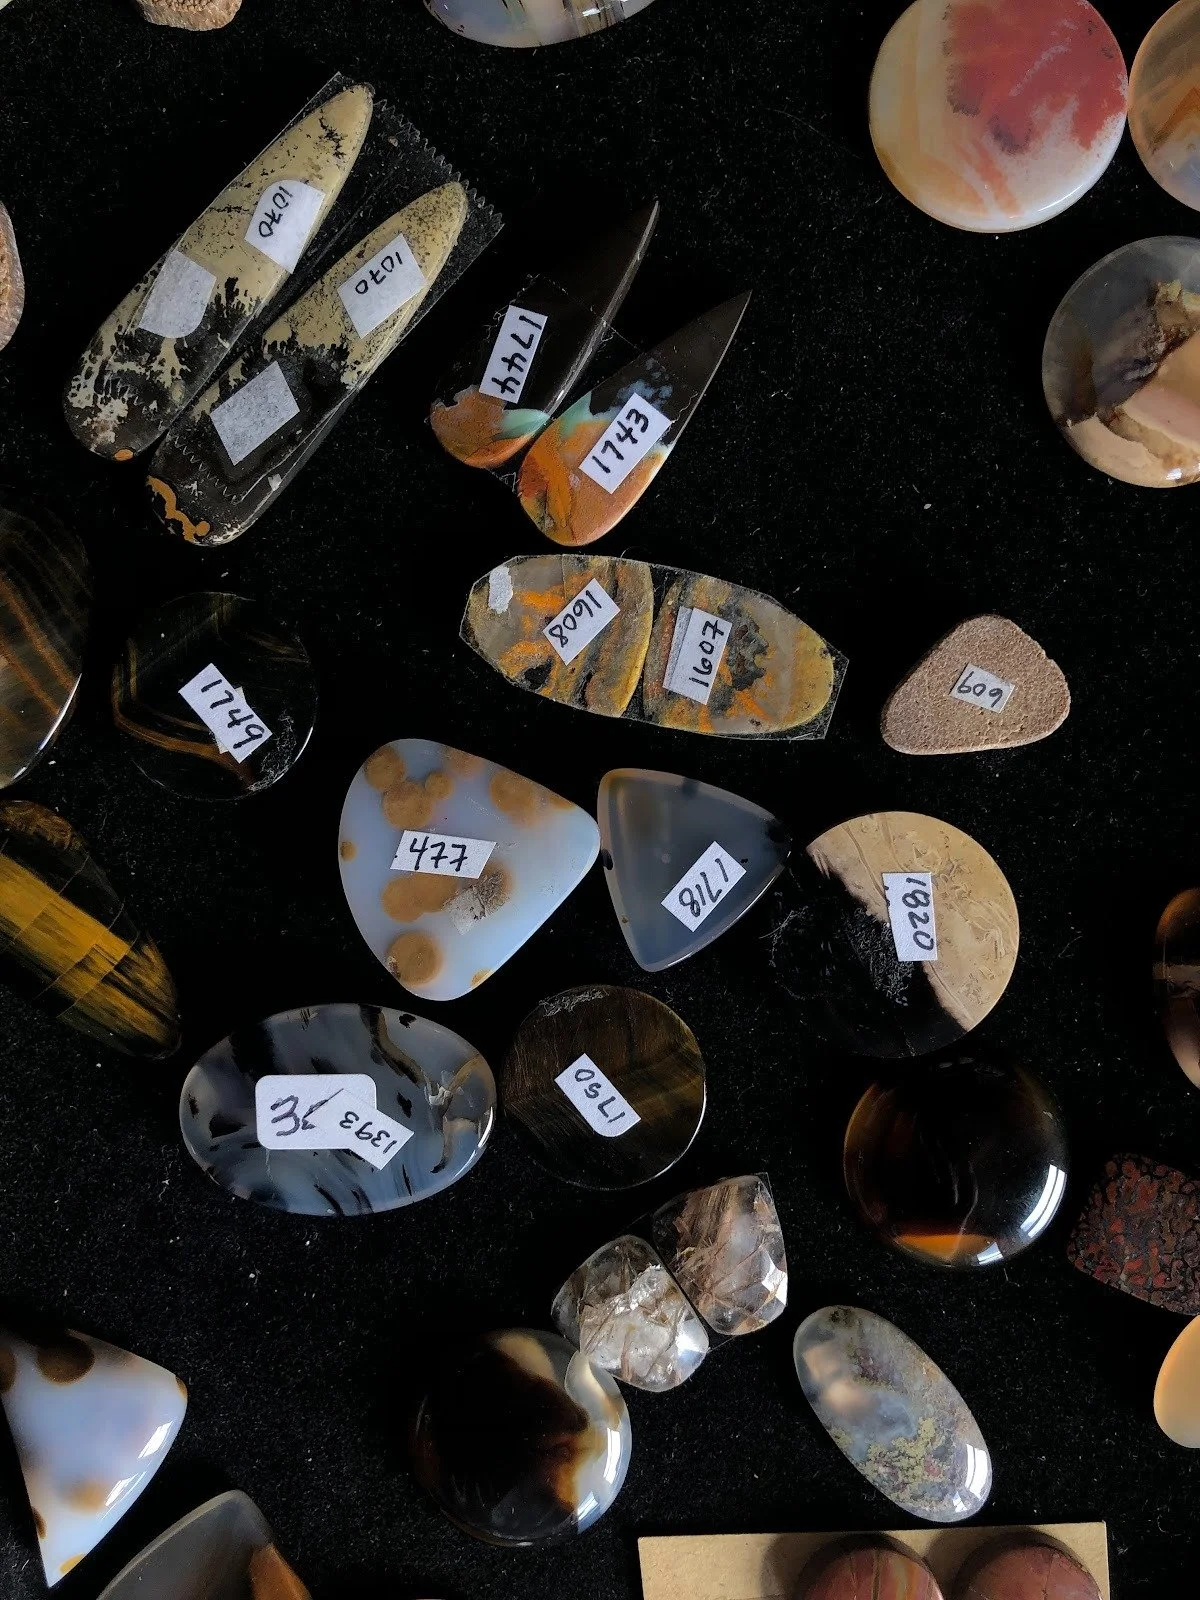
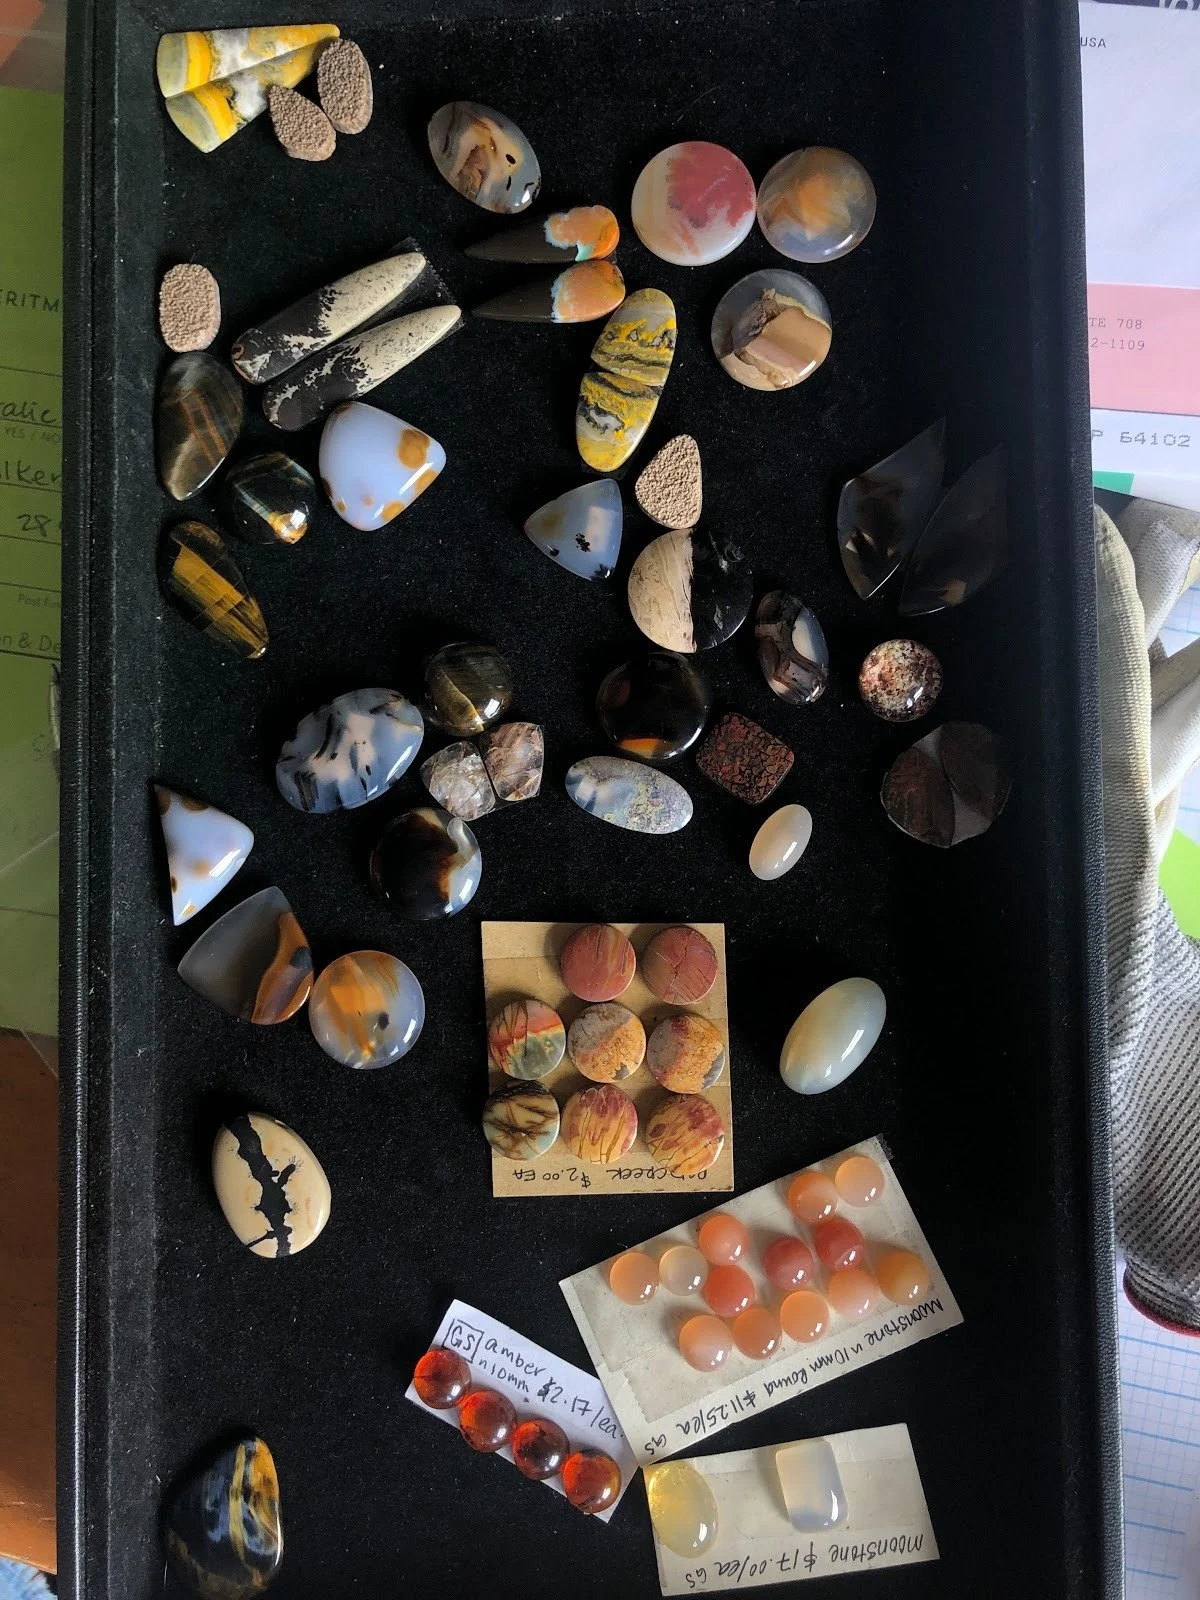
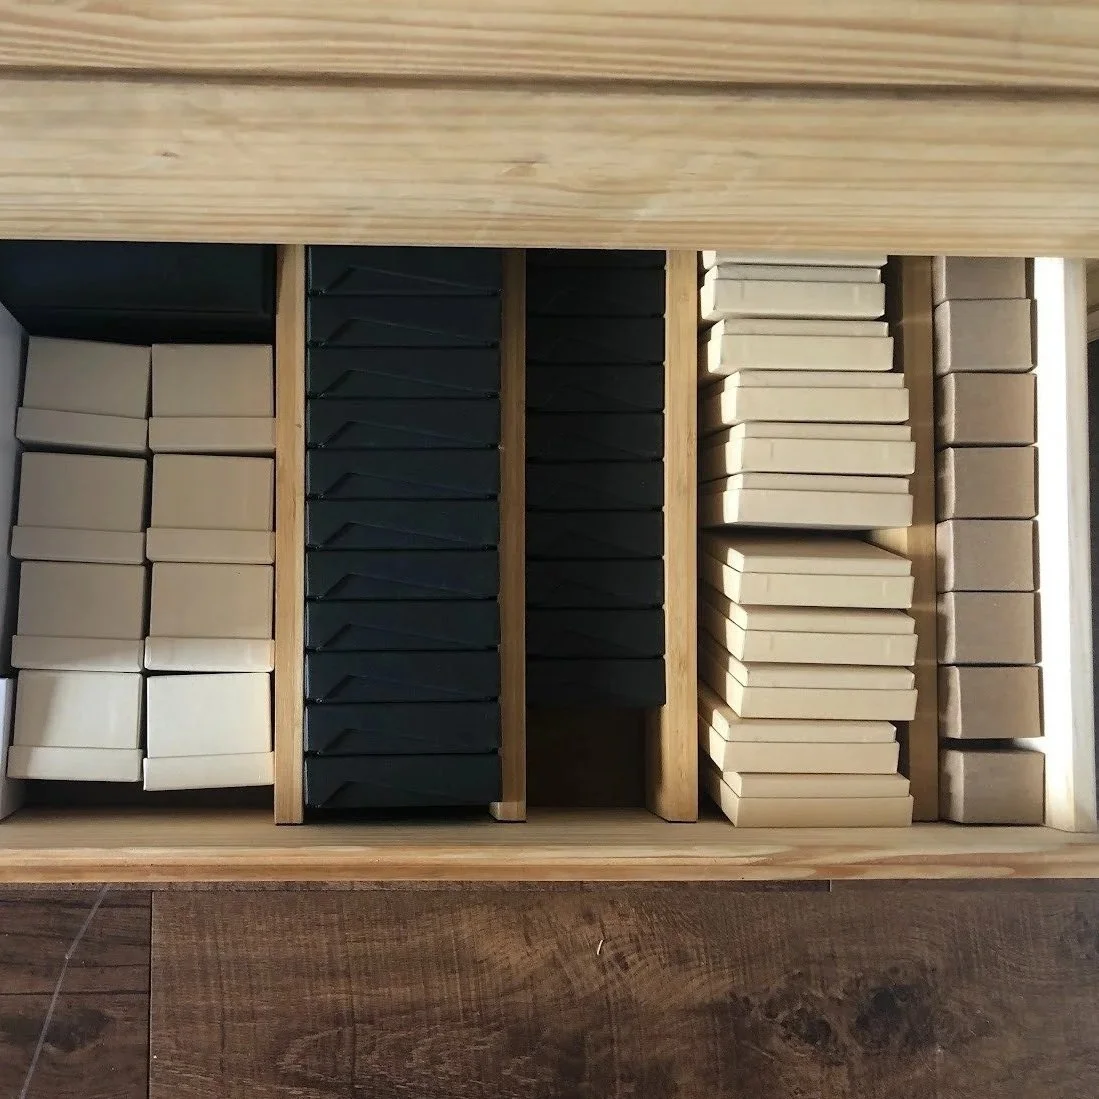
Keeping stones organized is crucial, especially as your collection grows.
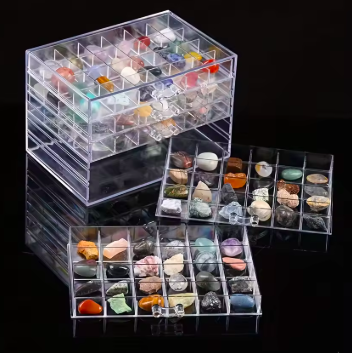
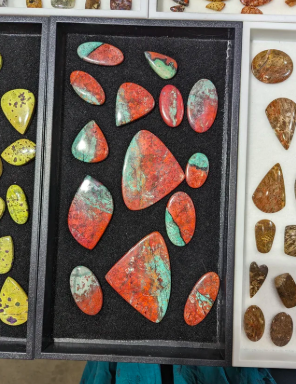

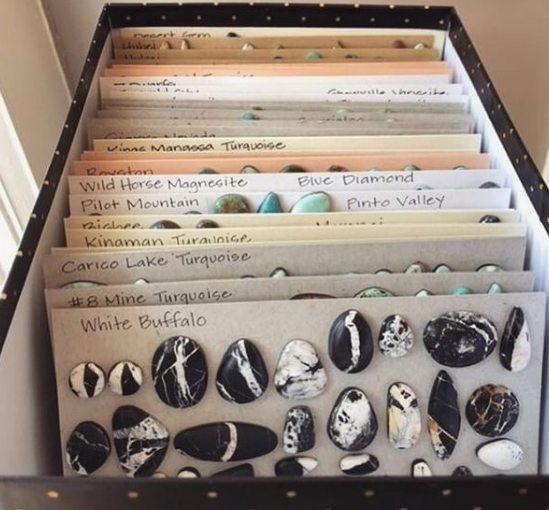
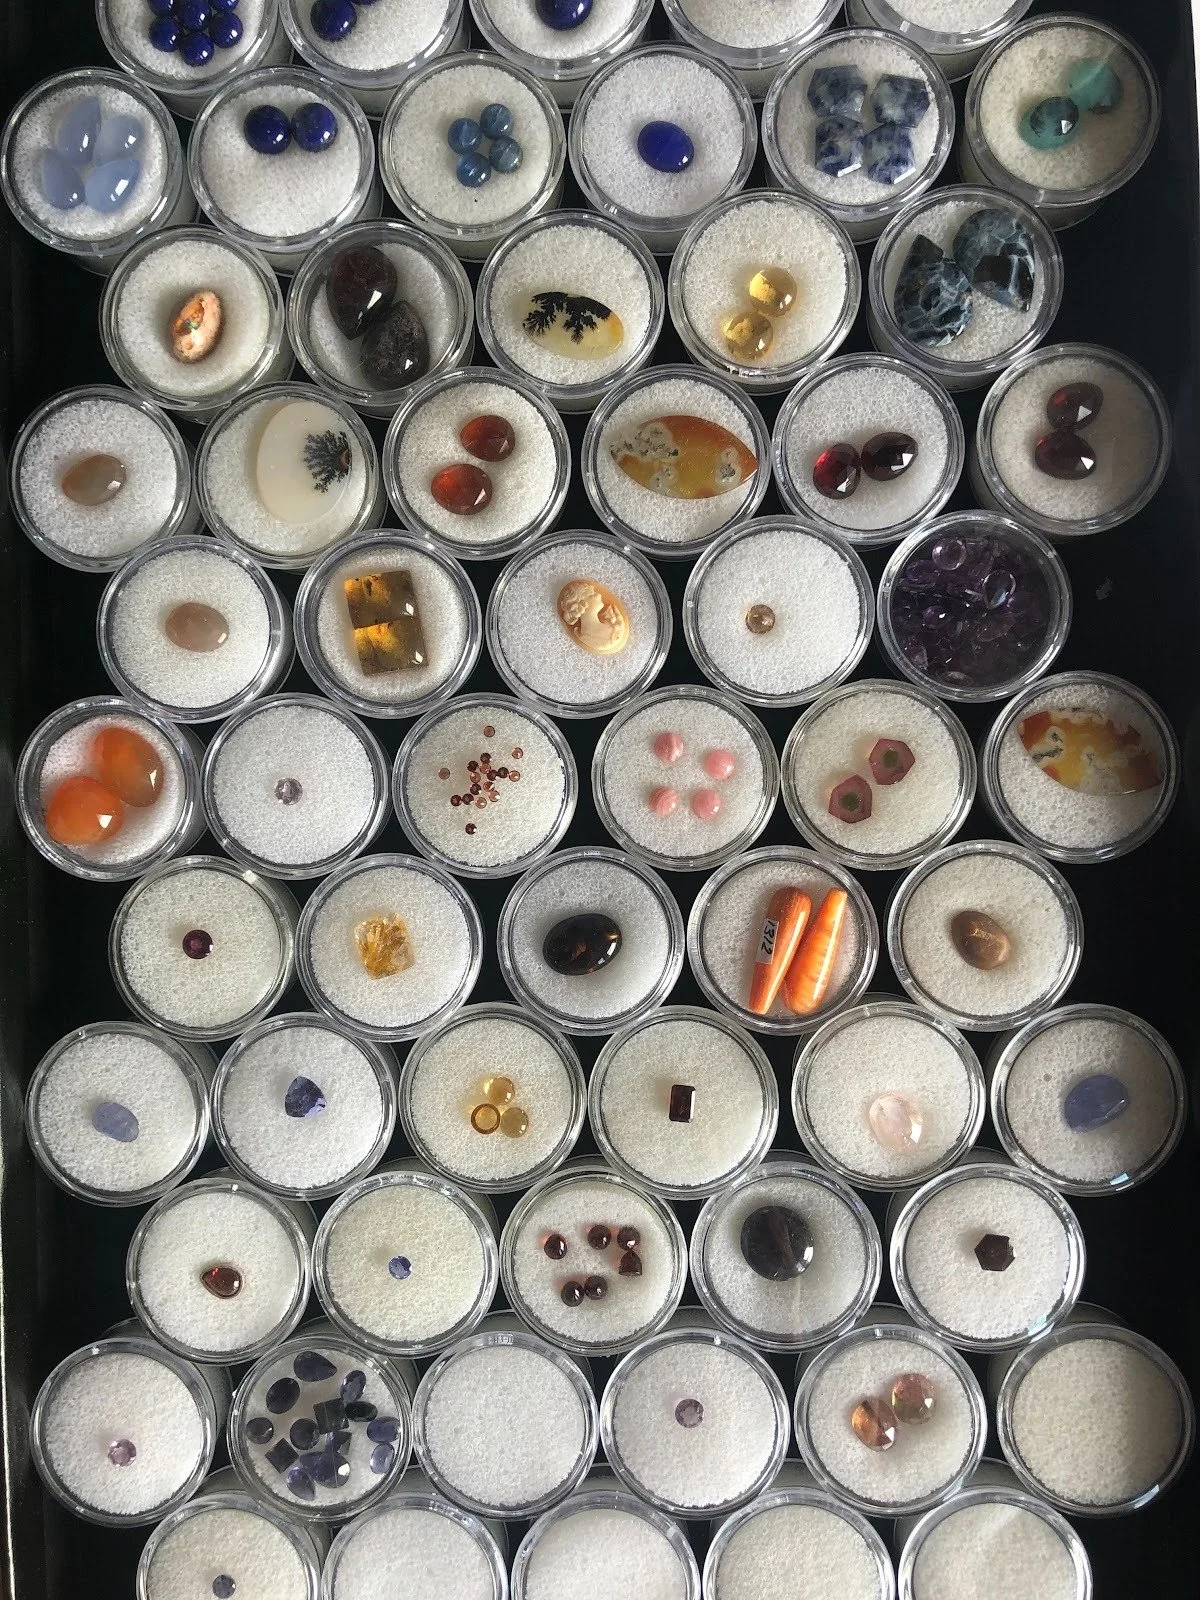
Storage ideas:
Pencil drawers
Black stone storage boxes
Specimen jars with foam for small stones
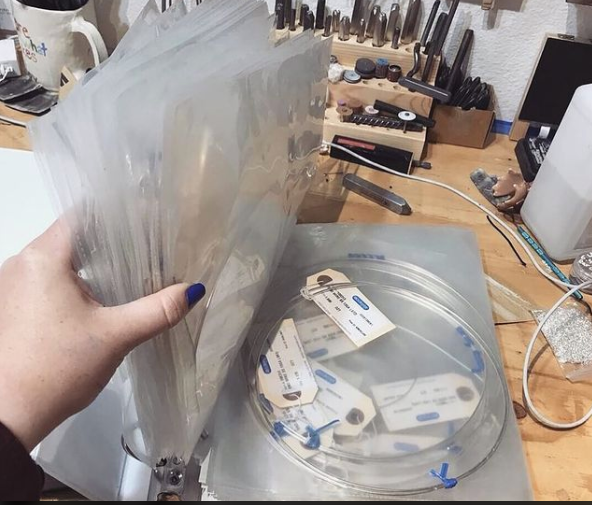
Binders with pocket pages
Index card file with stones taped to cards
Clear plastic bead trays with lids

For a more advanced system, consider tracking your stones digitally using a spreadsheet (Can you hear Kelly giggling with excitement?!)
Tip: One carat equals 200 milligrams (or 1/5 of a gram). Accurate carat measurement is essential when working with gemstones—use a gemstone scale for precision.
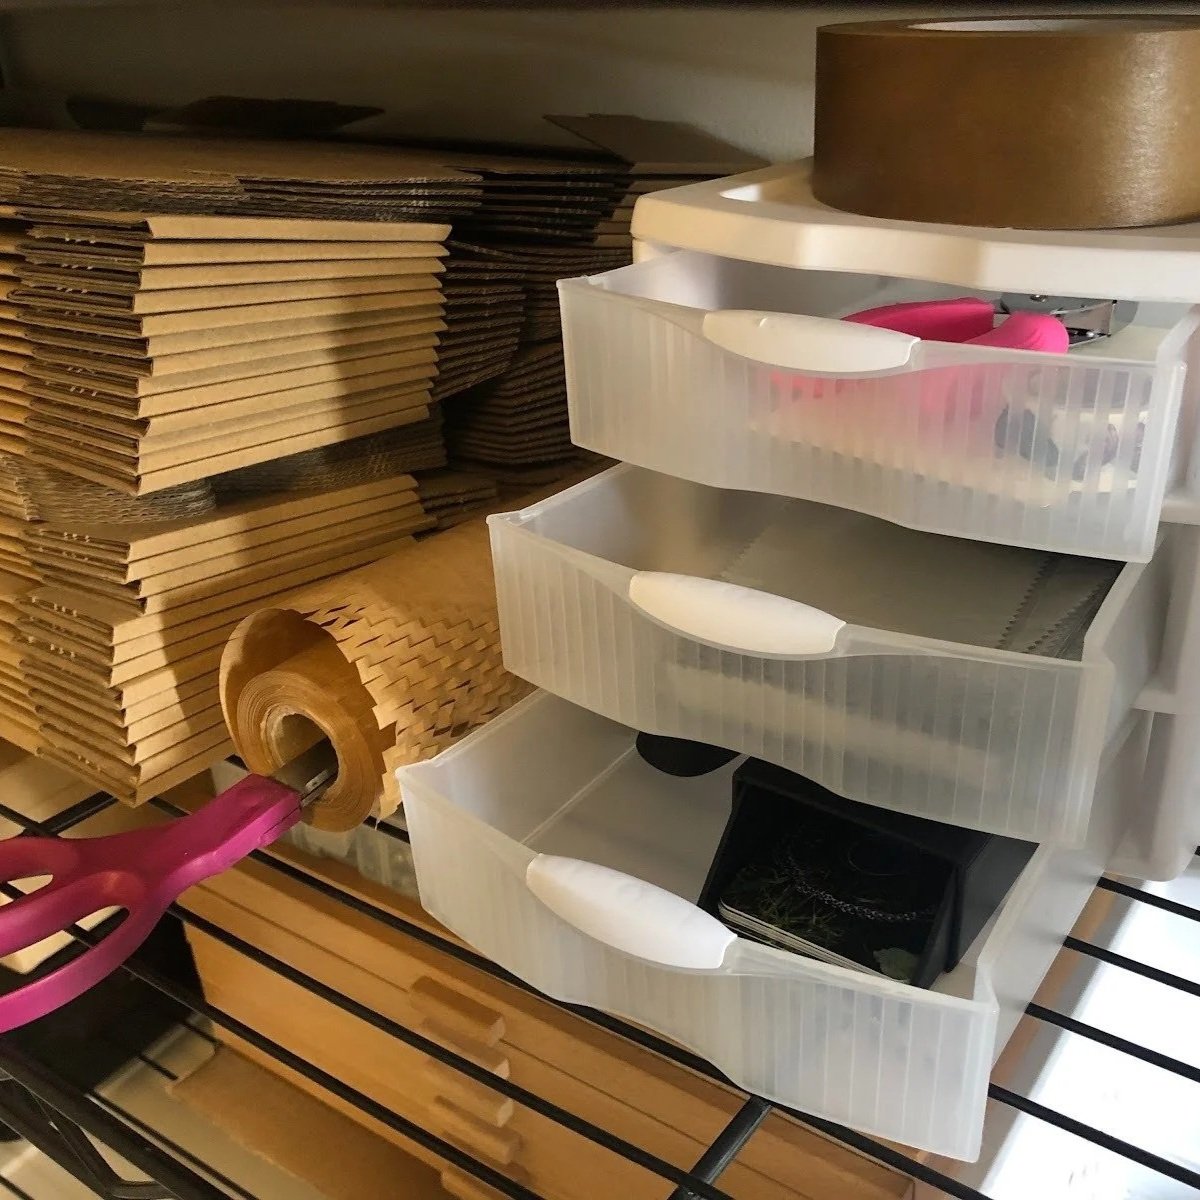
These supplies can quickly become out of control without a system—tiny components need small, efficient storage.
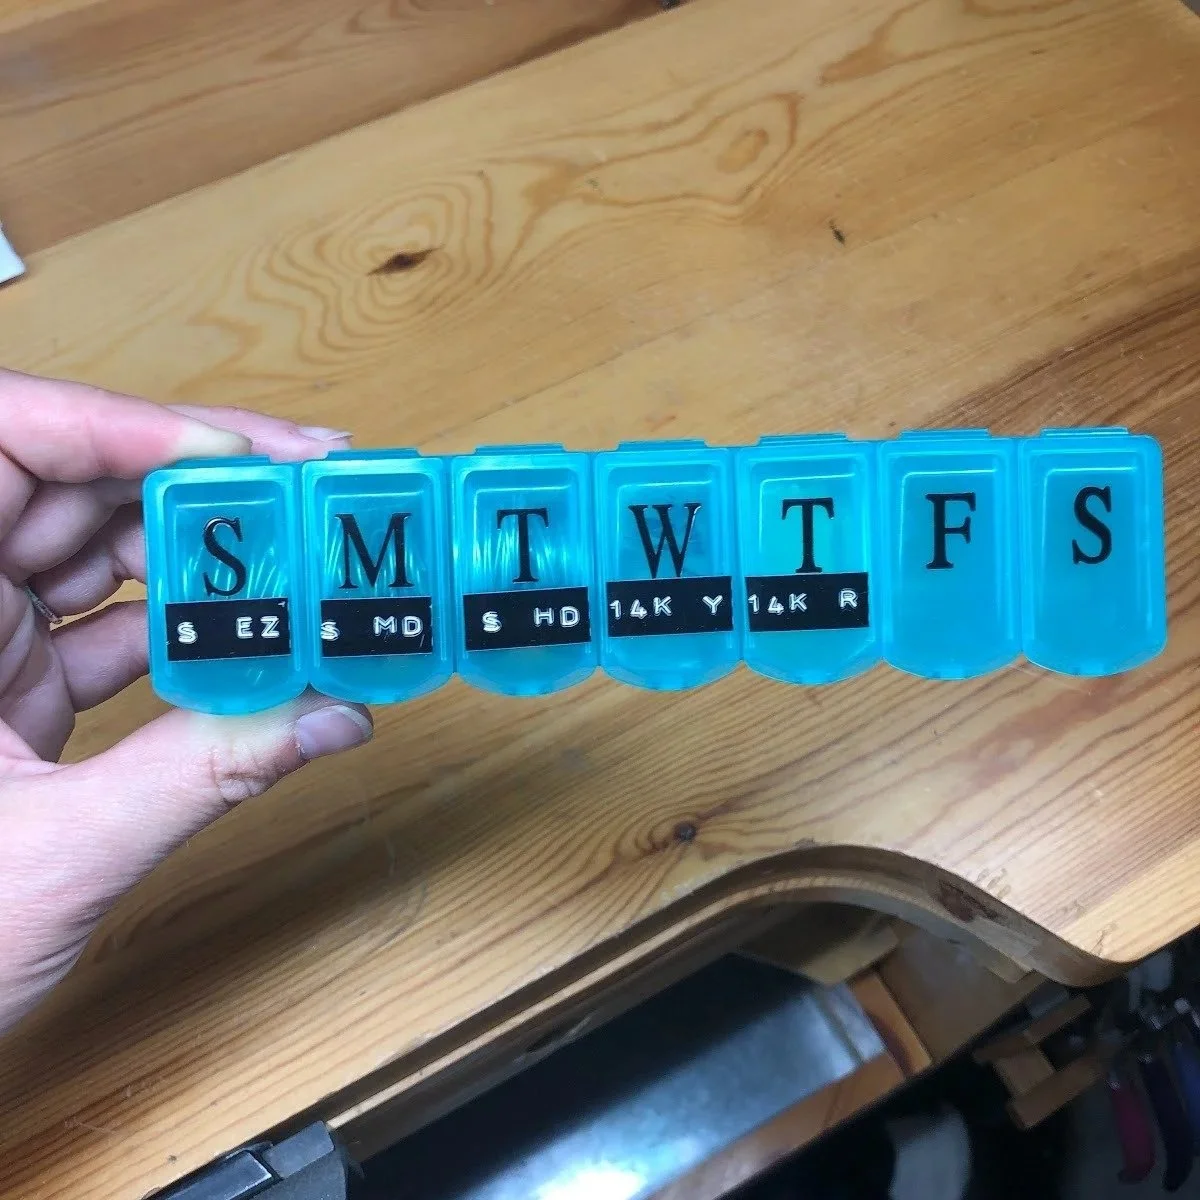

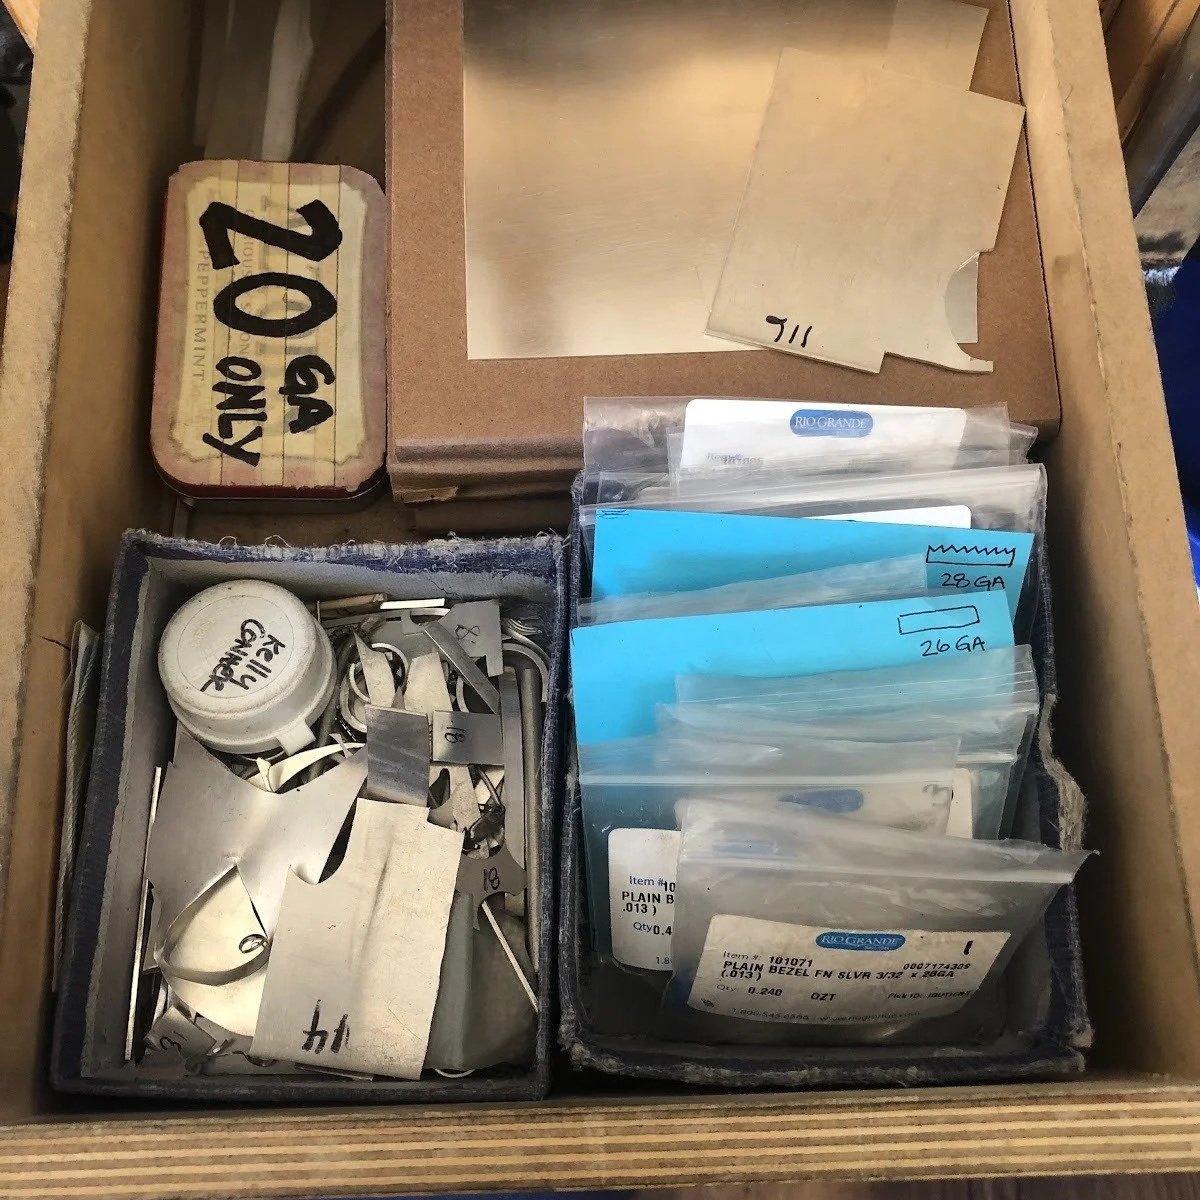
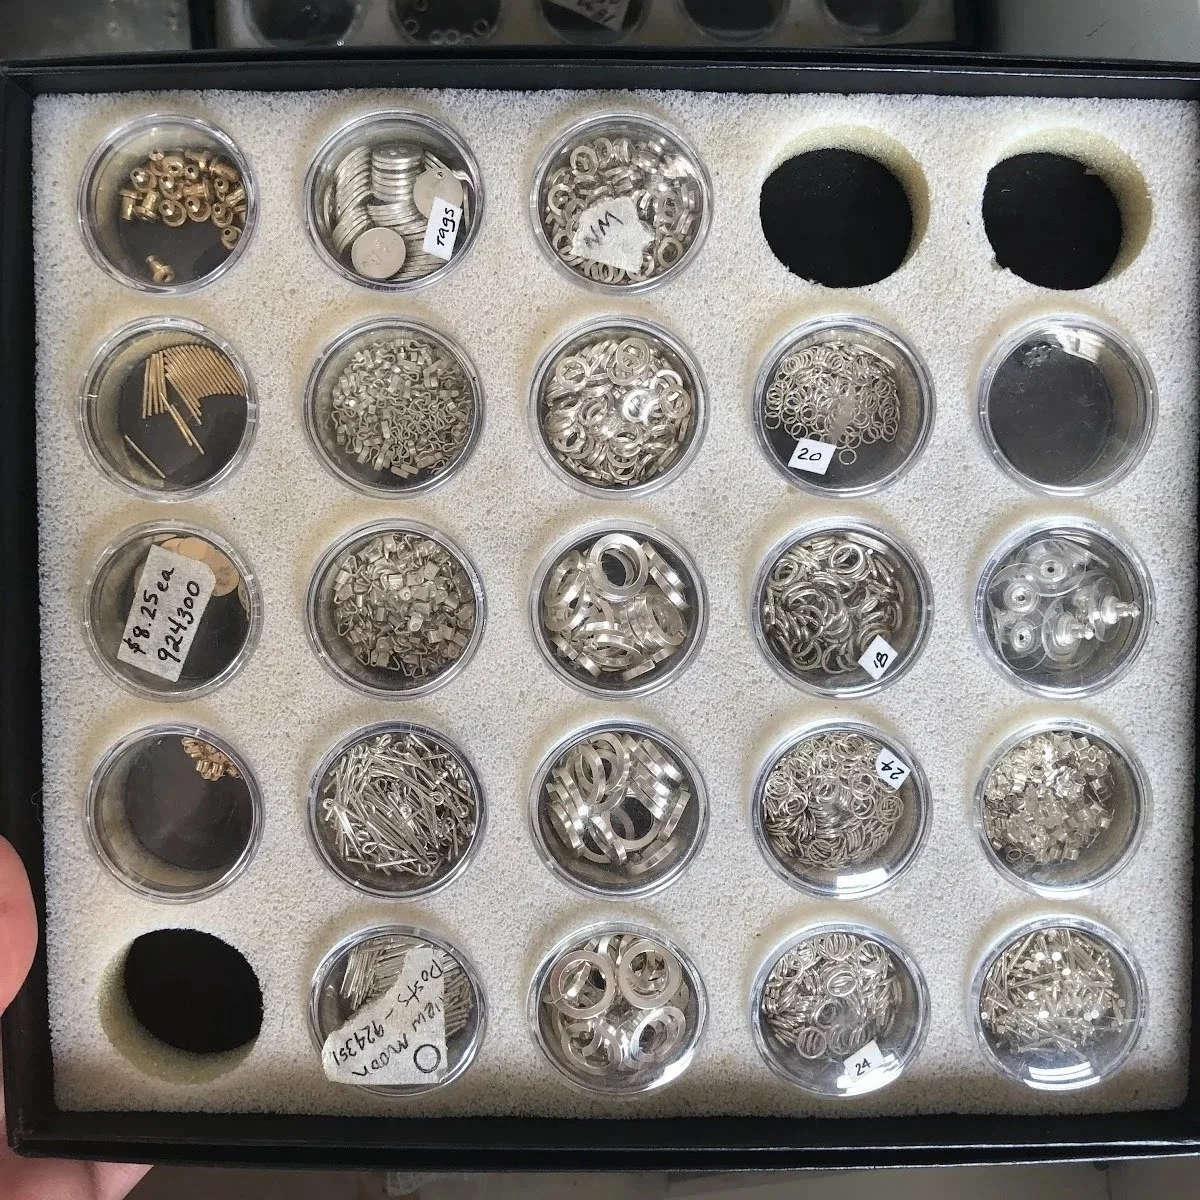
Storage ideas:
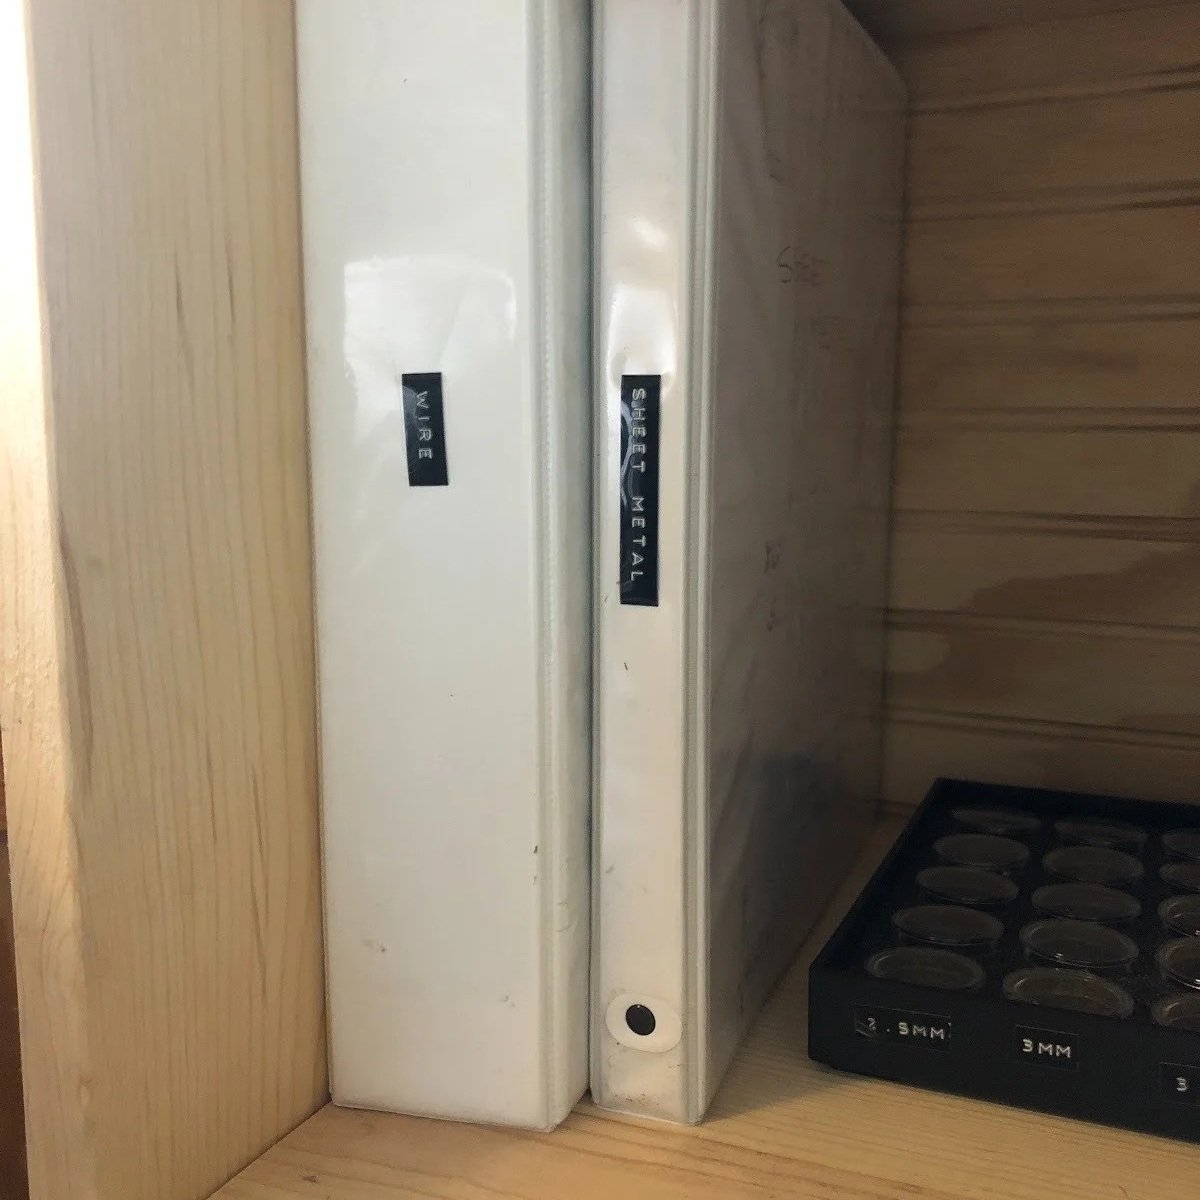
Binders with clear page protectors for large flat storage
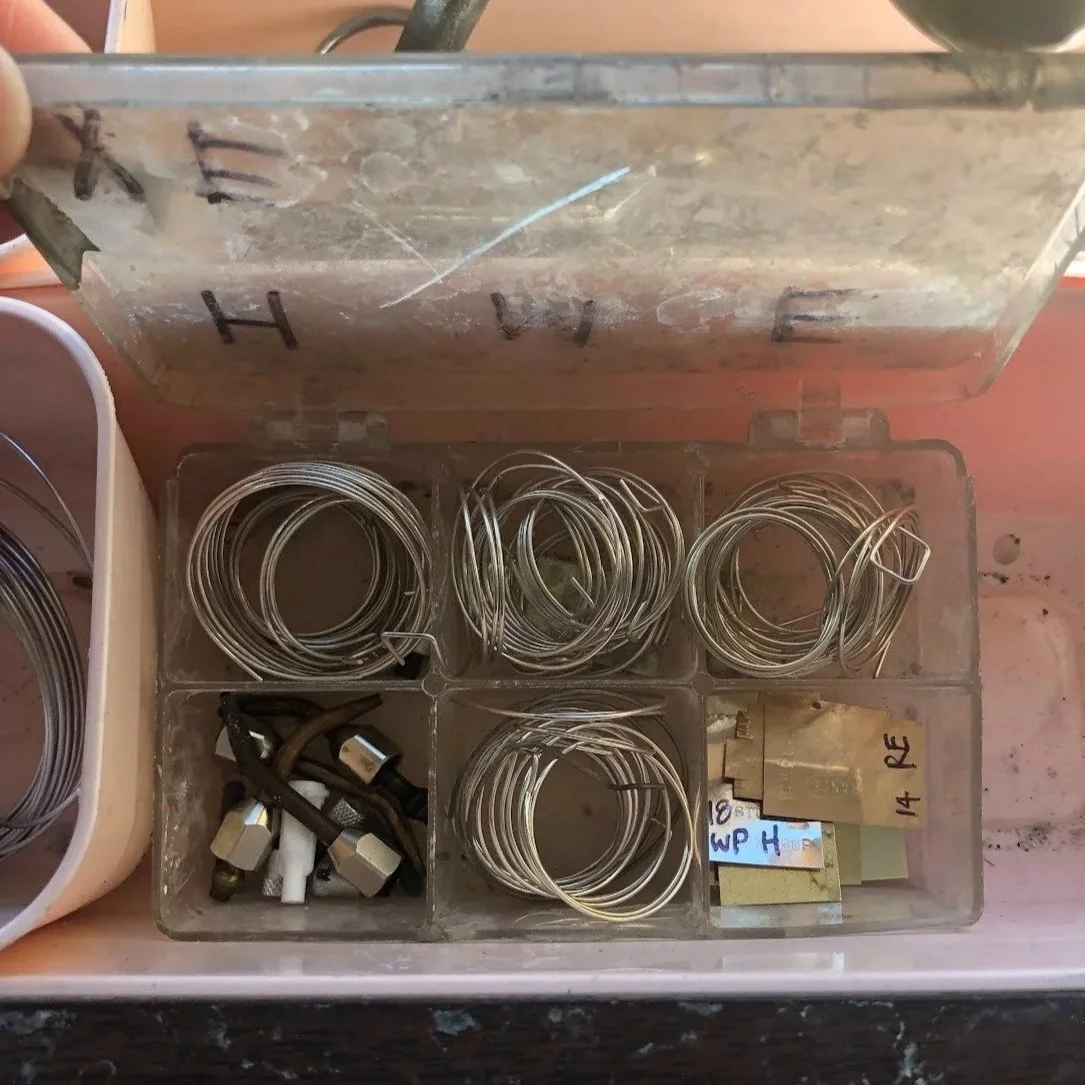
Filing box/drawers with labeled baggies and cardboard or foam board dividers for easy flipping and sorting
Medicine containers for tiny frequently used things
Bead storage boxes for visibility/separation
Sterilite drawer units
Screw organizers for quick easy access
Utensil Holders
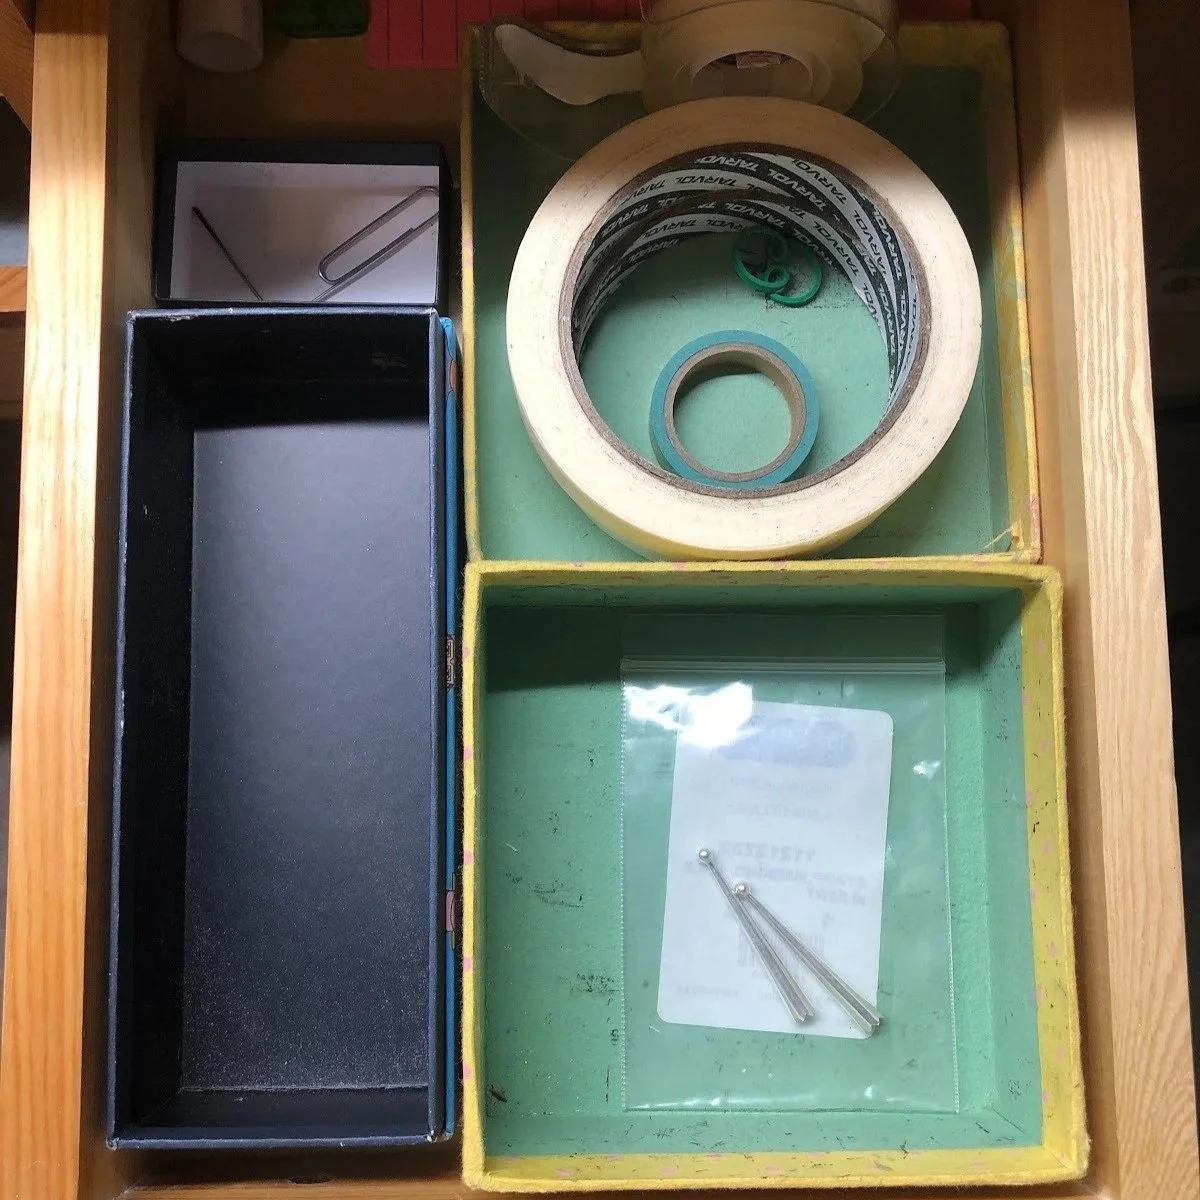
Choose containers that allow you to quickly see and grab what you need. The goal is to make everything visible and easy to access without digging. Consider repurposing small boxes and containers to easily keep things separated inside your bench drawers!
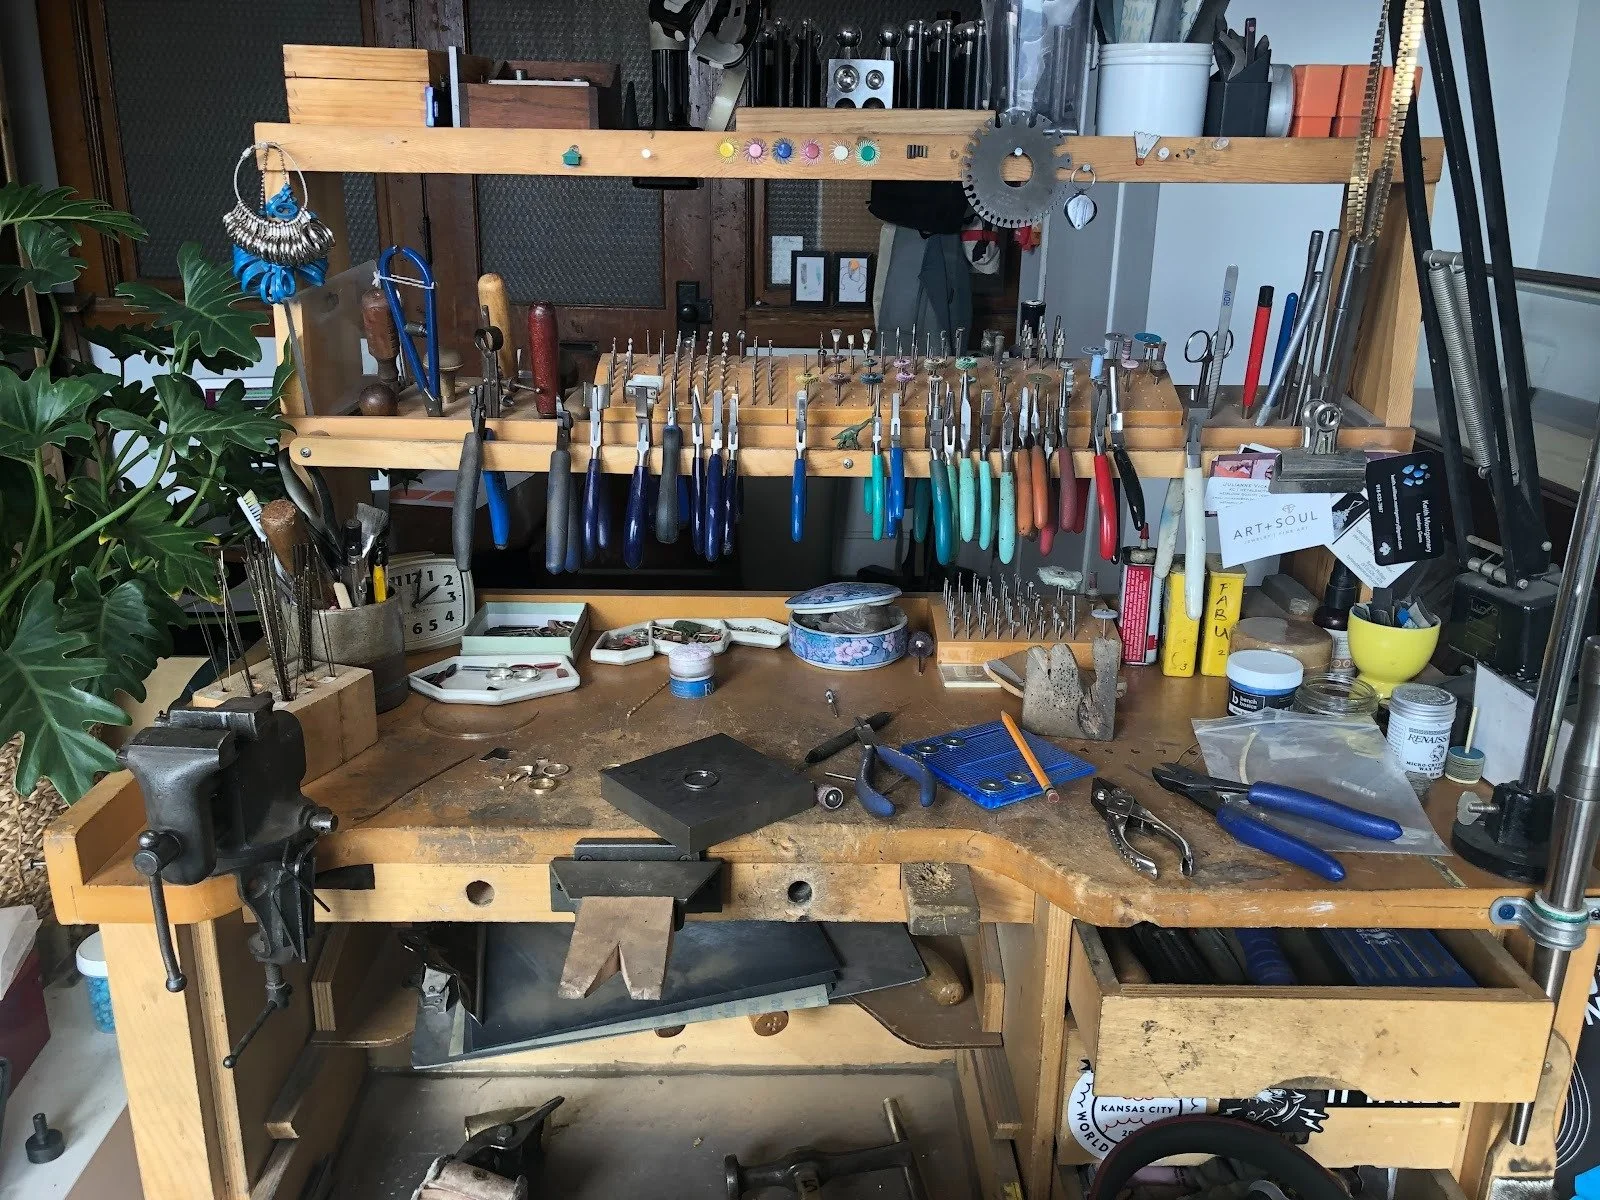
Your bench setup should be customized to your workflow.
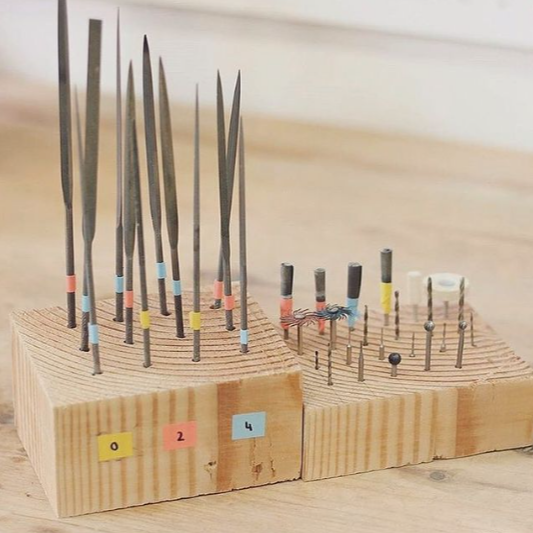

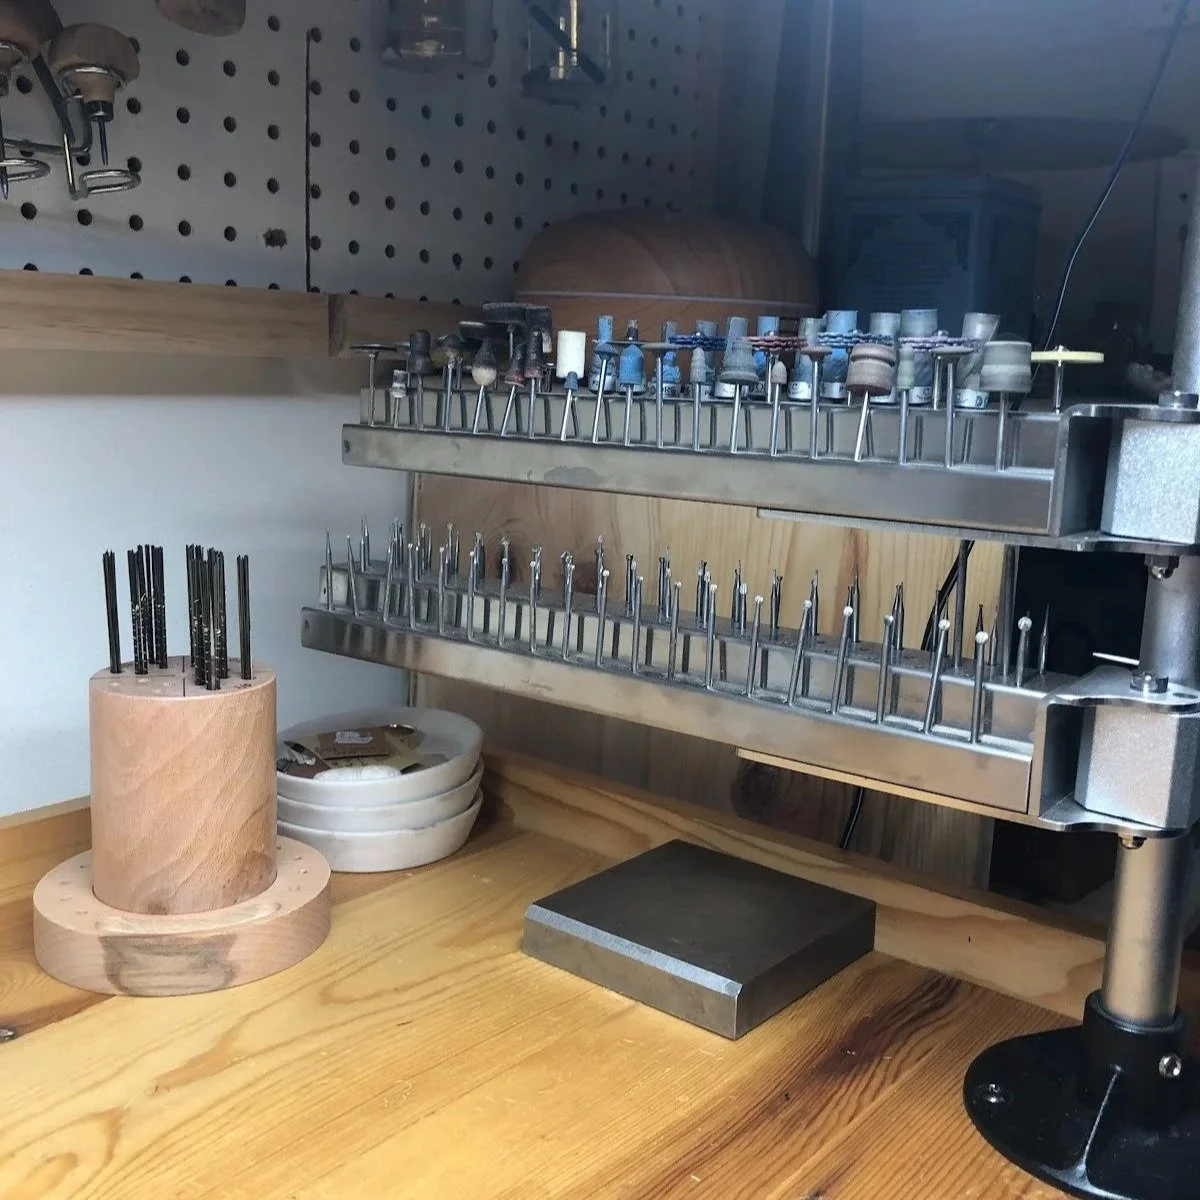
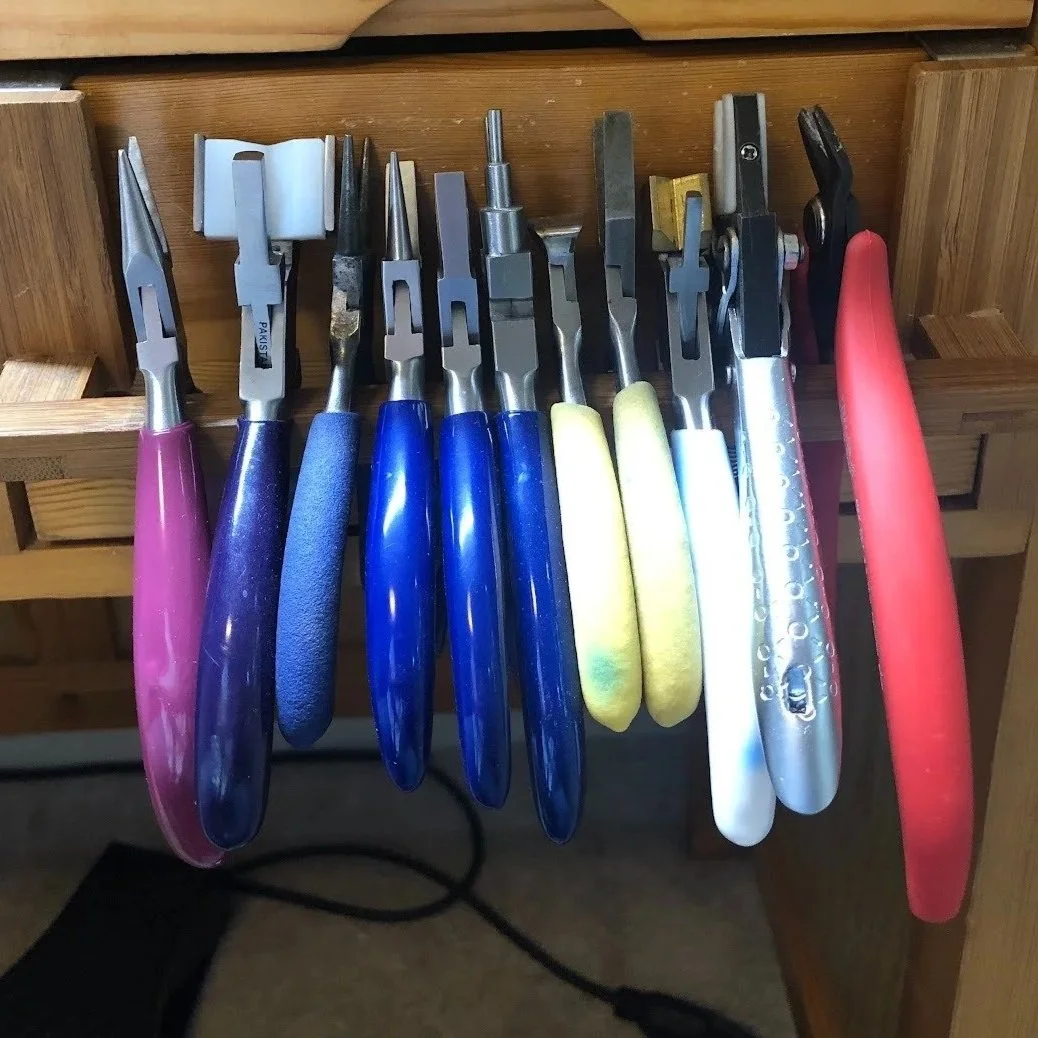
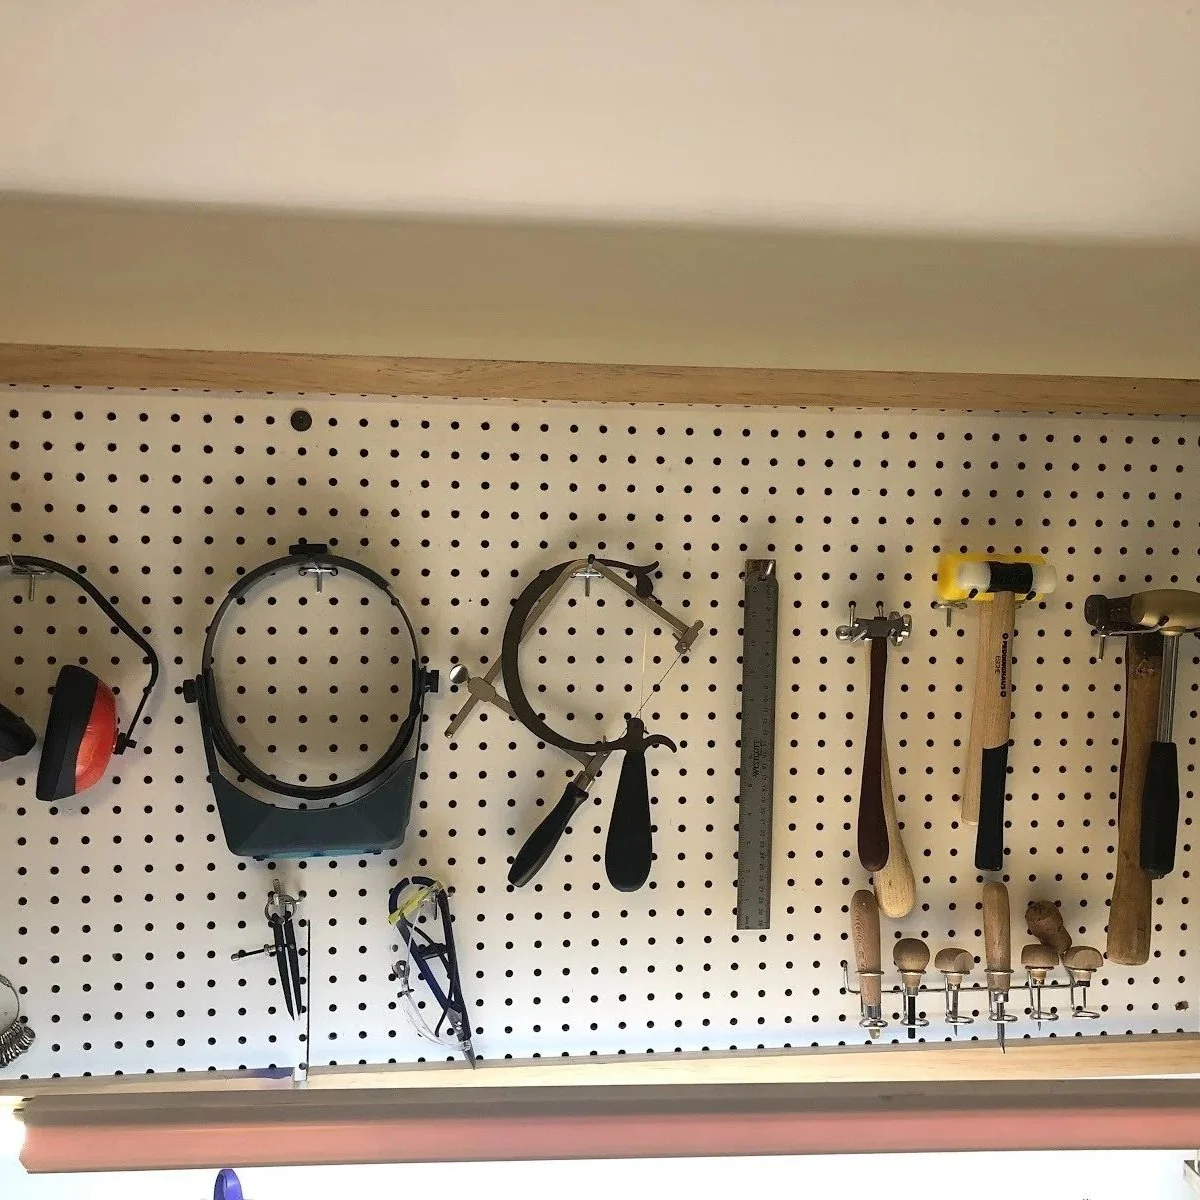
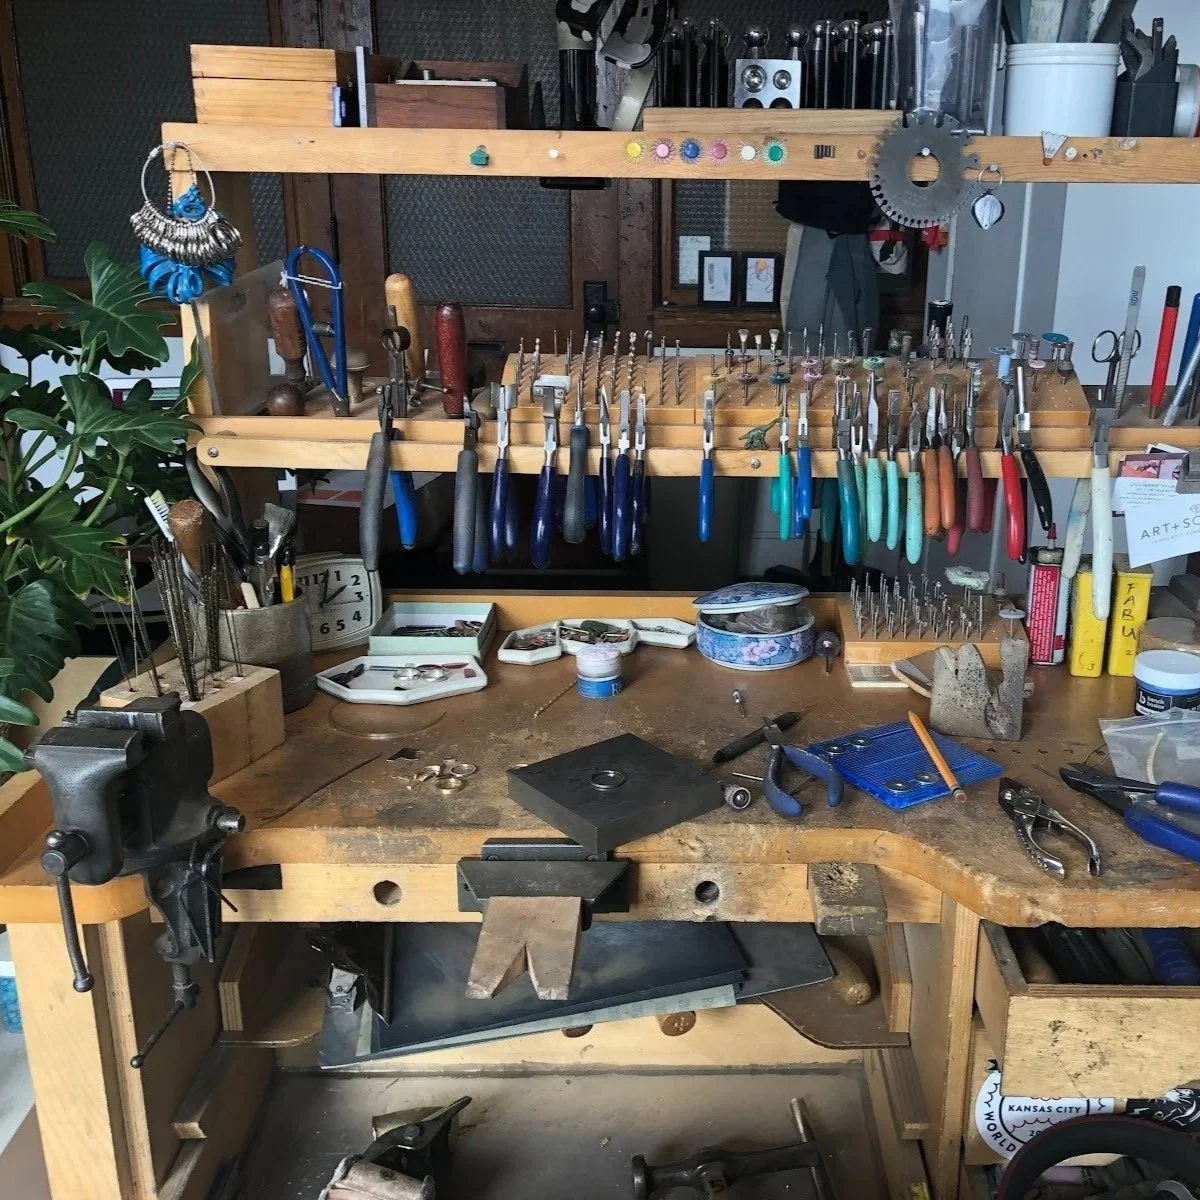
Organization ideas:
Pegboards for hanging tools
Pencil holders for small files and hand tools
Towel bars for pliers
Large magnets for metal bits
Spinning Bur and bit holders
Bookshelves for larger equipment
Keep your most-used tools within arm’s reach, and store less-used items further away.
Safety and accessibility are key.
Organization ideas:
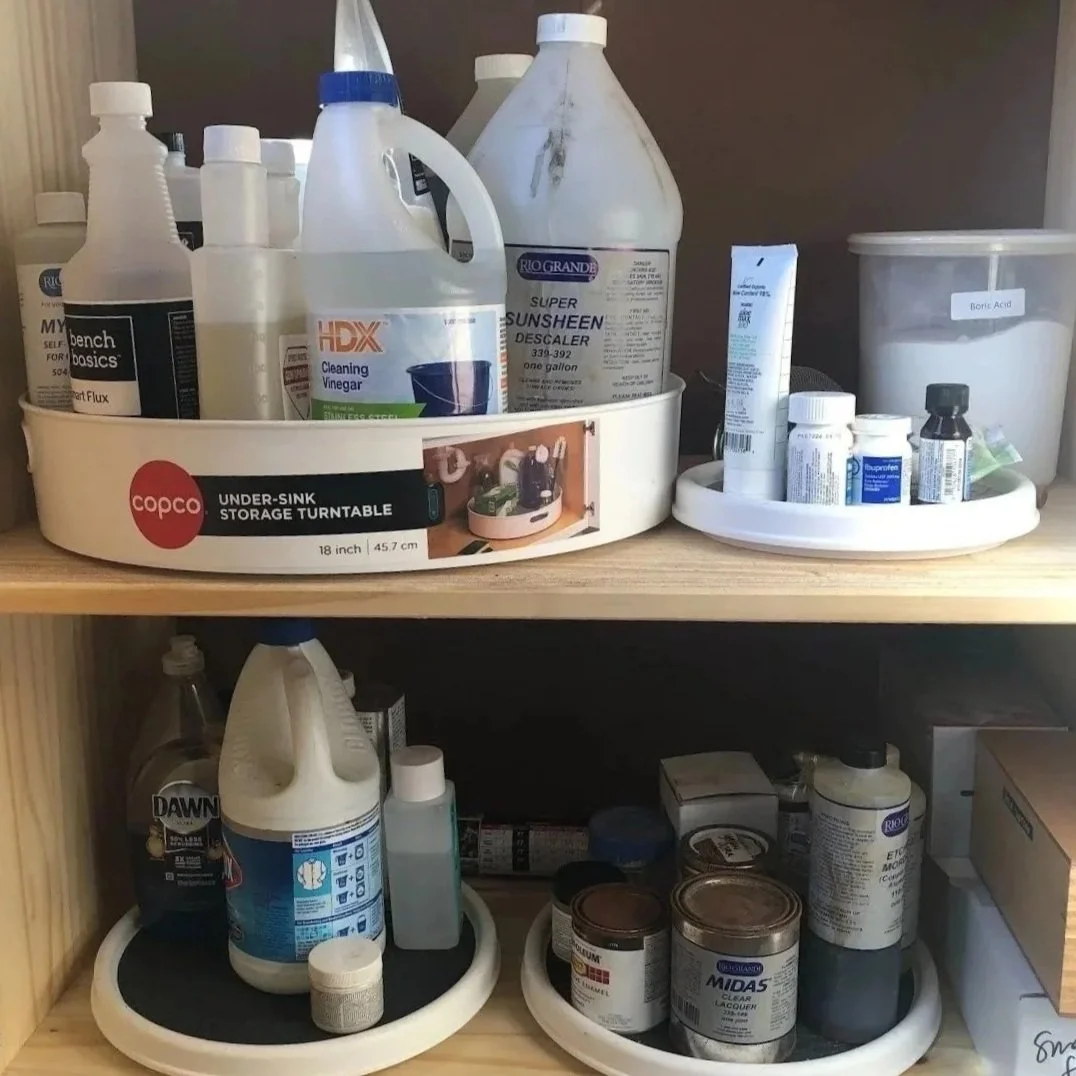
Store chemicals in clearly labeled containers
Keep them in a designated, ventilated area
Separate them from other materials when necessary
A Lazy Susan can be a great space saving tool that help you easily access all you need
*Make sure to keep chemicals locked away if pets or children are in proximity
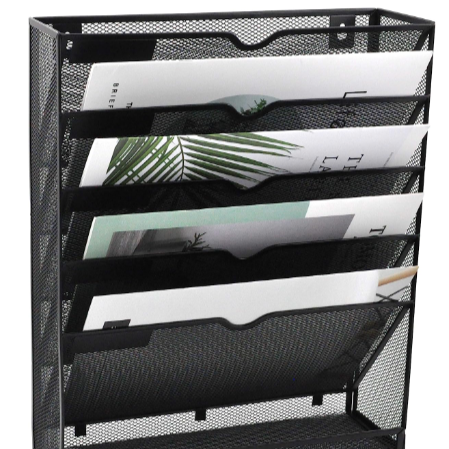
Your shipping station should be just as organized as your bench.
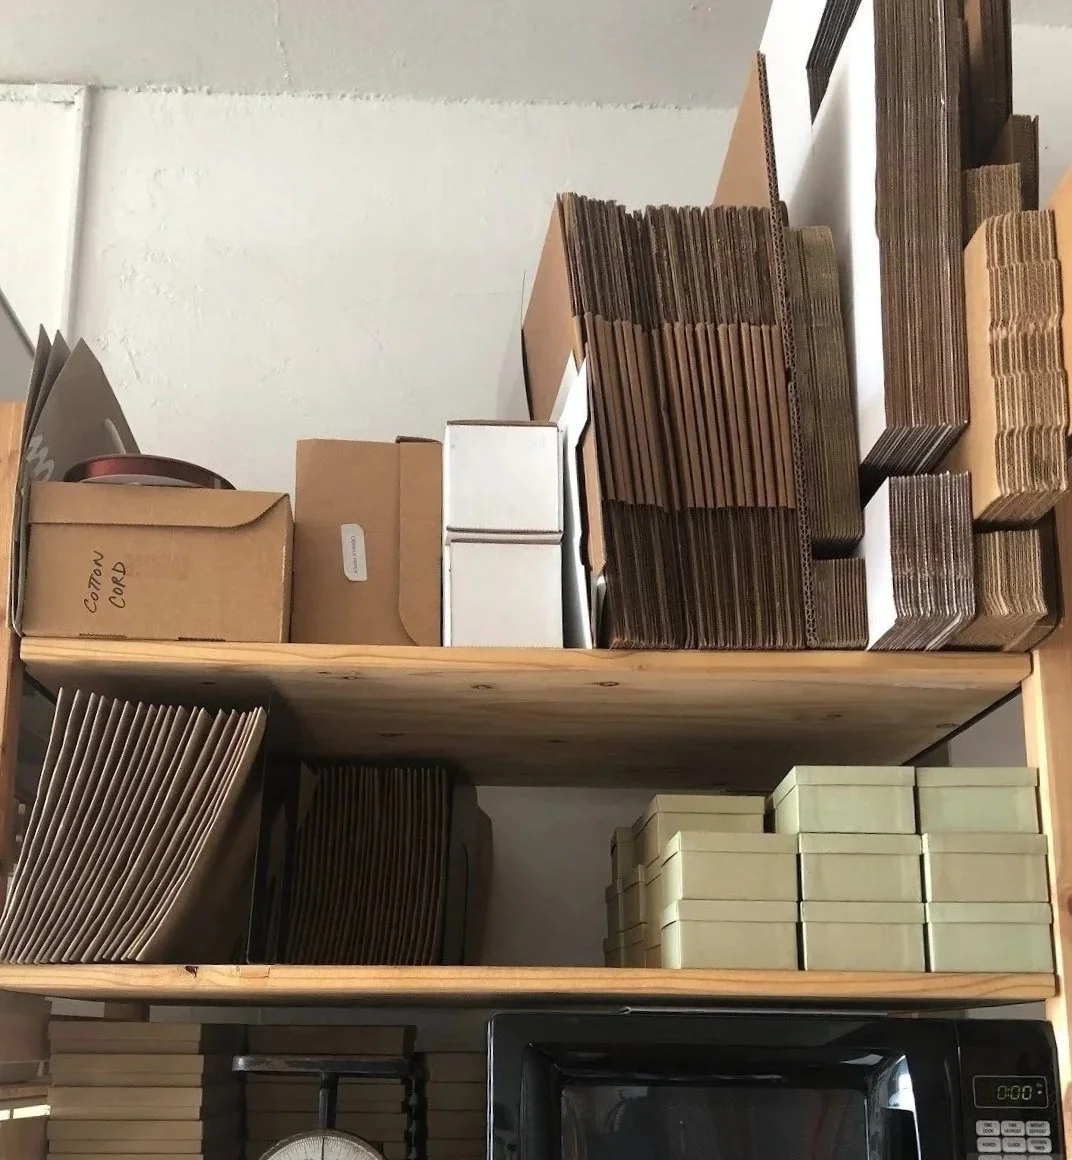
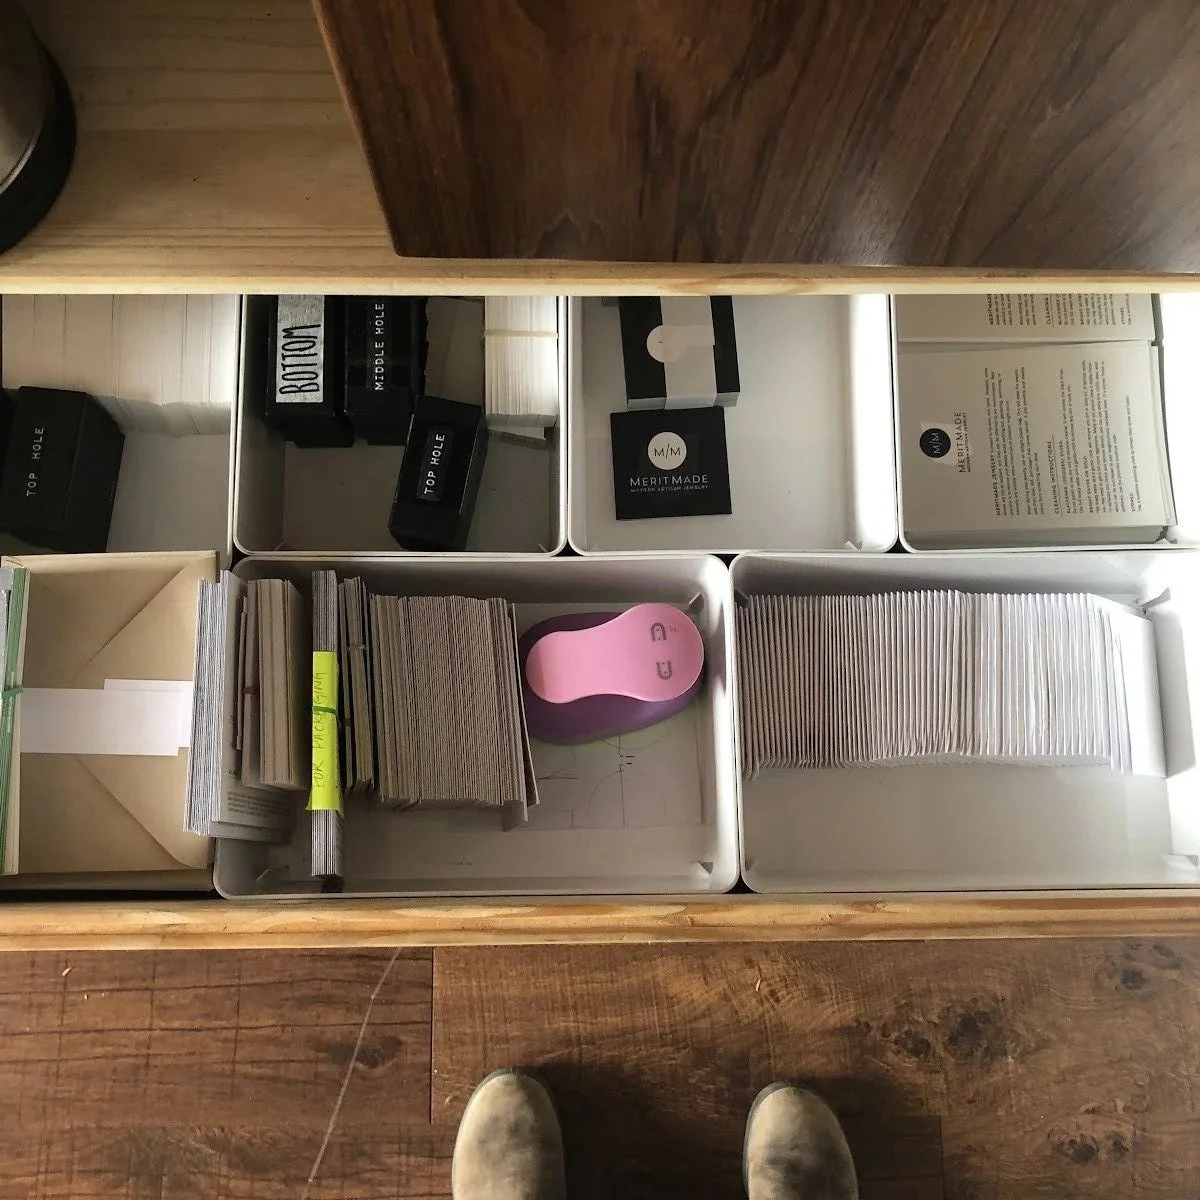
Keep together:
Boxes and padded envelopes
Packing materials
Tape and Labels
Business cards and care cards
Bonus gifts/decorative items
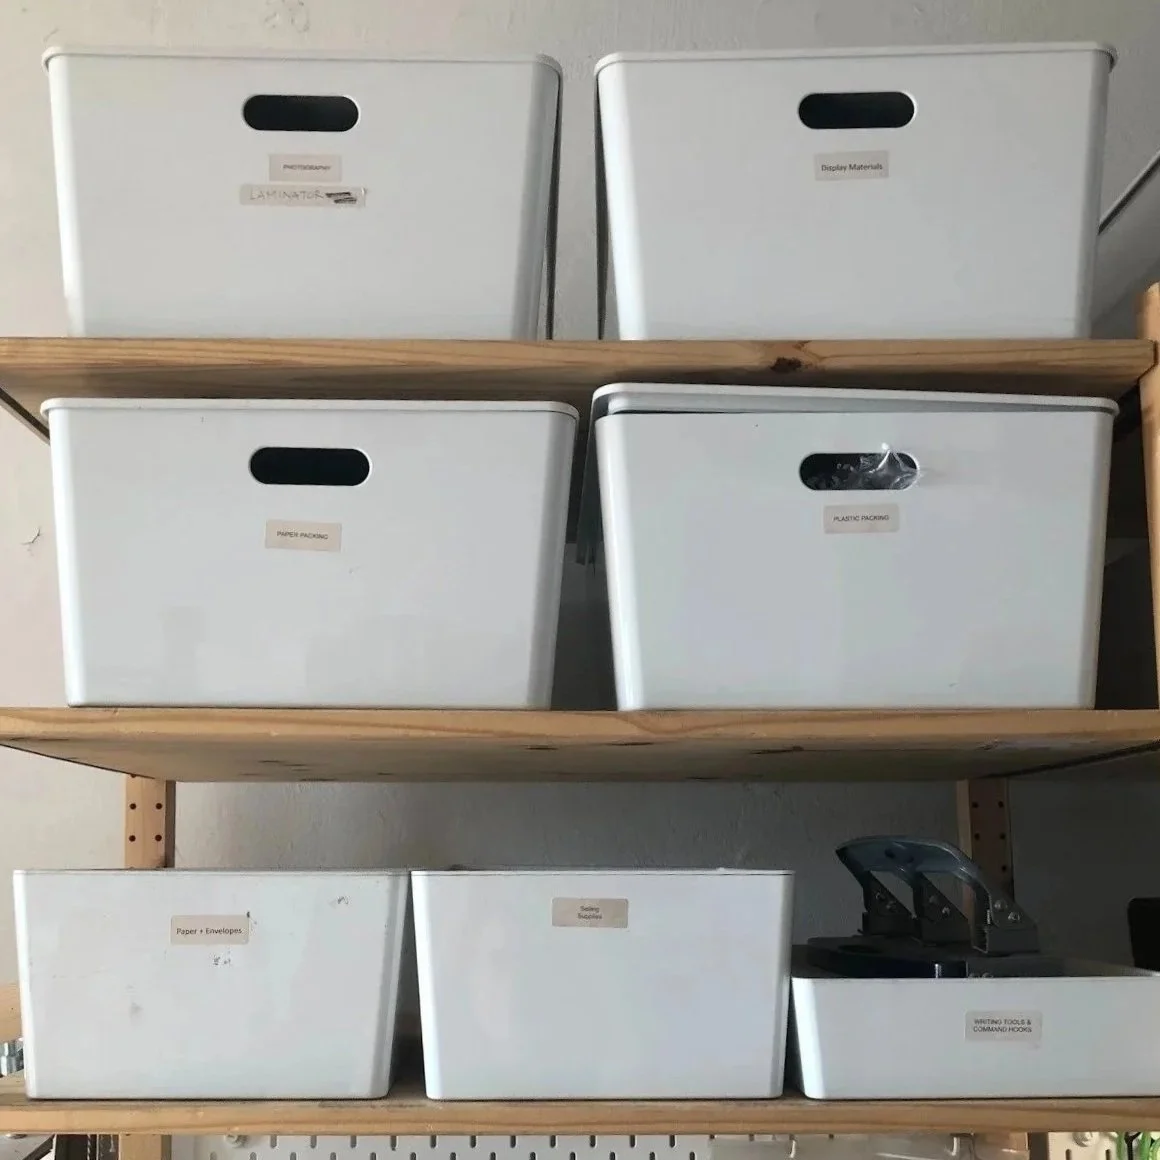
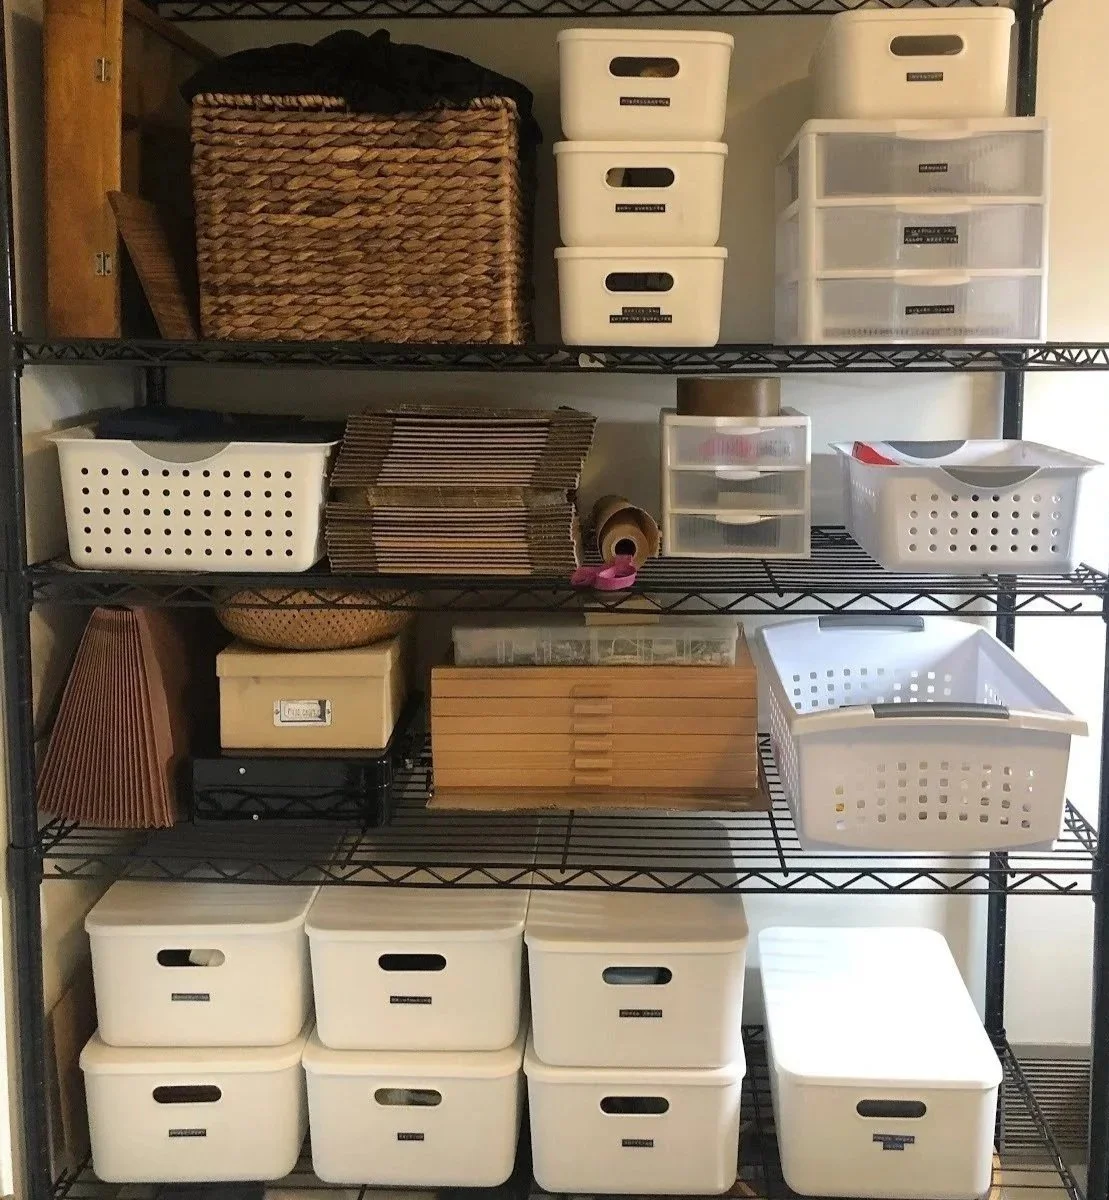
Using drawer or shelving storage with homemade cardboard dividers or just using well labeled rubbermaid tubs can keeps these areas tidier. Just remember, if it’s a hassle to access—you’re never going to keep it clean! Sometimes the investment in a nice cabinet or shelving system is well worth the money just to maintain your sanity.
Pro tip: Keep product item numbers at the bottom of your packaging stacks so you can easily reorder without digging through everything.
Final Thoughts
A well-organized studio doesn’t have to be large—it just has to be intentional. By creating designated zones, using smart storage solutions, and labeling everything clearly, you can build a workspace that supports your creativity instead of slowing it down.
Remember: organization isn’t about perfection. It’s about creating a system that works for you.
And once you find that system? You’ll wonder how you ever worked without it!!